Prisoners was a virtual representation of one of Evie Frye's genetic memories, relived by a Helix initiate through the Helix Navigator.
Description[]
Evie sailed downriver to Deptford in order to question and free Jack the Ripper's hostages on the prison hulk ships and in the abandoned garrison.
Dialogue[]
Evie arrived near the Deptford docks, first approaching the hulk prison ships.
- Evie: These old Navy ships were hulked out to hold prisoners until they were assigned a convict ship leaving for the colonies. So, this is where Jack keeps his quarry. Let's see if Jack is paying a visit to his captives...
Evie found a group of caged hostages in a ship's hull.
- Evie: Jacob? Is that you?
- Prisoner 1: Help me... Miss... Please, why am I here? No one will tell me!
- Prisoner 2: It's Jack! Jack the Ripper, I say! He's the one who abducted us.
- Prisoner 3: He starves and tortures us until we write to our families begging them to do as he dictates or we'll be slaughtered!
- Evie: Is he here? Have you seen the Ripper recently?
- Prisoner 4: Not for weeks, but he'll come back...and bring more poor sods to dance on the Warder's cord for him!
- Evie: Jack has locked them up like animals...they'll all die of cholera...if the Chief Warder doesn't hang them first.
Evie found another group of hostages on a ship's deck.
- Prisoner 5: I beg you, don't leave us to perish... The Chief Warder is a vile, sadistic man... No one spoke to me for weeks, then the Warder's assistant came to ask me how much I weigh...
- Evie: I need to get into the main prison and find the Chief Warder before he hangs another man for Jack's entertainment...
Climbing up to a viewpoint within the garrison, Evie saw a head guard standing near laborers.
- Guard: Go and dredge the Thames, you lazy bastards! ...The Chief Warder wants privacy.
A group of prisoners were discussing the possibility of escape.
- Prisoner 6: Don't lose heart, gentlemen, we can break out of here if we work together.
- Prisoner 7: It's no use, we'd need explosives to blast through those doors.
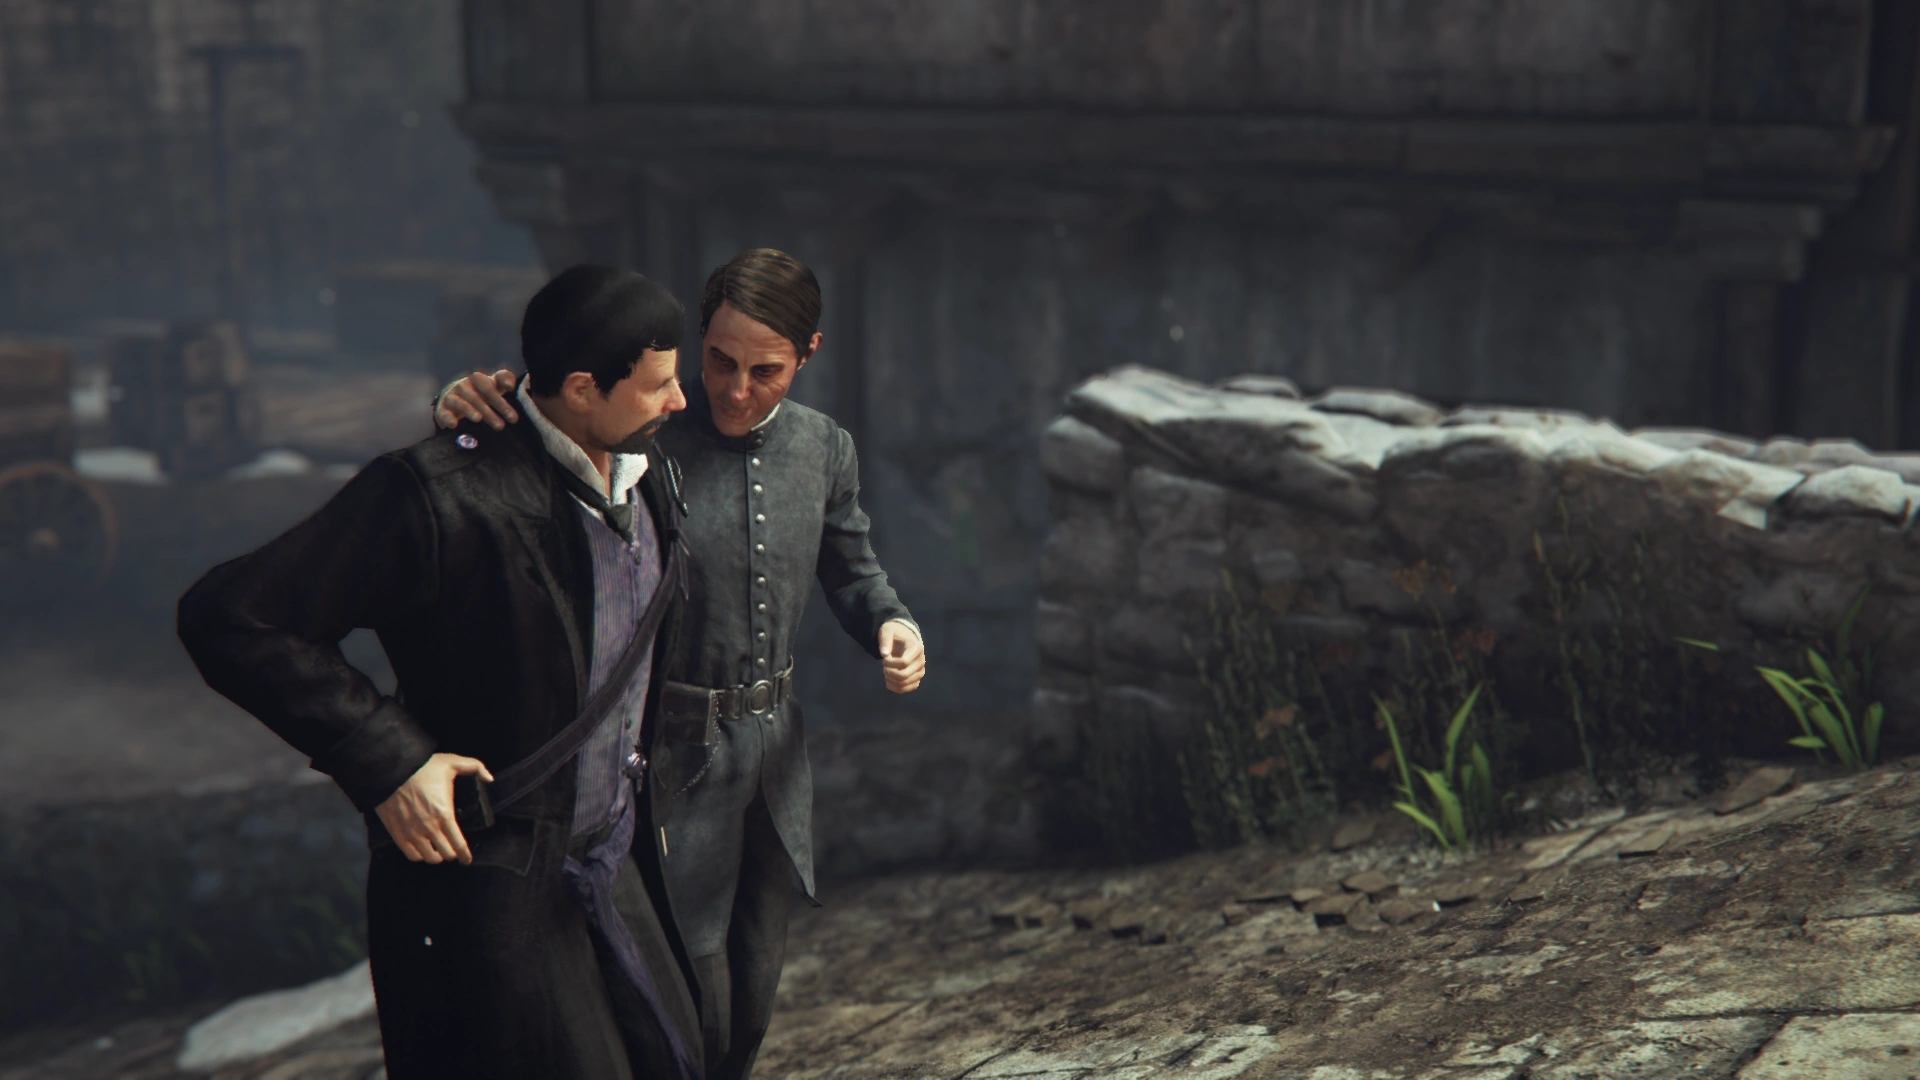
John and his assistant
Chief Warder John Billingsworth was giving advice to the gallows assistant.
- Billingsworth: You gotta get the weight just right, drop 'em gentle, let them do the work. That way you can stretch their gullets a good four or five inches before they croak.
Evie approached the prisoners.
- Prisoner 8: If you would, milady, free us. Blast open this cell door and we'll keep a few of those thugs occupied for as long as we can.
Evie destroyed the cell door, allowing the prisoners to escape and fight nearby guards. With a distraction in place, Evie used the keys she took from the chief guard and entered the Chief Warder's area.
- Billingsworth: Yeah, the stretch is good but it doesn't count, does it? He's dead. So where's the skill in that?
Have him hanging for twenty minutes like that, stretching his gullet all the while. Mr. Jack likes when it lasts...
Nah, you gotta get the weight just right, drop 'em gentle and let them do the work.
This work makes me proud, see? It's important work. Mr. Jack understands that. And I'm very good at it.
The trick is in the drop. You let 'em go too fast the neck breaks, they're dead, you take 'em down.
I could stretch you out ten, twelve inches but if you're dead there's nowt in it for me, is there?
That last one - right mardy, fat bastard he was - he took some faffin' but I managed to pull a good half a foot from 'im. Piss all down his kegs, reeked like a lass' churner on the rag, ha, ha... Ah, perks of the job, eh?
Evie temporarily jammed the upstairs pulley.
- Billingsworth: Go see what is wrong up there, you simperin' ass!
- Assistant: Yes, sir.
- Billingsworth: Well?
- Assistant: A problem with the new pulley, sir.
- Billingsworth: Fix it, you jolterhead!
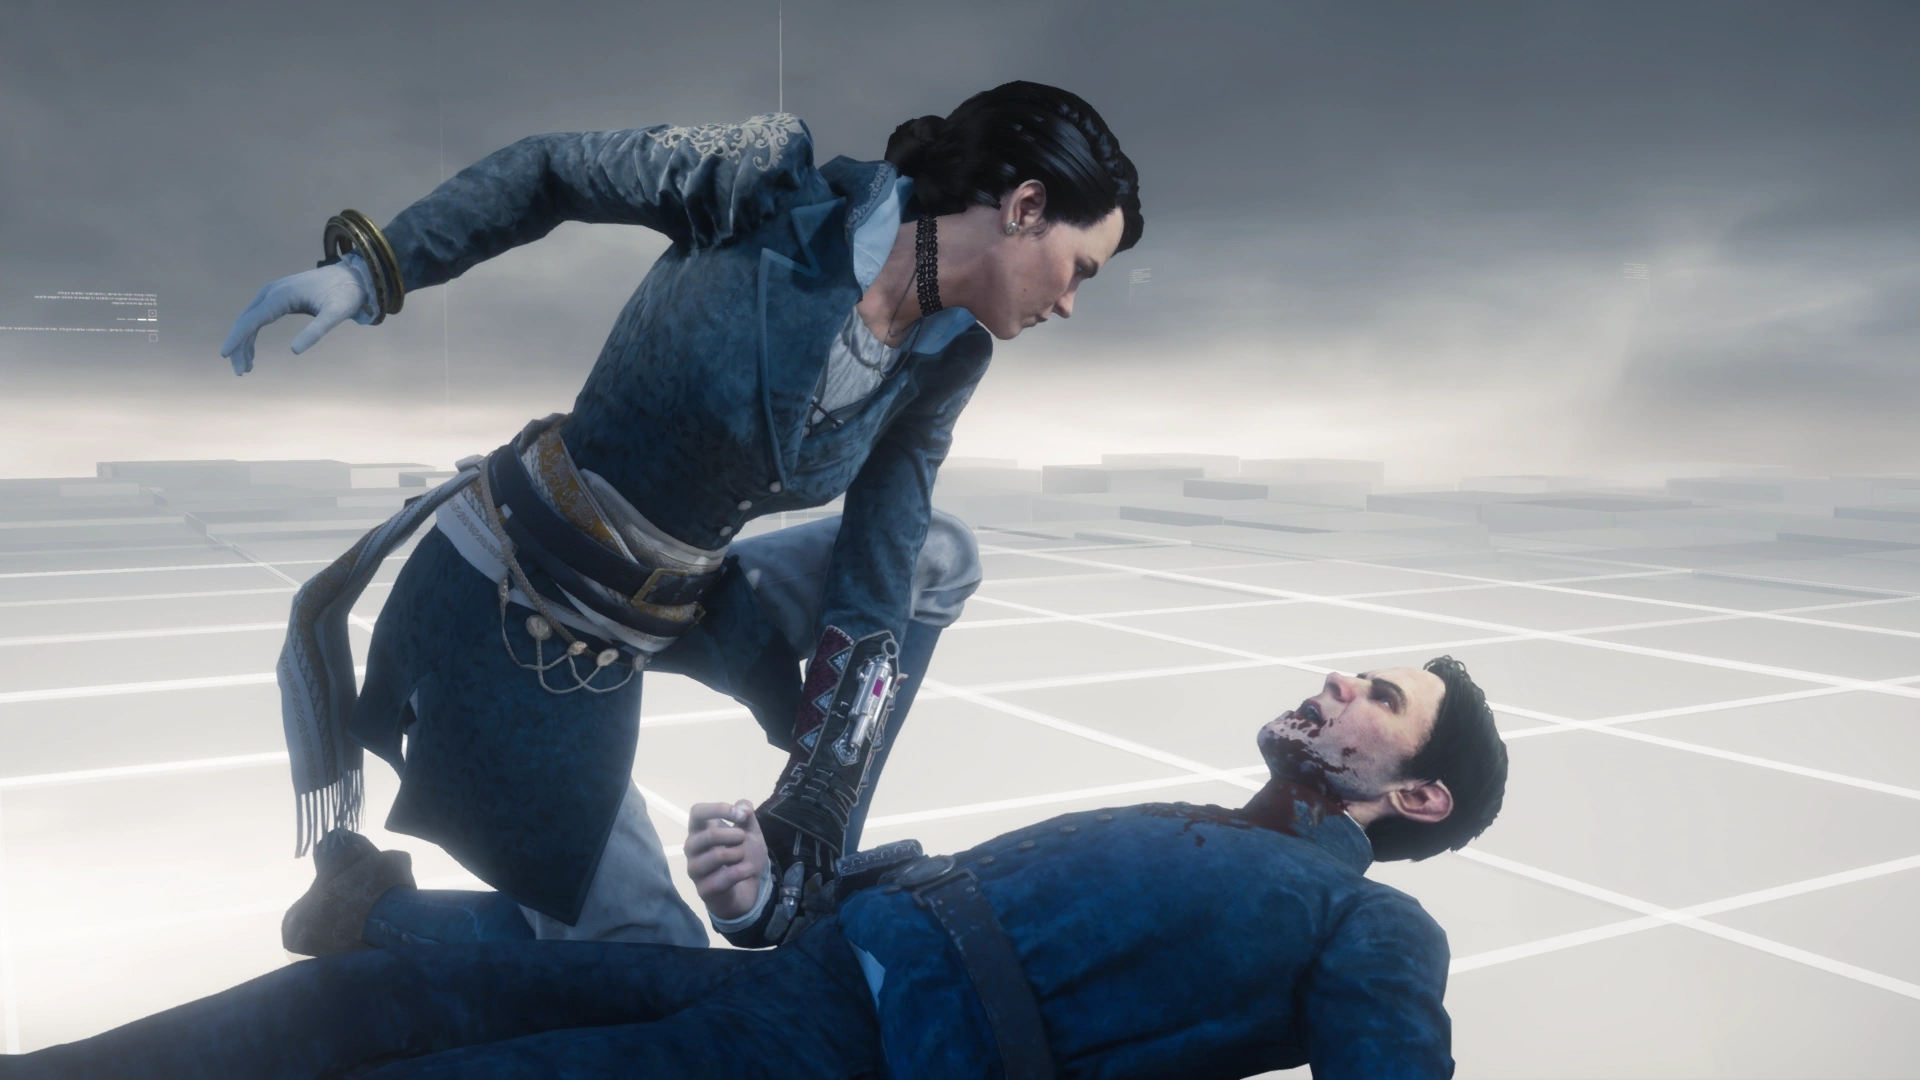
John's final moments
The gallows assistant fixed the pulley, restoring it to its working position. Evie activated the pulley once more, with it this time hanging Billingsworth by his leg. She then fatally wounded a dangling Billingsworth with a stab from her Hidden Blade to his throat.
- Billingsworth: Look at you! Goody two-shoes, is it? You think offing some 'ol hangman is going to change what we do here?
- Evie: We?
- Billingsworth: What do you think? This was your brother's vision...his inspiration!
- Evie: I don't believe you.
- Billingsworth: He taught Mr. Jack how to rip the filth from this rotten city, but you don't have the balls to see what's right and necessary.
- Evie: Where is Jack? Where is the Ripper?
- Billingsworth: Ah Ah Ah...!
Billingsworth finally succumbed to his injury. Evie wiped his blood on a handkerchief.
- Evie: To hell with your right and necessary. That vile sadist was working for the Ripper, but there is no sign of Jack here... Oh, Jacob, you did not intend to breed this monster--but he is ours to destroy. The legacy of our Brotherhood depends on it. I must inform Abberline about what I have discovered here...

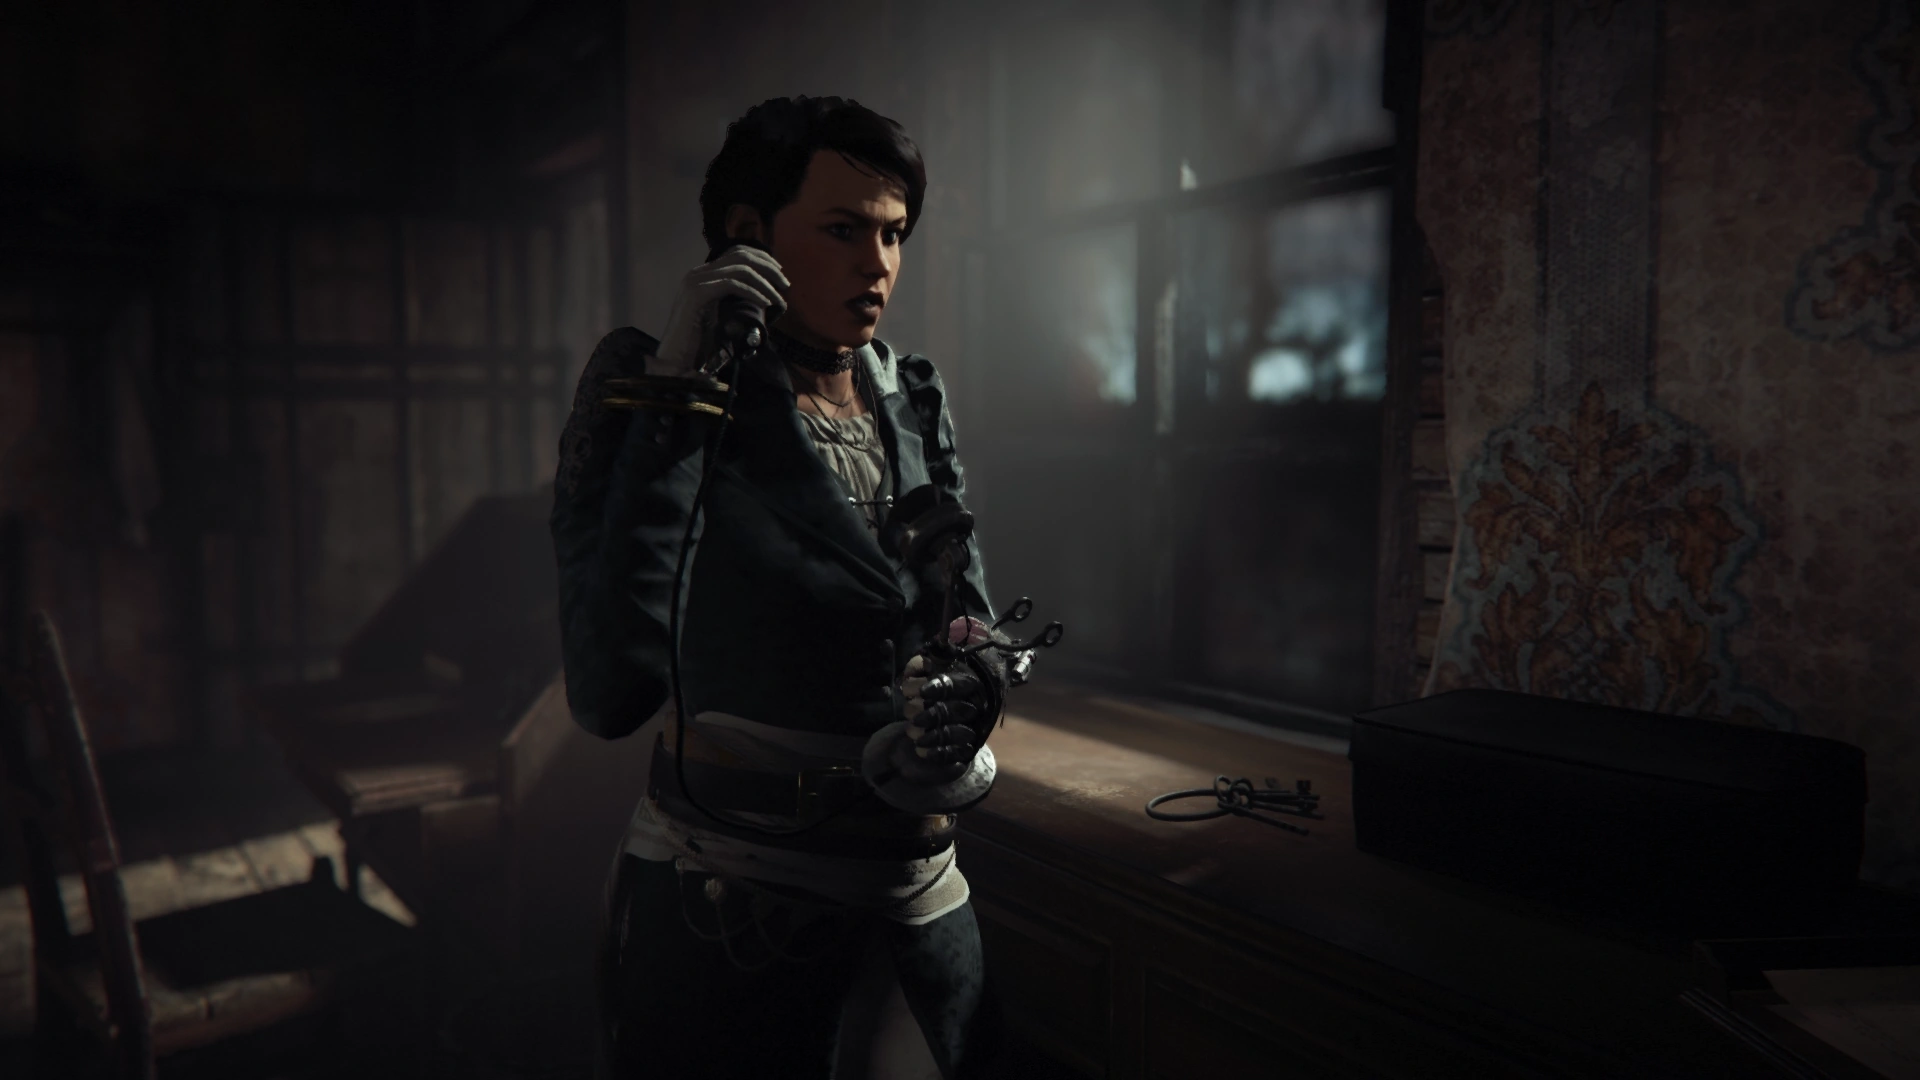
Evie contacting the Metropolitan Police Service
Evie left to telephone Inspector Frederick Abberline in a nearby building.
- Evie: I need to speak to Frederick Abberline. This is an emergency. Well, where is he? The Ripper has struck again? Where? All right, thank you, officer. WAIT! You need to alert the local constable. Send as many men as you can to the old Hulk prisons.
Before leaving Deptford, Evie took cell keys she had found and gave them to a group of hostages in a hulk ship's hull.
Outcome[]
With Chief Warder Billingsworth assassinated and the Metropolitan Police Service informed, Jack the Ripper's operations in Deptford were brought to an end.
Gallery[]
")
")
")
")
")
")