
|
Patience, brothers. Soon we will reveal the secrets of Assassin's Creed: Unity. This article has been identified as being out of date. Please update the article to reflect recent releases and then remove this template once done. |
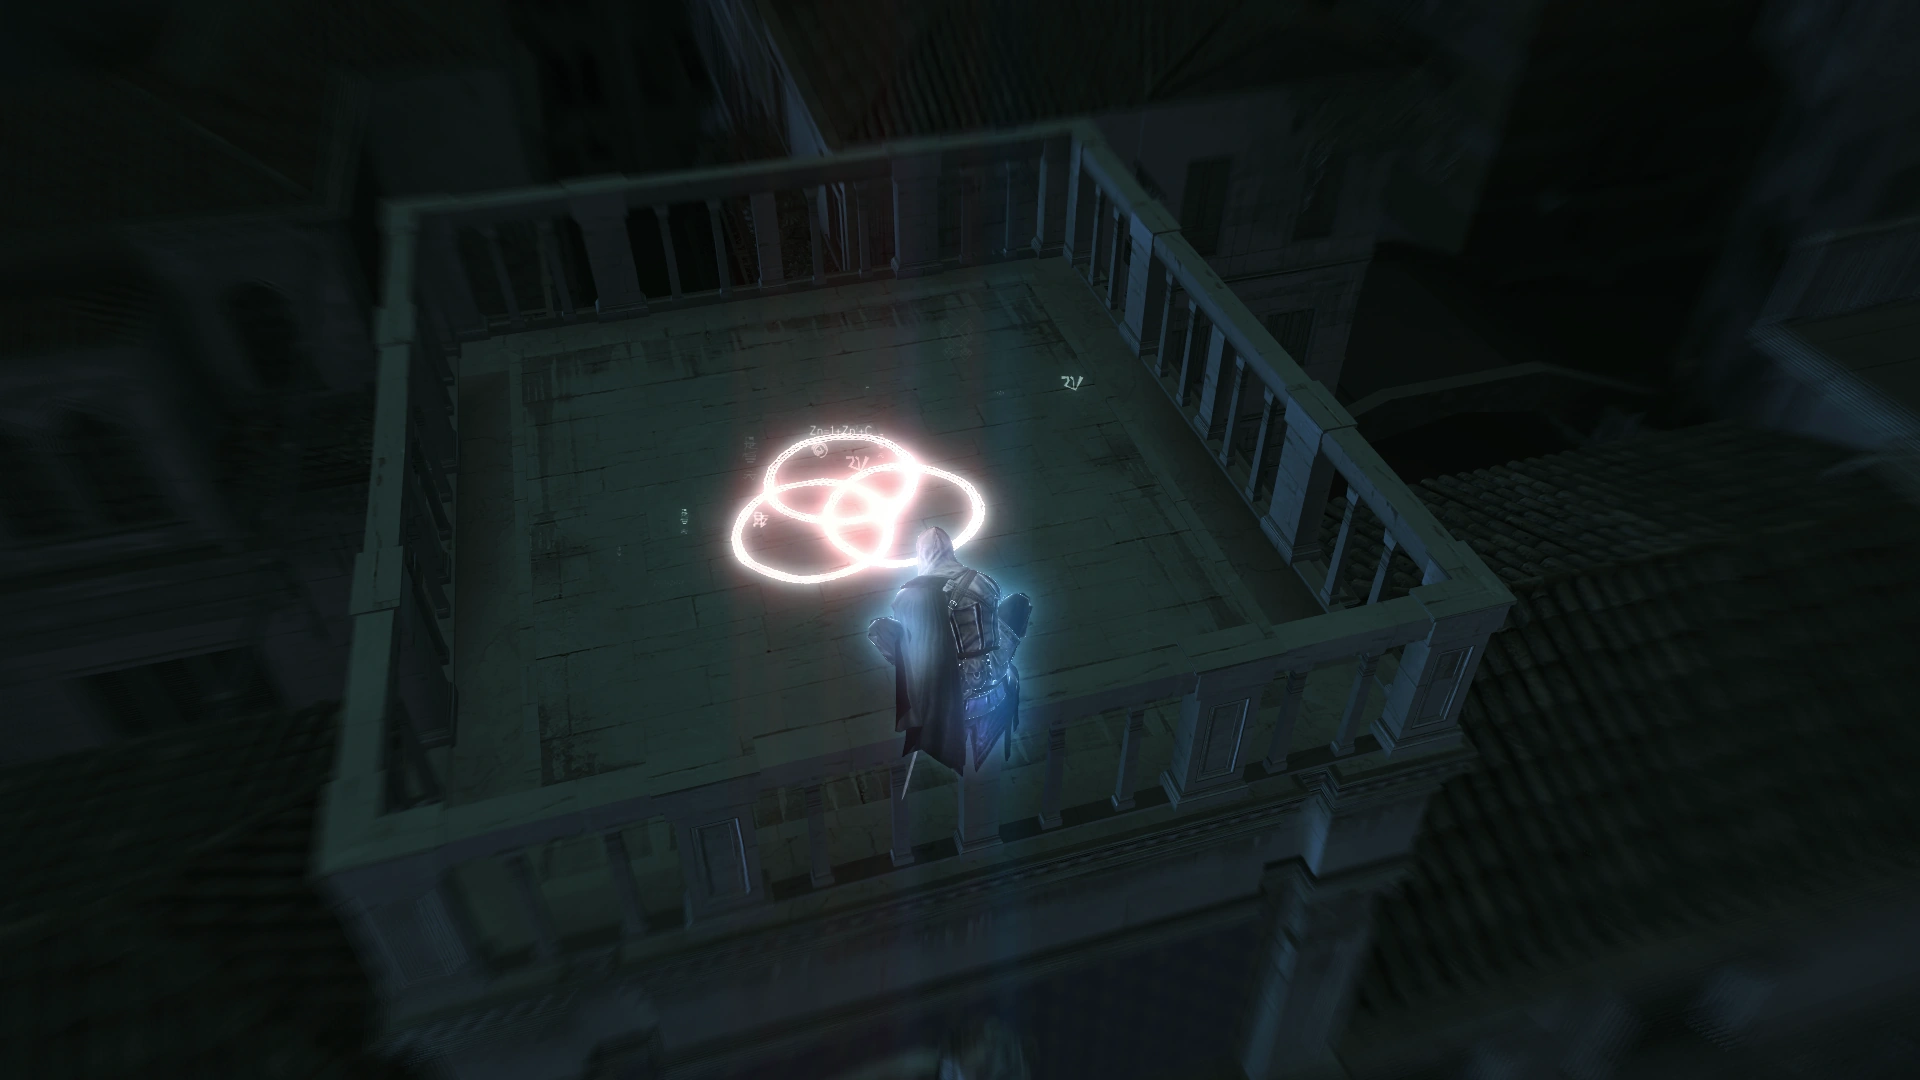
Ezio and the Trefoil glyph
Glyphs were data entry points scattered around the virtual representation of Renaissance Italy rendered by the Animus.
Desmond Miles was able to locate several of them while reliving the memories of his ancestor, Ezio Auditore da Firenze. Each Glyph revealed historical details about the conflict between the Assassins and the Templars, humanity, and Pieces of Eden.
Origins
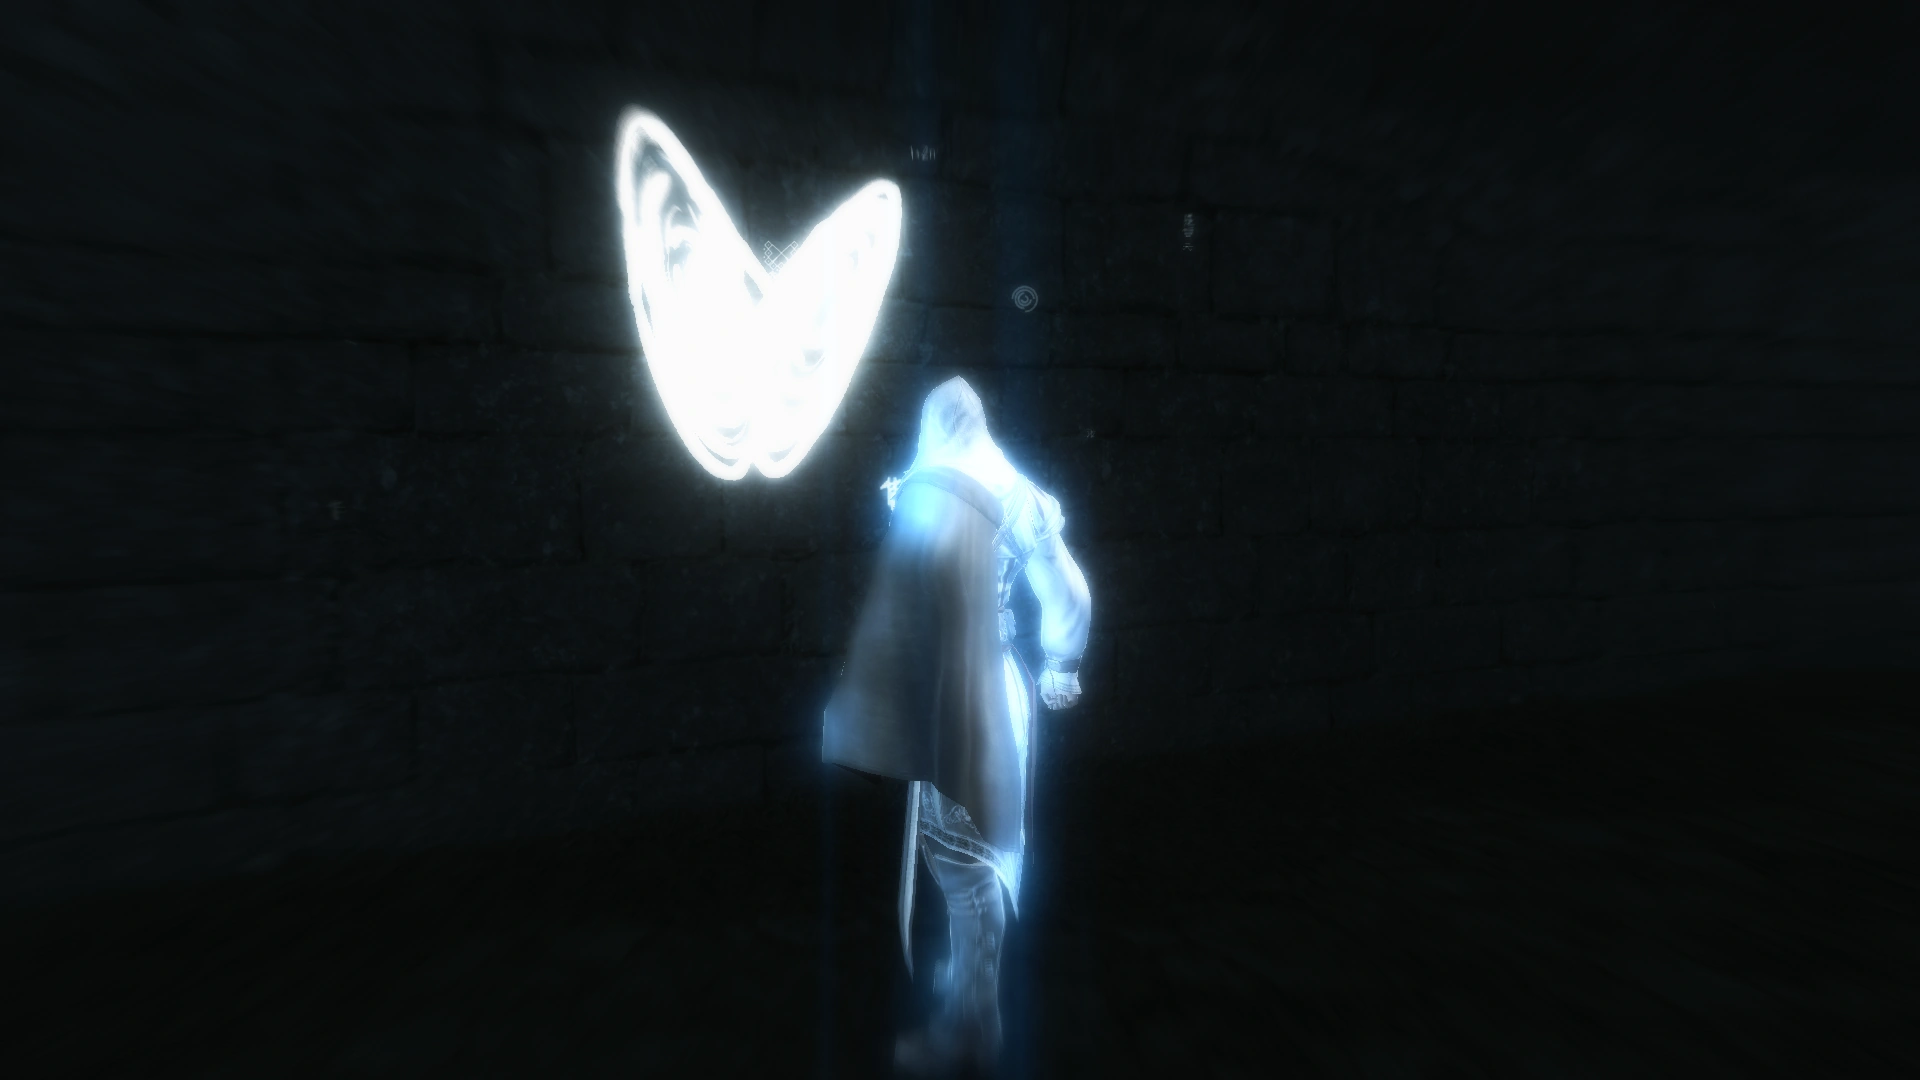
Ezio activating one of the Glyphs
The Glyphs were created by Clay Kaczmarek, Desmond's predecessor in the Animus Project. Clay had discovered "The Truth" during the prolonged Animus sessions, but he could not share this information during his captivity. Instead, he hacked the Animus and hid a video file in a number of encrypted data fragments, in form of Glyphs on certain structures.[1]
In an effort to inform the next Animus subject of the hack, Clay left a number of cryptic images drawn in his own blood scattered across the Animus Project laboratory, as a clue to look for such symbols in the environments rendered by the Animus.[1]
Abstergo laboratory
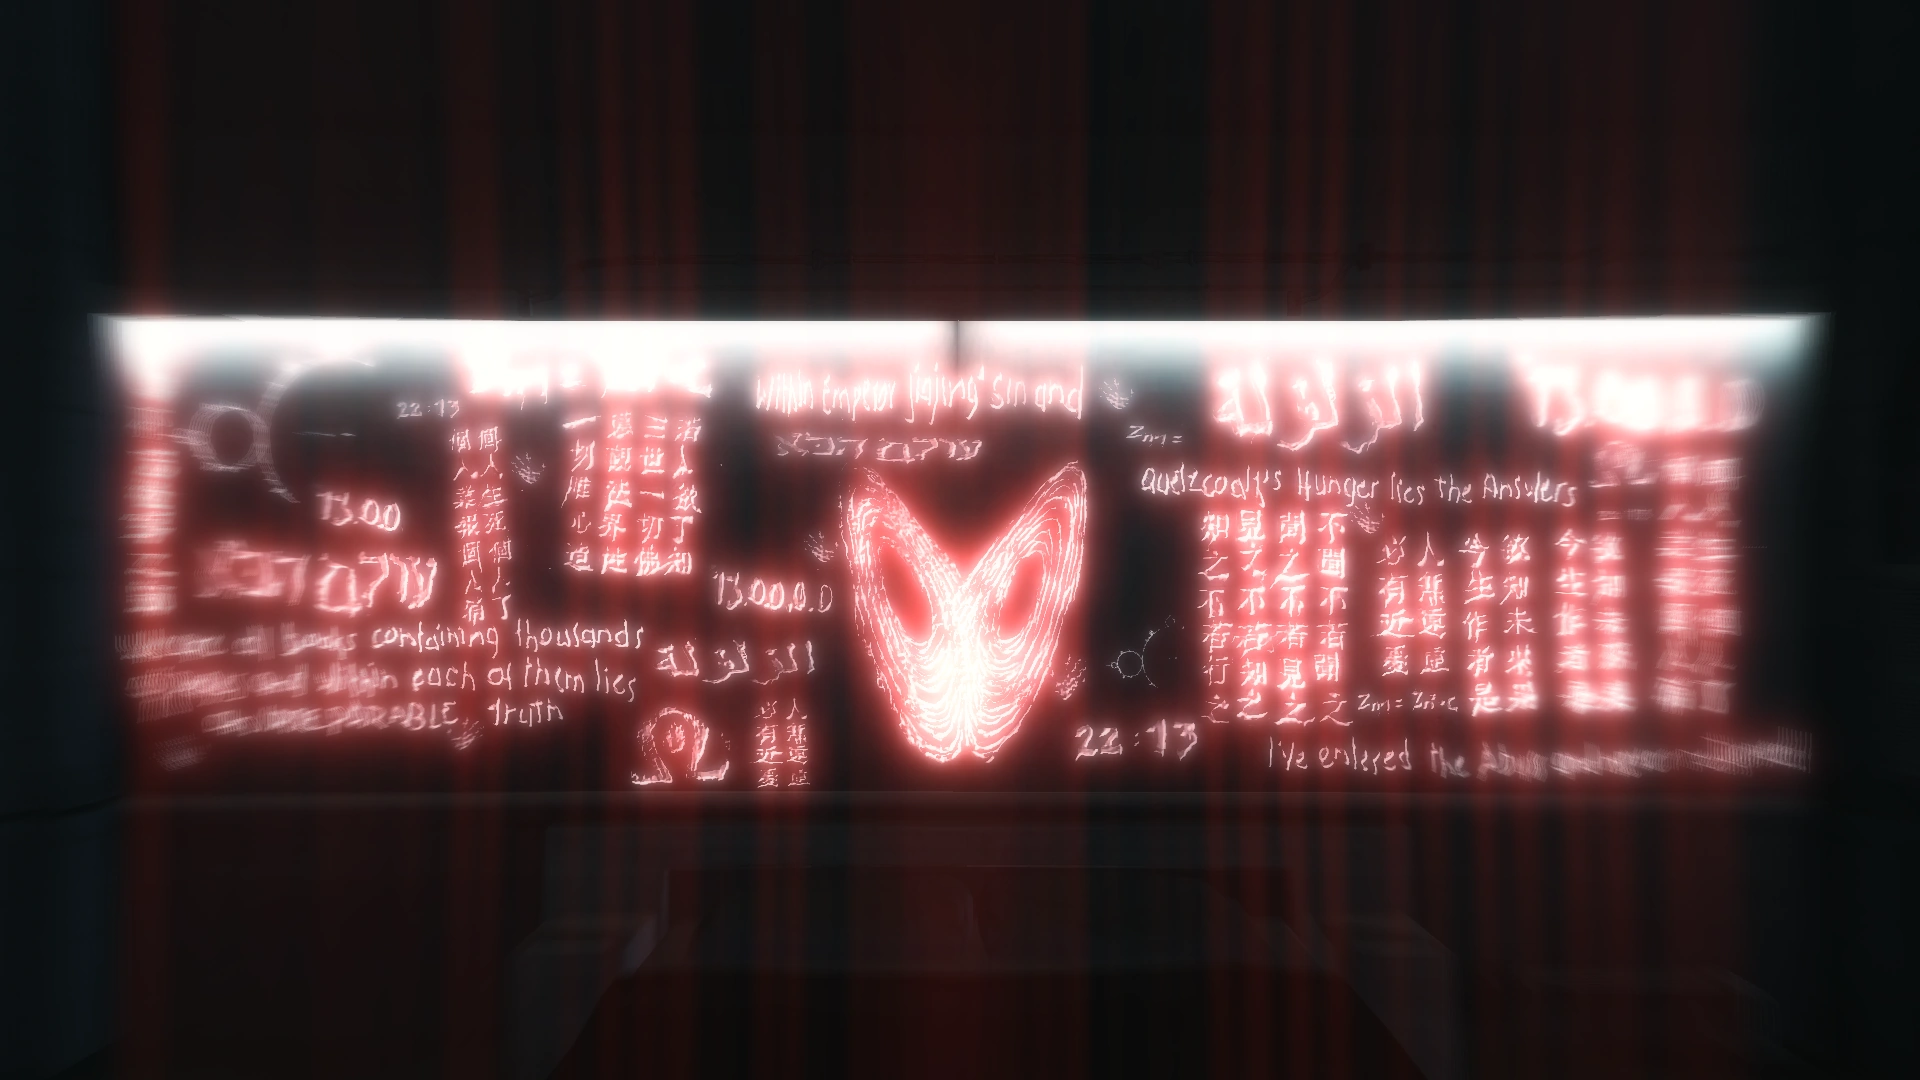
Clay's messages on the bedroom wall
Before Desmond Miles was placed in the Animus, Abstergo had cleaned away Clay's blood messages.[2]
These messages were impossible to see with the naked eye. However, through the Bleeding Effect, Desmond eventually gained the ability of Eagle Vision, which allowed him to perceive Clay's blood writing. Although he was able to see it, Desmond could not comprehend its meaning at the time of his captivity.[3]
In the Animus 2.0
During the escape from Abstergo facility, Lucy Stillman took the Animus memory core, unaware that it contained the data which Clay tampered with. When the core was transferred to the Animus 2.0, the Glyph data was transferred along with it.[1]
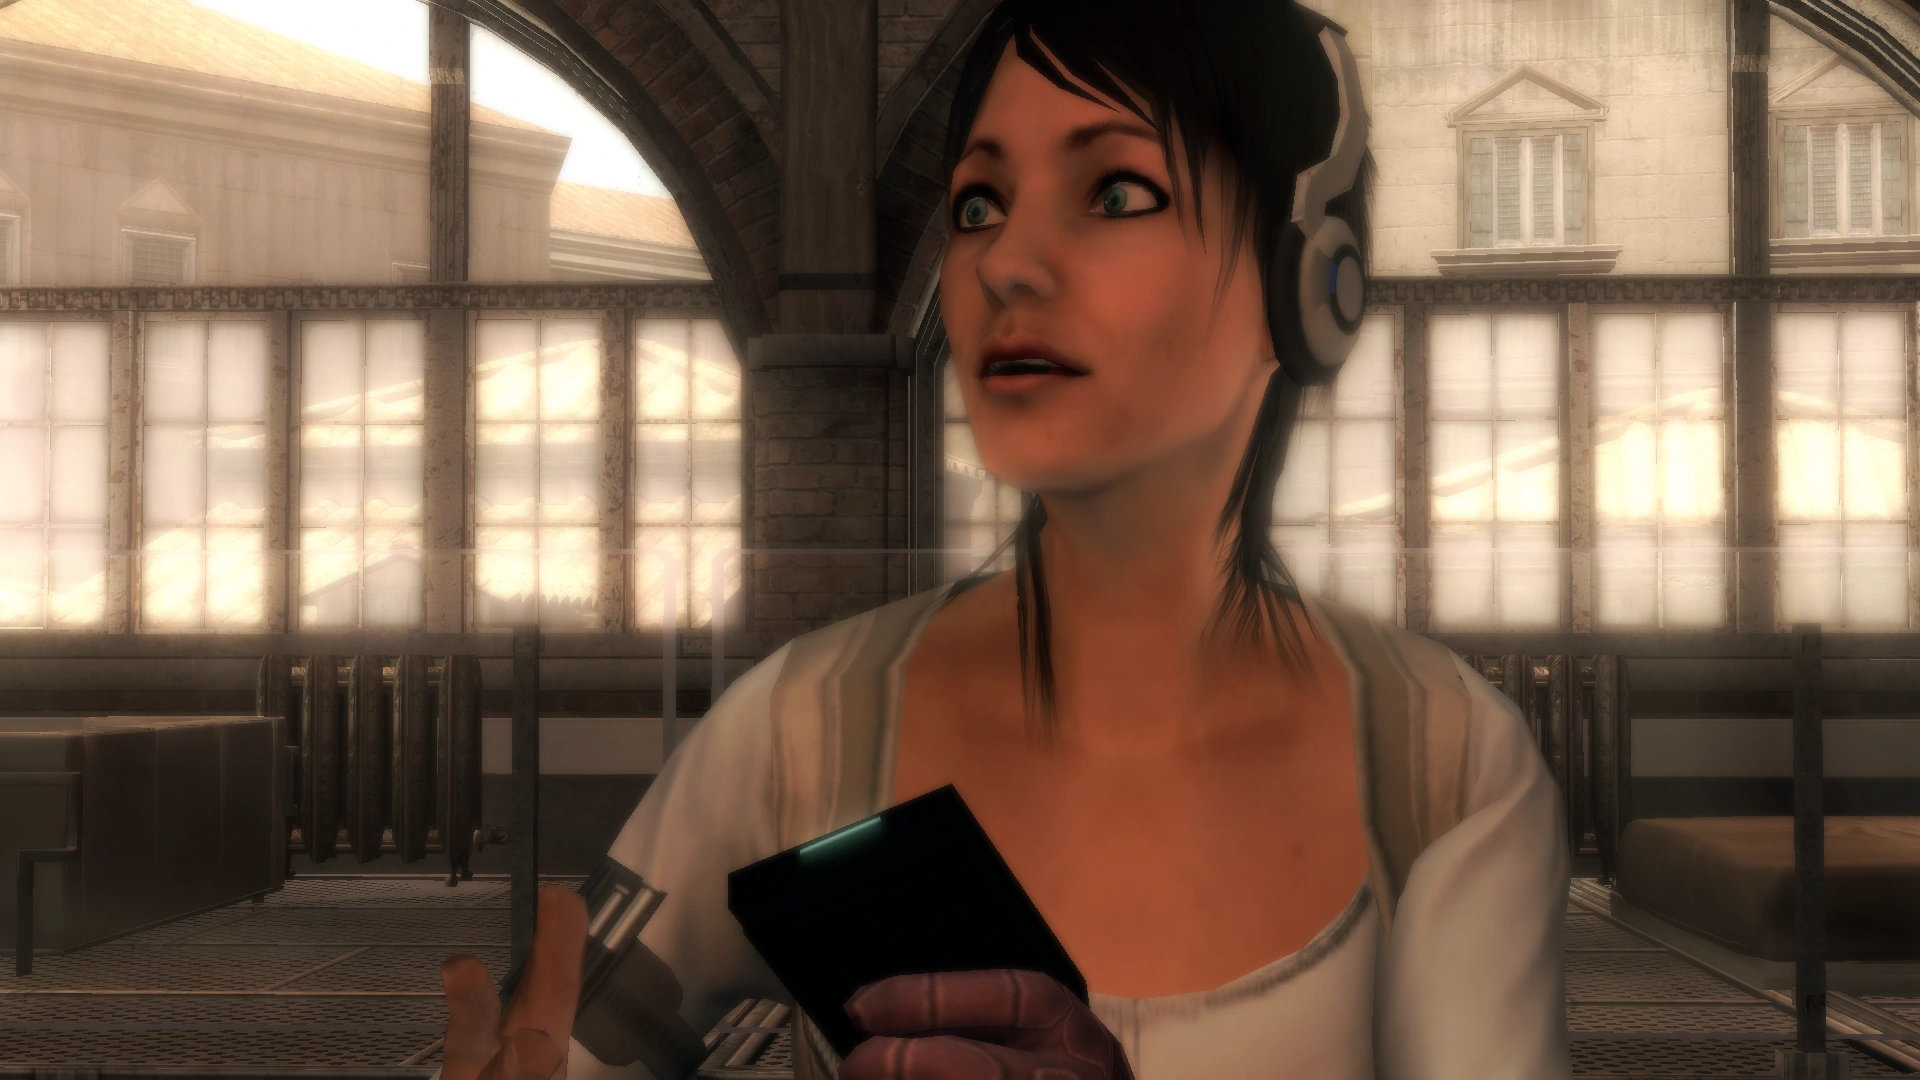

Rebecca holding the memory core with the Glyph data
While reliving the memories of Ezio Auditore da Firenze, Desmond and his fellow Assassins discovered the existence of the Glyphs and guessed how they appeared in the Animus 2.0, eventually concluding the data was tampered with by Clay, and came with the Abstergo memory core.[1]
Desmond found numerous symbols scattered across various landmarks, which contained the encrypted file fragments. Clay placed a safeguard the files however, as each Glyph had to be scanned with Eagle Vision to access it, and the files were only compatible with the Animus itself.[1]
Desmond solved the puzzles contained within each Glyph, allowing him to access a short clip of The Truth video. Once all the Glyphs were solved, these short clips combined to form a complete footage from one of Clay's classified session at Abstergo, depicting Adam and Eve running through Eden with a stolen Apple of Eden.[1]
The puzzles revealed some of the activities of the Assassins and Templars and instances where Pieces of Eden had emerged across the human history.[1]
Rome
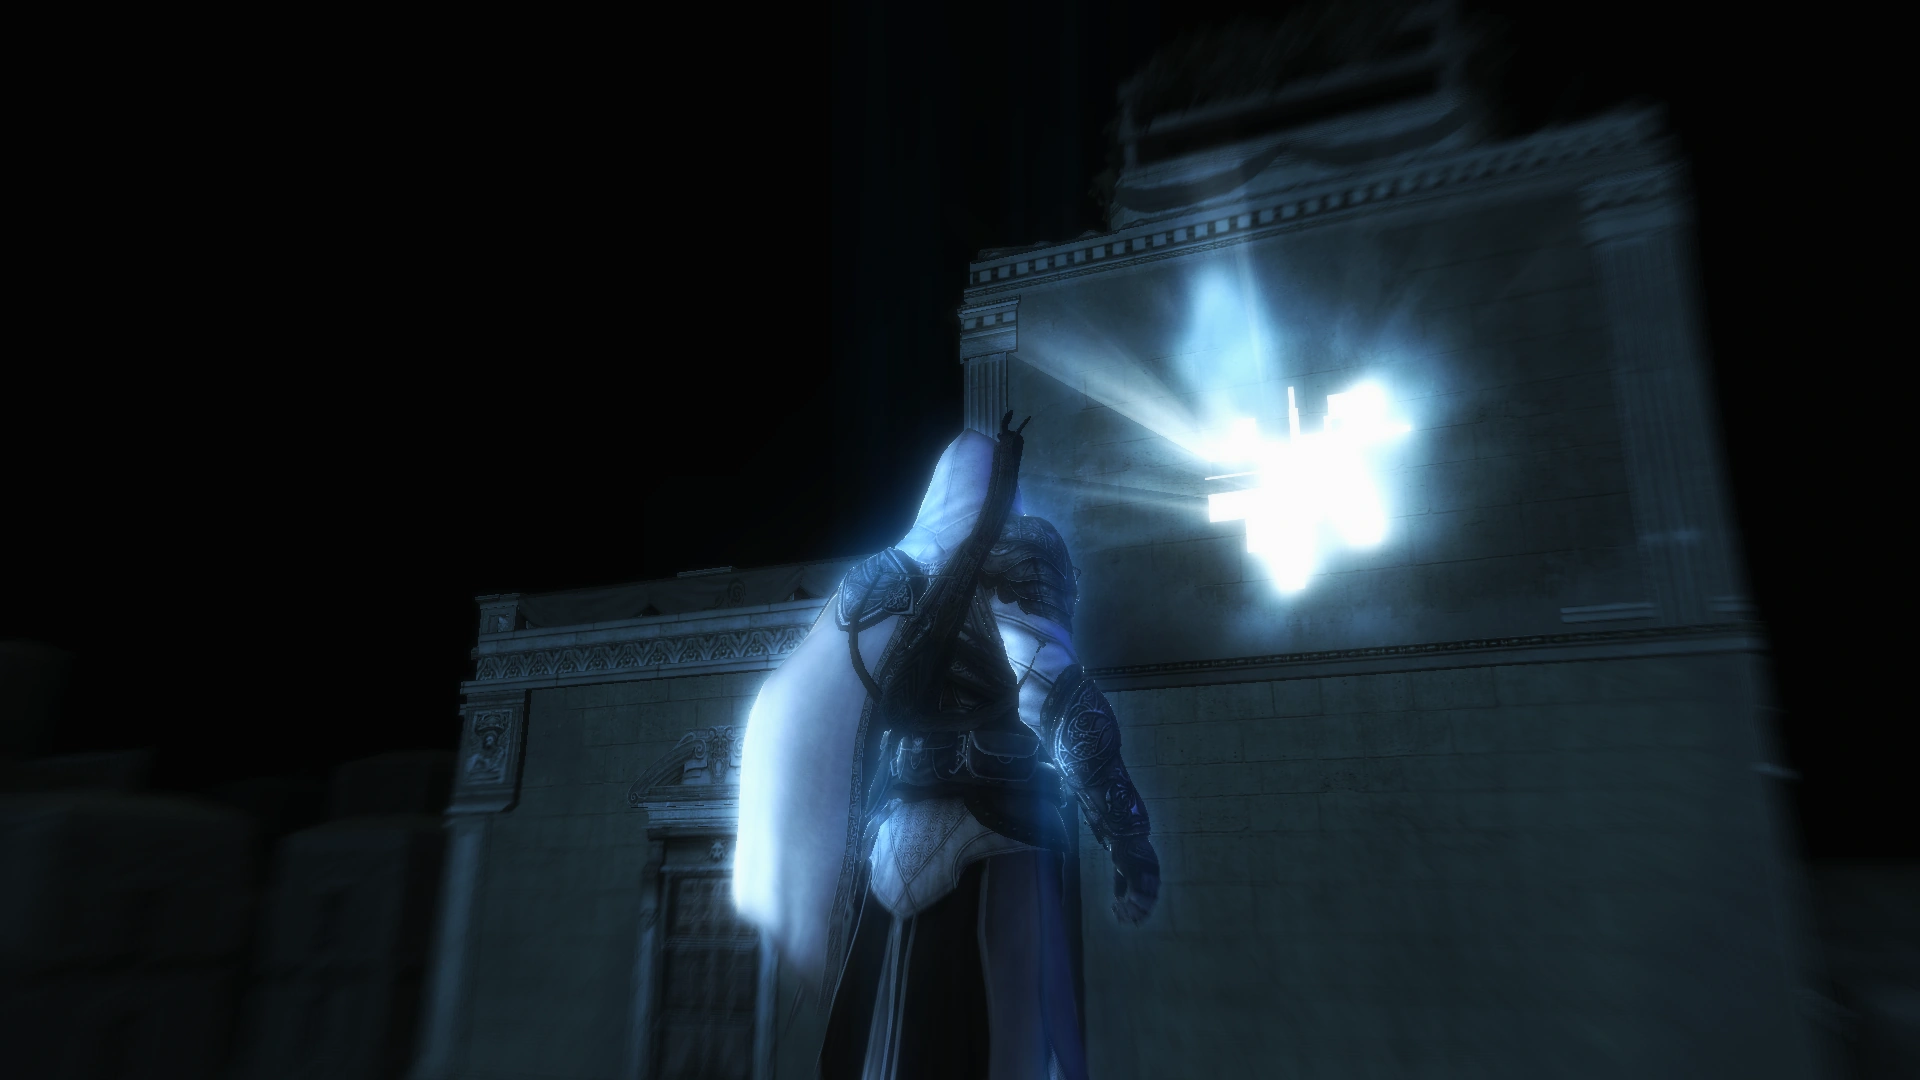
Ezio locating a Rift
When Shaun Hastings analyzed the results of the Glyph puzzles, he discovered the puzzles also contained coordinates to additional certain locations within the Animus. These led Desmond to a series of Cluster puzzles, accessible through the Rifts in programming in the city of Rome.[4]
These Rifts were also safeguarded, as they did not physically appear on the landmarks at all, unless seen with the Eagle Vision. Another notable difference was that Ezio had to physically enter a Rift, rather than just scan it.[4]
After solving all ten of the Rift puzzles, a video message "The miracle is in the execution" appeared, though the Assassins figured it was not a video at all, but rather an encrypted file. Rebecca managed to make it accessible to Desmond. The file contained a course similar to the Animus Virtual Training Program. At the end, Desmond was presented with a digital image of Clay Kaczmarek, which spoke to him about Eve, the Sun, Eden and the darkness, before disappearing.[4]
Glyph Locations
Each Glyph was located on a historical landmark within the Animus. After approaching a landmark with a Glyph on it, the landmark's Database entry was marked with an eye icon.
Proximity to a Glyph was also noticeable by a shimmering sound effect, identical to the one heard near feathers and treasure chests, as well as the decipher fragments in The Lost Archive.
San Marco District
- Facing south on the roof of La Rosa Colta
- Facing north on the eastern rooftop of the Ospedale degli Innocenti
- Facing west on the northern lower roof of Santa Croce
Santa Maria Novella District
- On the south face of the northern bell tower of the church of San Lorenzo
- Facing east in the northeast corner of the Mercato Vecchio courtyard
Tuscany
San Gimignano
- Facing north on top of Torre del Diavolo
- Facing south in the gap between the Torri dei Salvucci
- Facing east at street level in Santa Maria Assunta
Romagna
Forlì
- Facing east above the west colonnade of San Mercuriale
San Polo District
San Marco District
- Facing up on top of Torre dell'Orologio, above the clock
- Facing up in an open section near the top of Campanile di San Marco
Castello District
- Facing north on top of Scuola Grande di San Marco
- Facing east on top of San Pietro di Castello
Glyph Puzzles
The puzzles were solved in numerical order, regardless of which Glyph they were accessed through. Whenever stuck on a puzzle, a help option appeared and Shaun Hastings offered a hint upon activating it.
In The Beginning
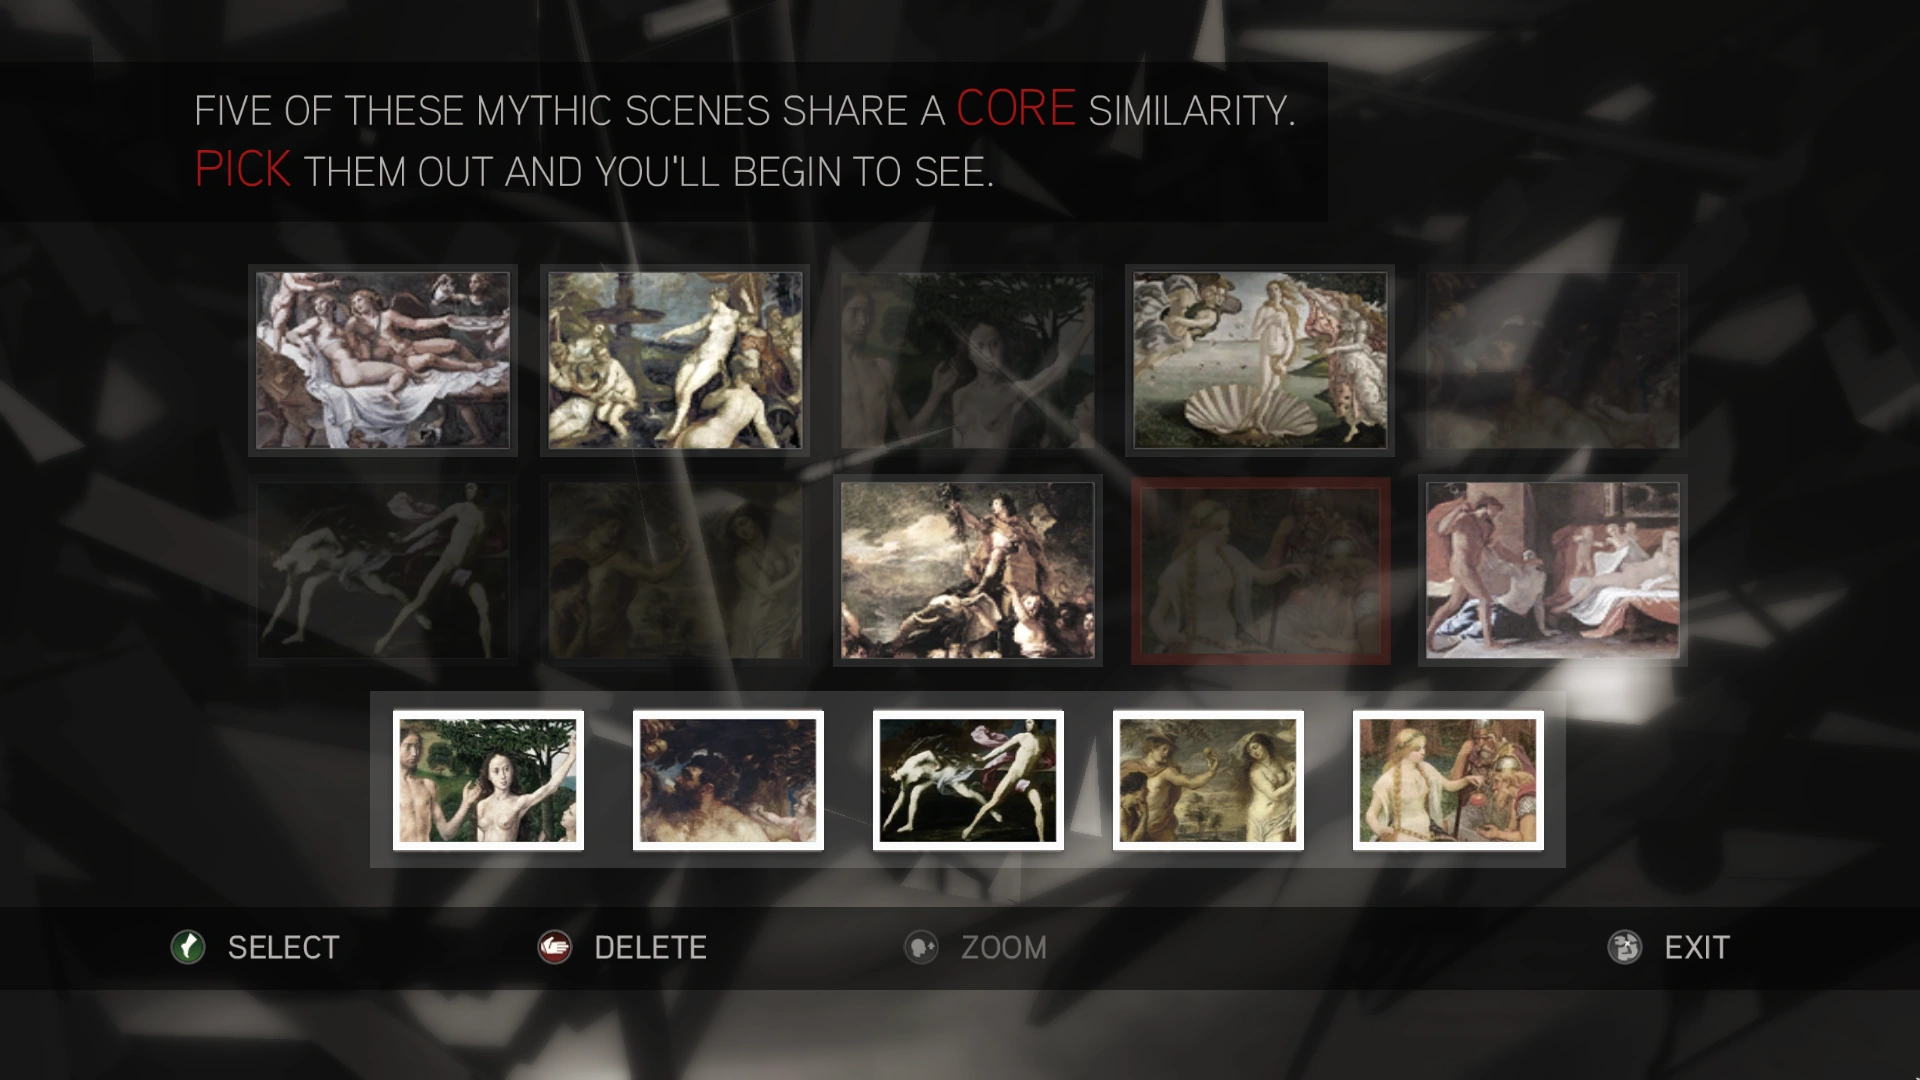
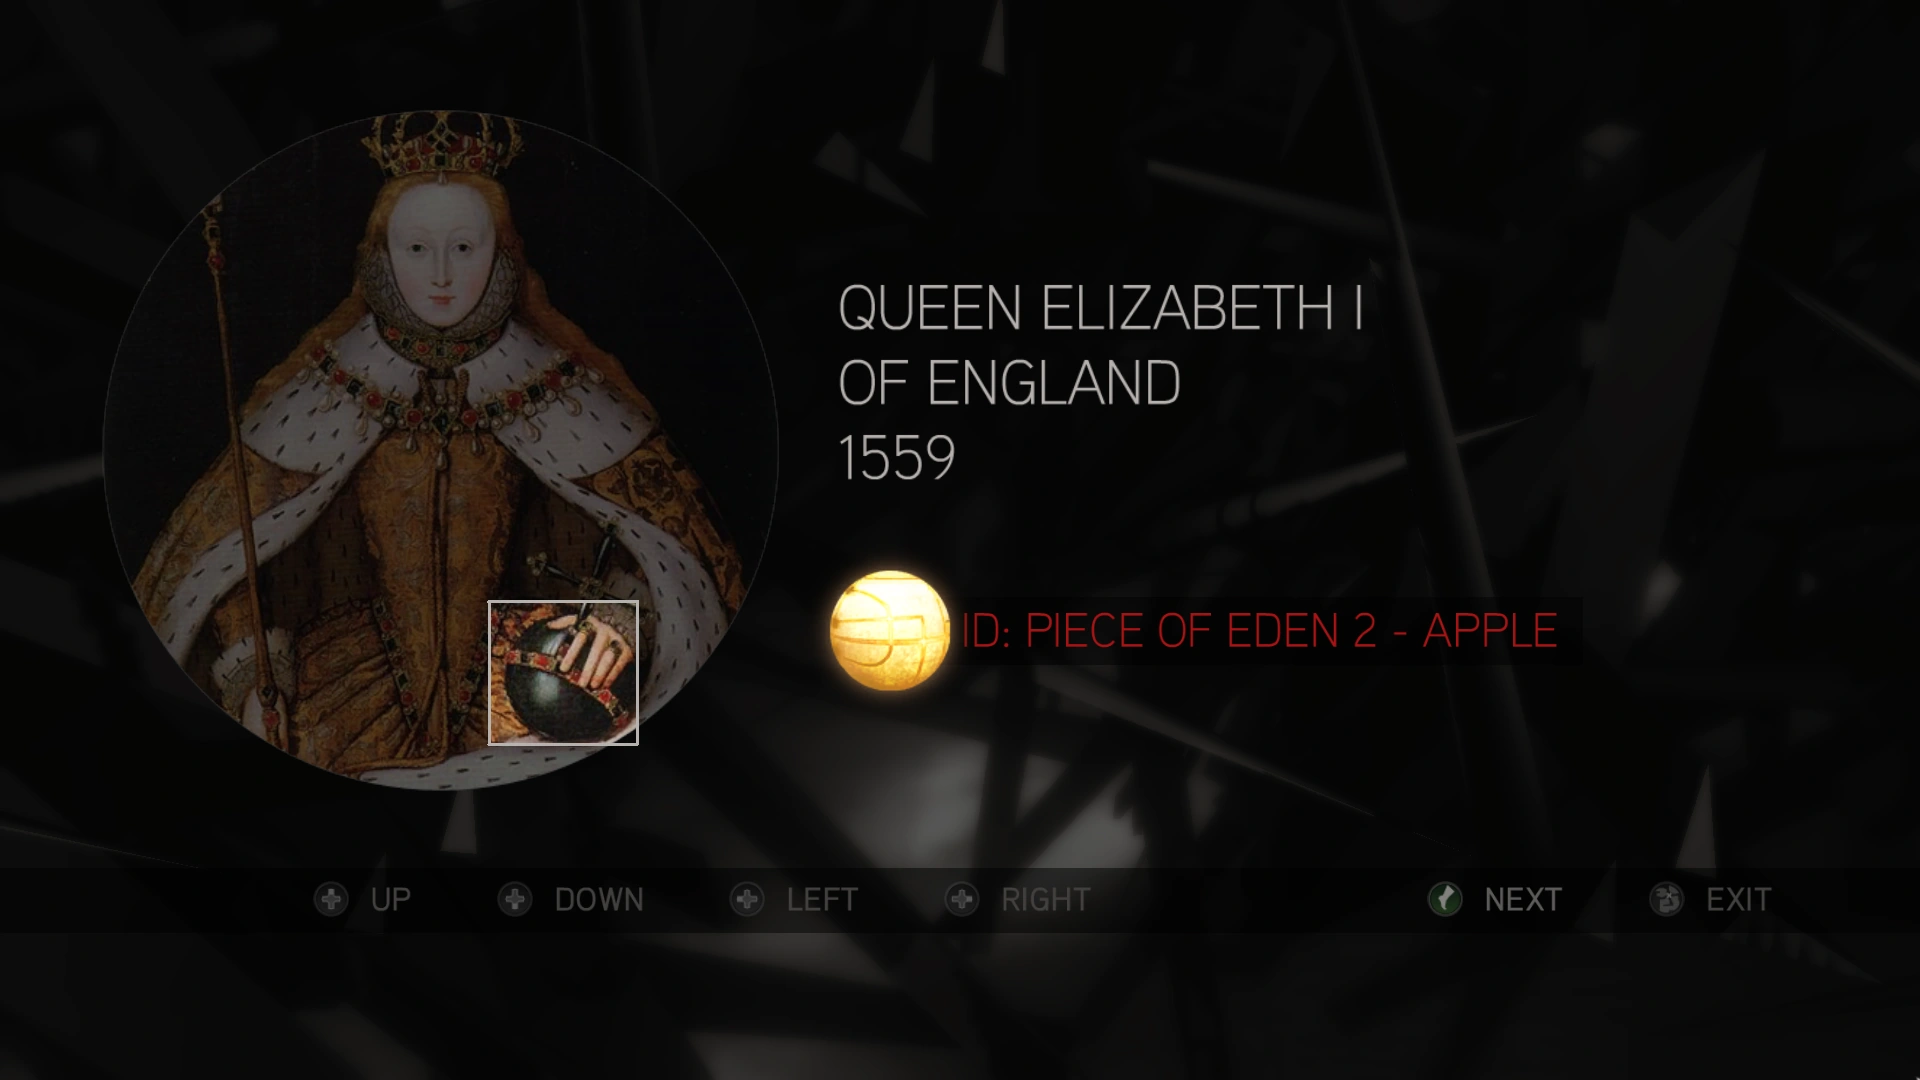
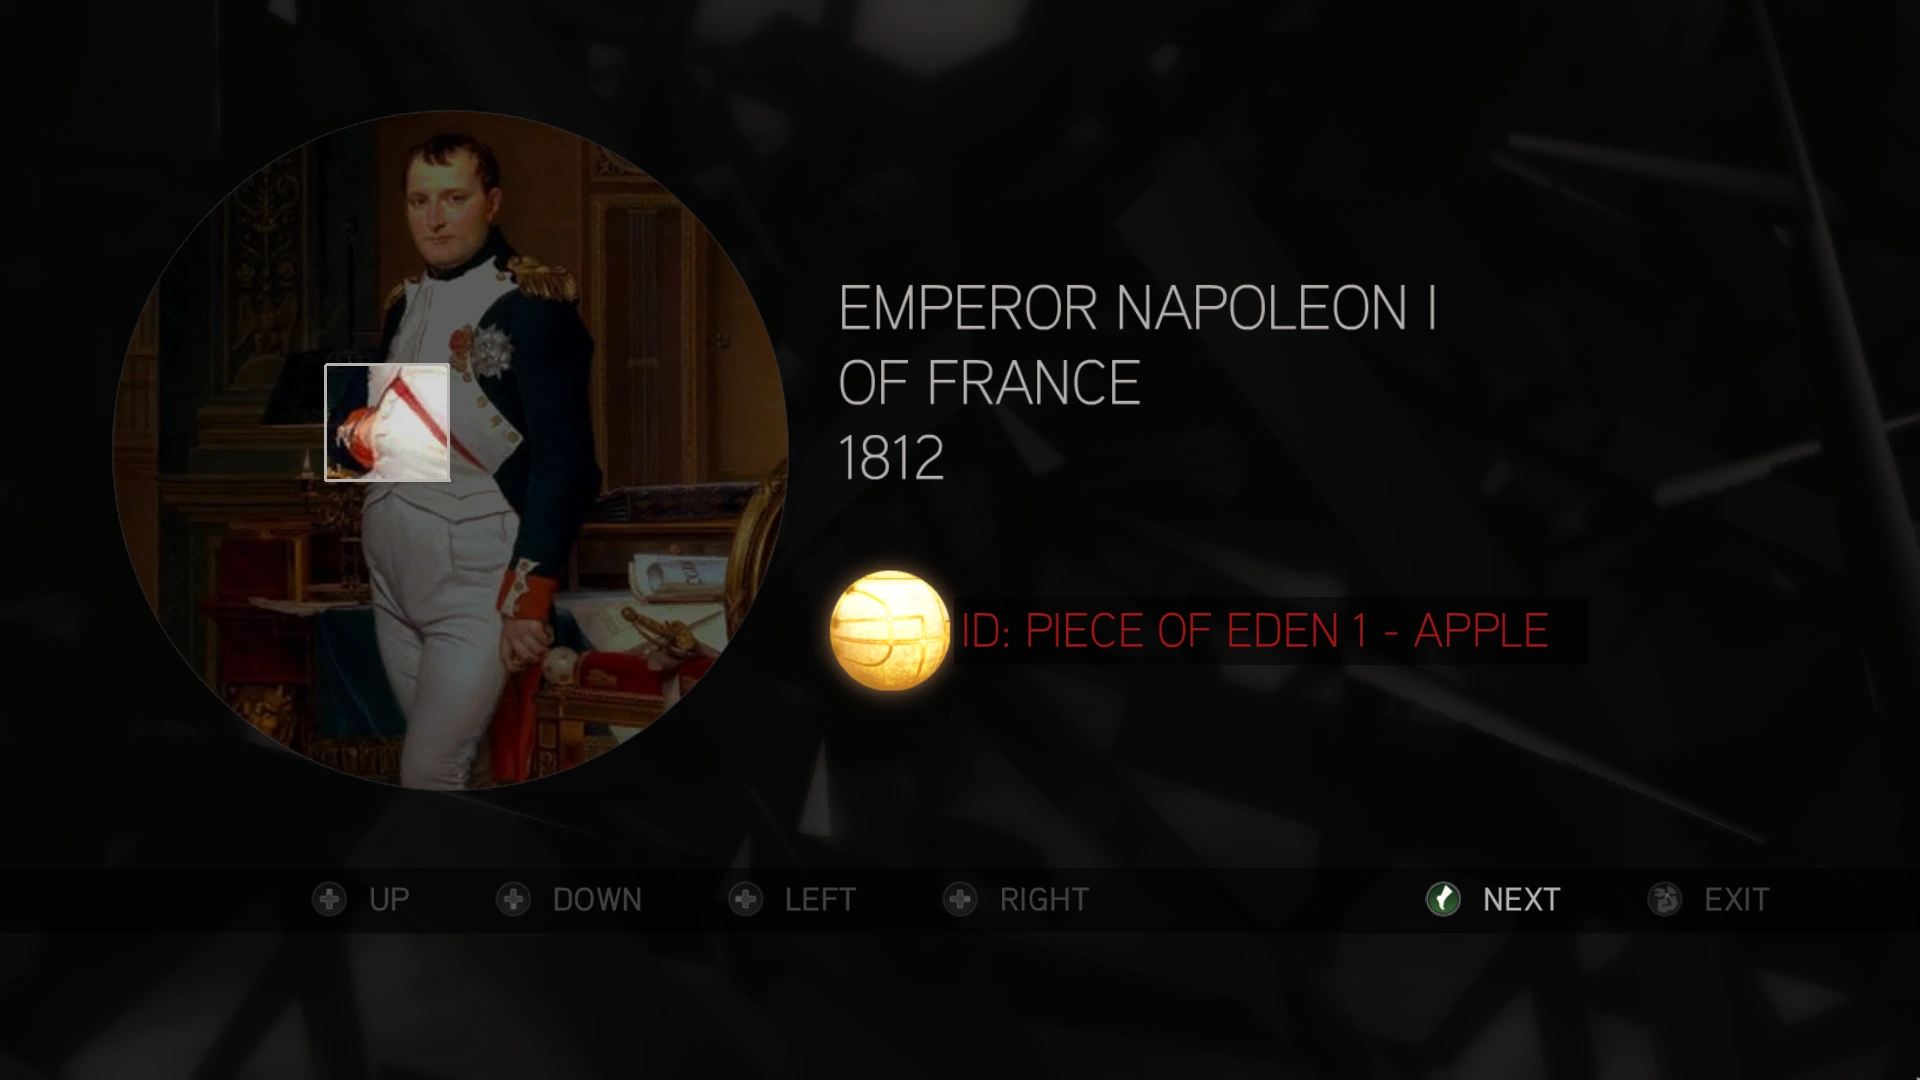
The puzzle involved finding the core similarity in each painting. It was solved by selecting the images containing apples.
The solved puzzle.
Sixty-Four Squares
The puzzles were solved by rotating the various rings in turn until they formed an image.
The first solved image.
The second solved image.
The third solved image.
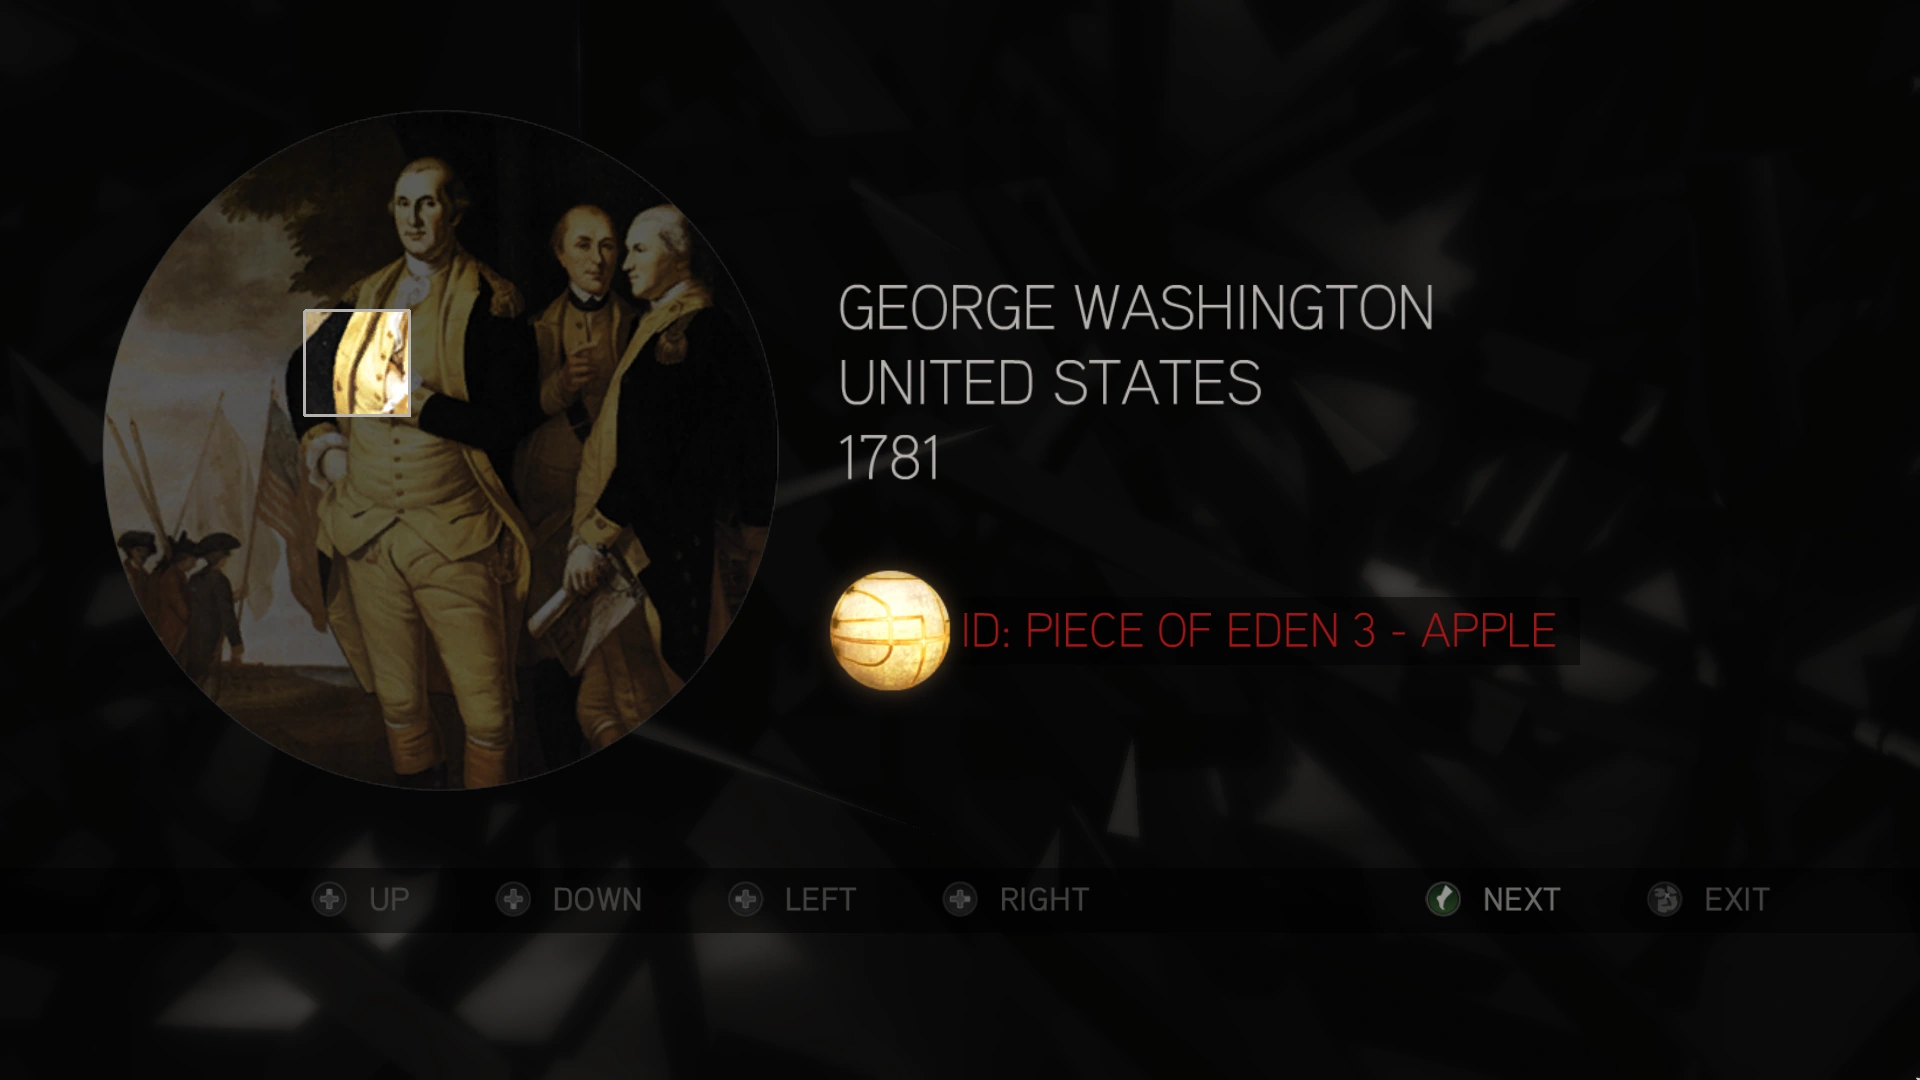
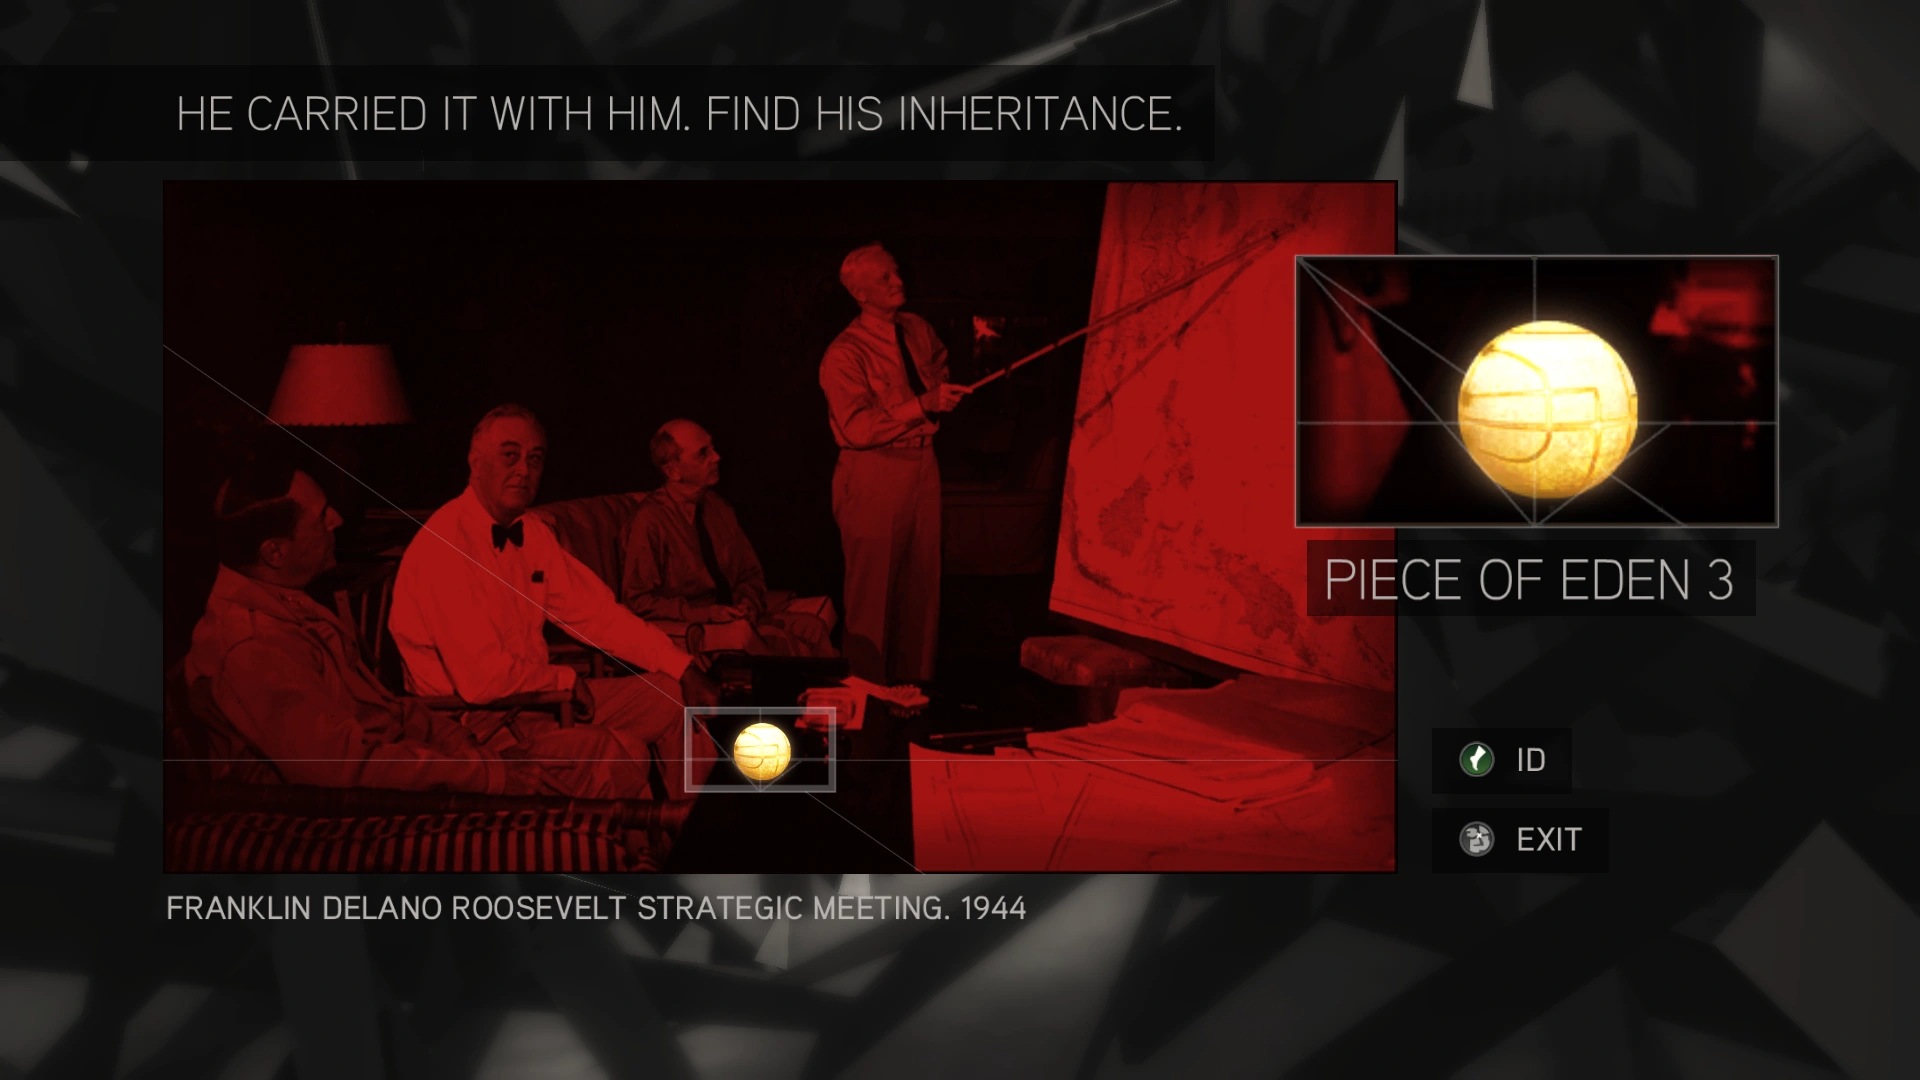
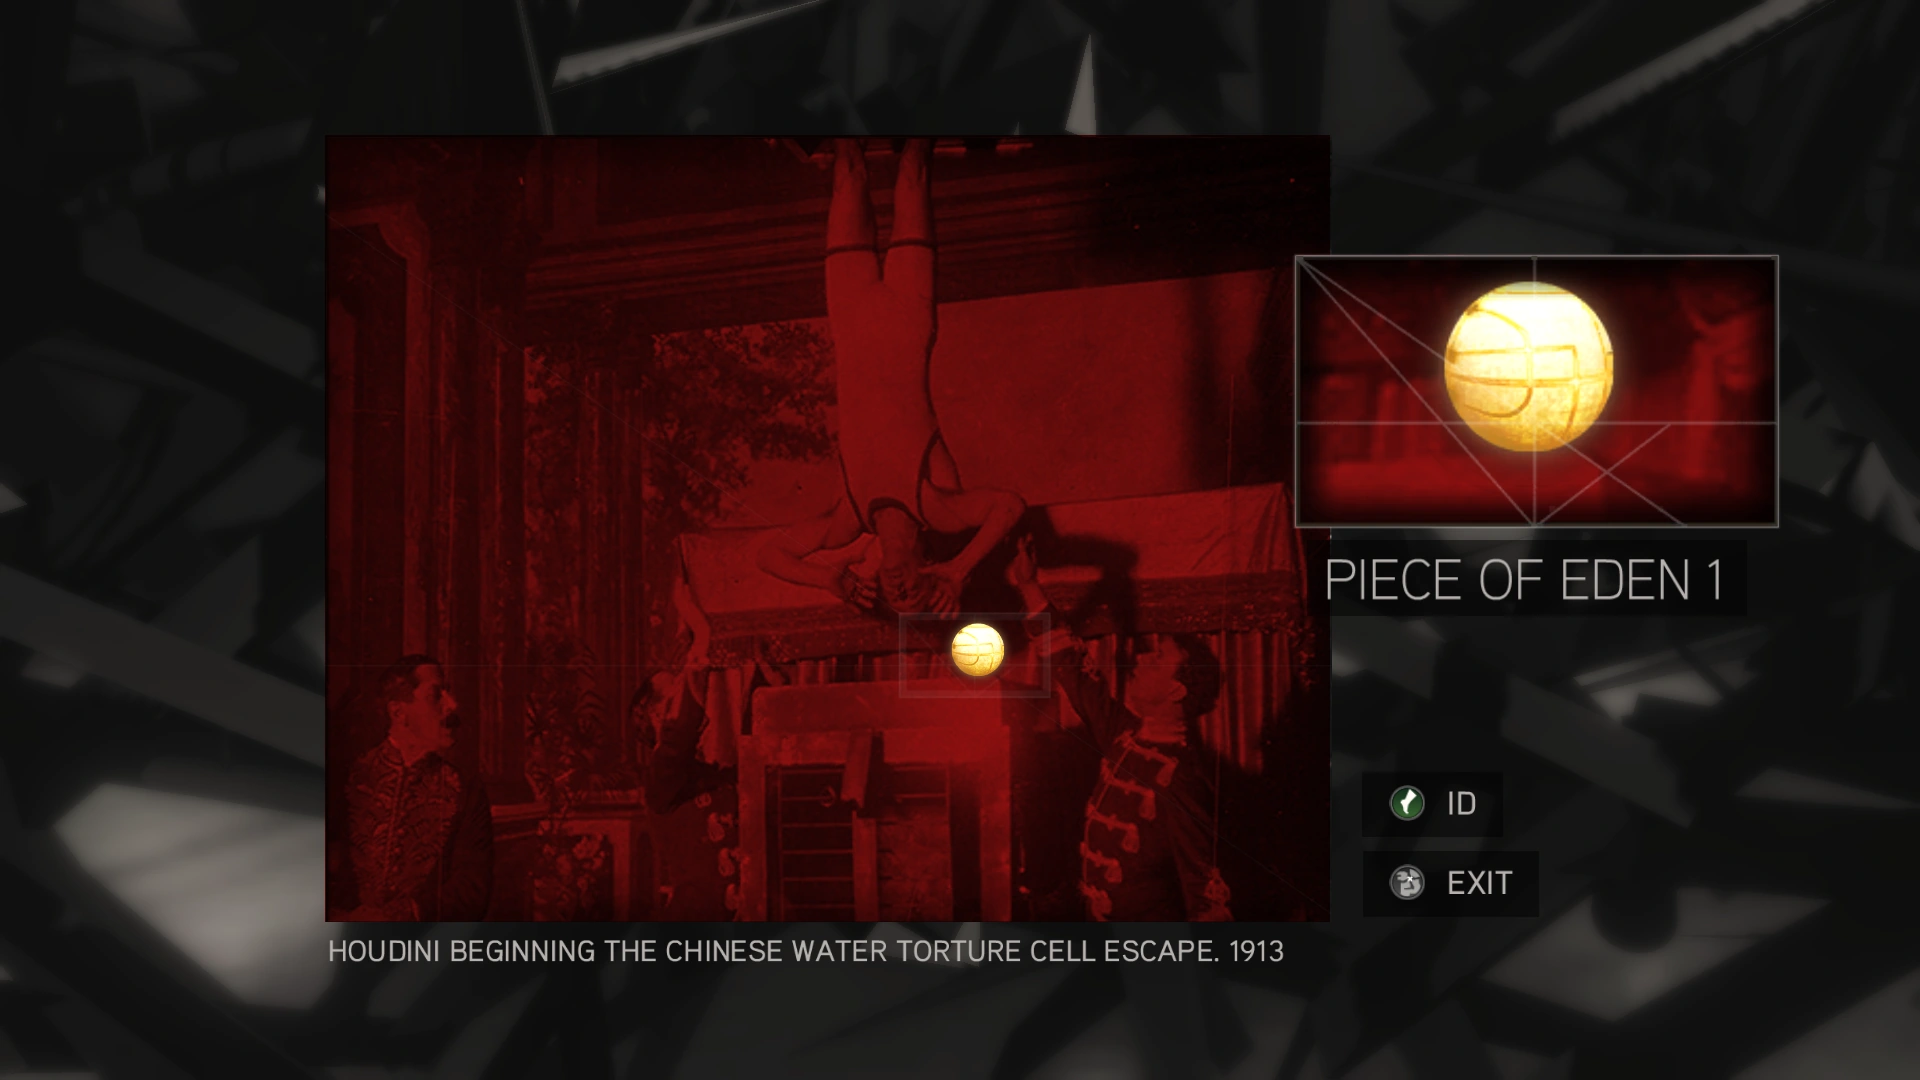
Descendants
The puzzle was solved by locating a hidden Apple of Eden in each image, under the infrared light.
The first solved image.
The second solved image.
The third solved image.
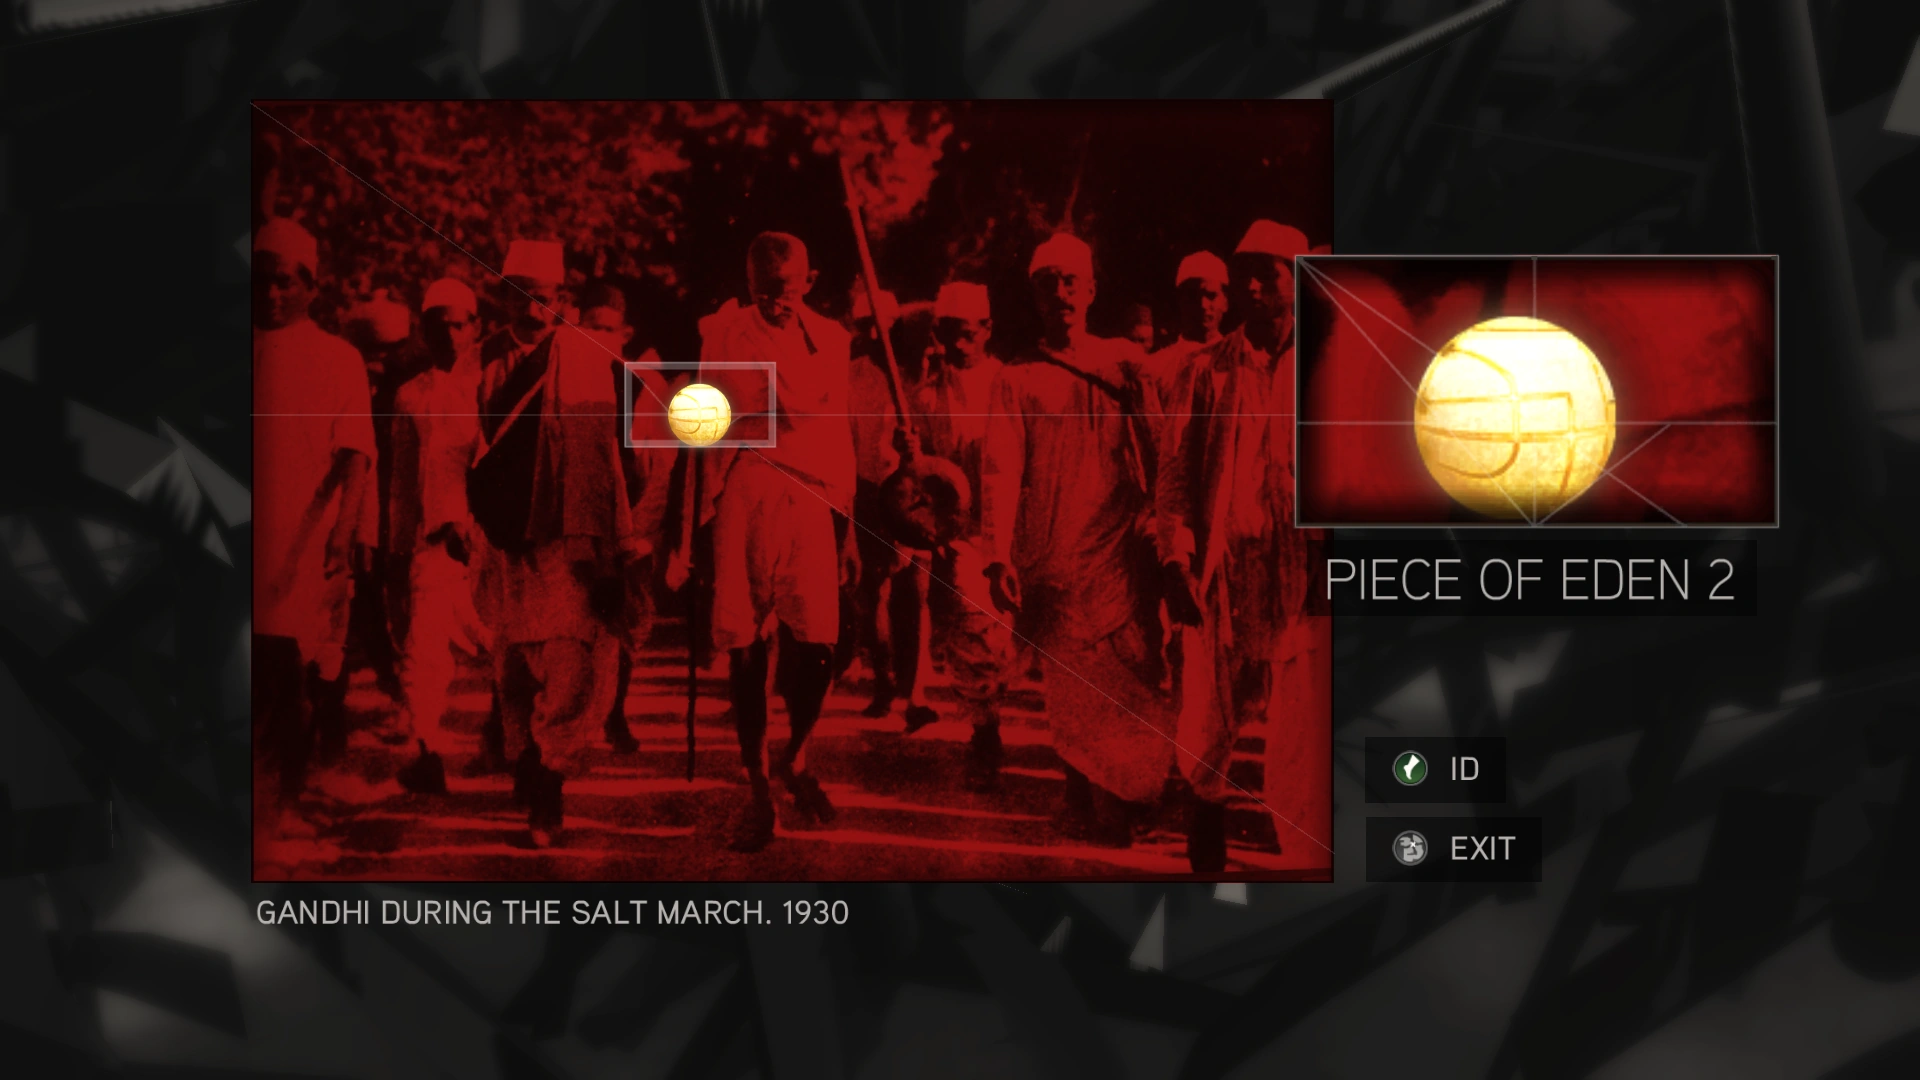
Hidden Morse and Masonic Pigpen symbols containing messages were present in the images.
- Franklin D. Roosevelt: On the blackboard was a Pigpen cipher which read "The Masons brought it across the sea. George Washington passed it on."
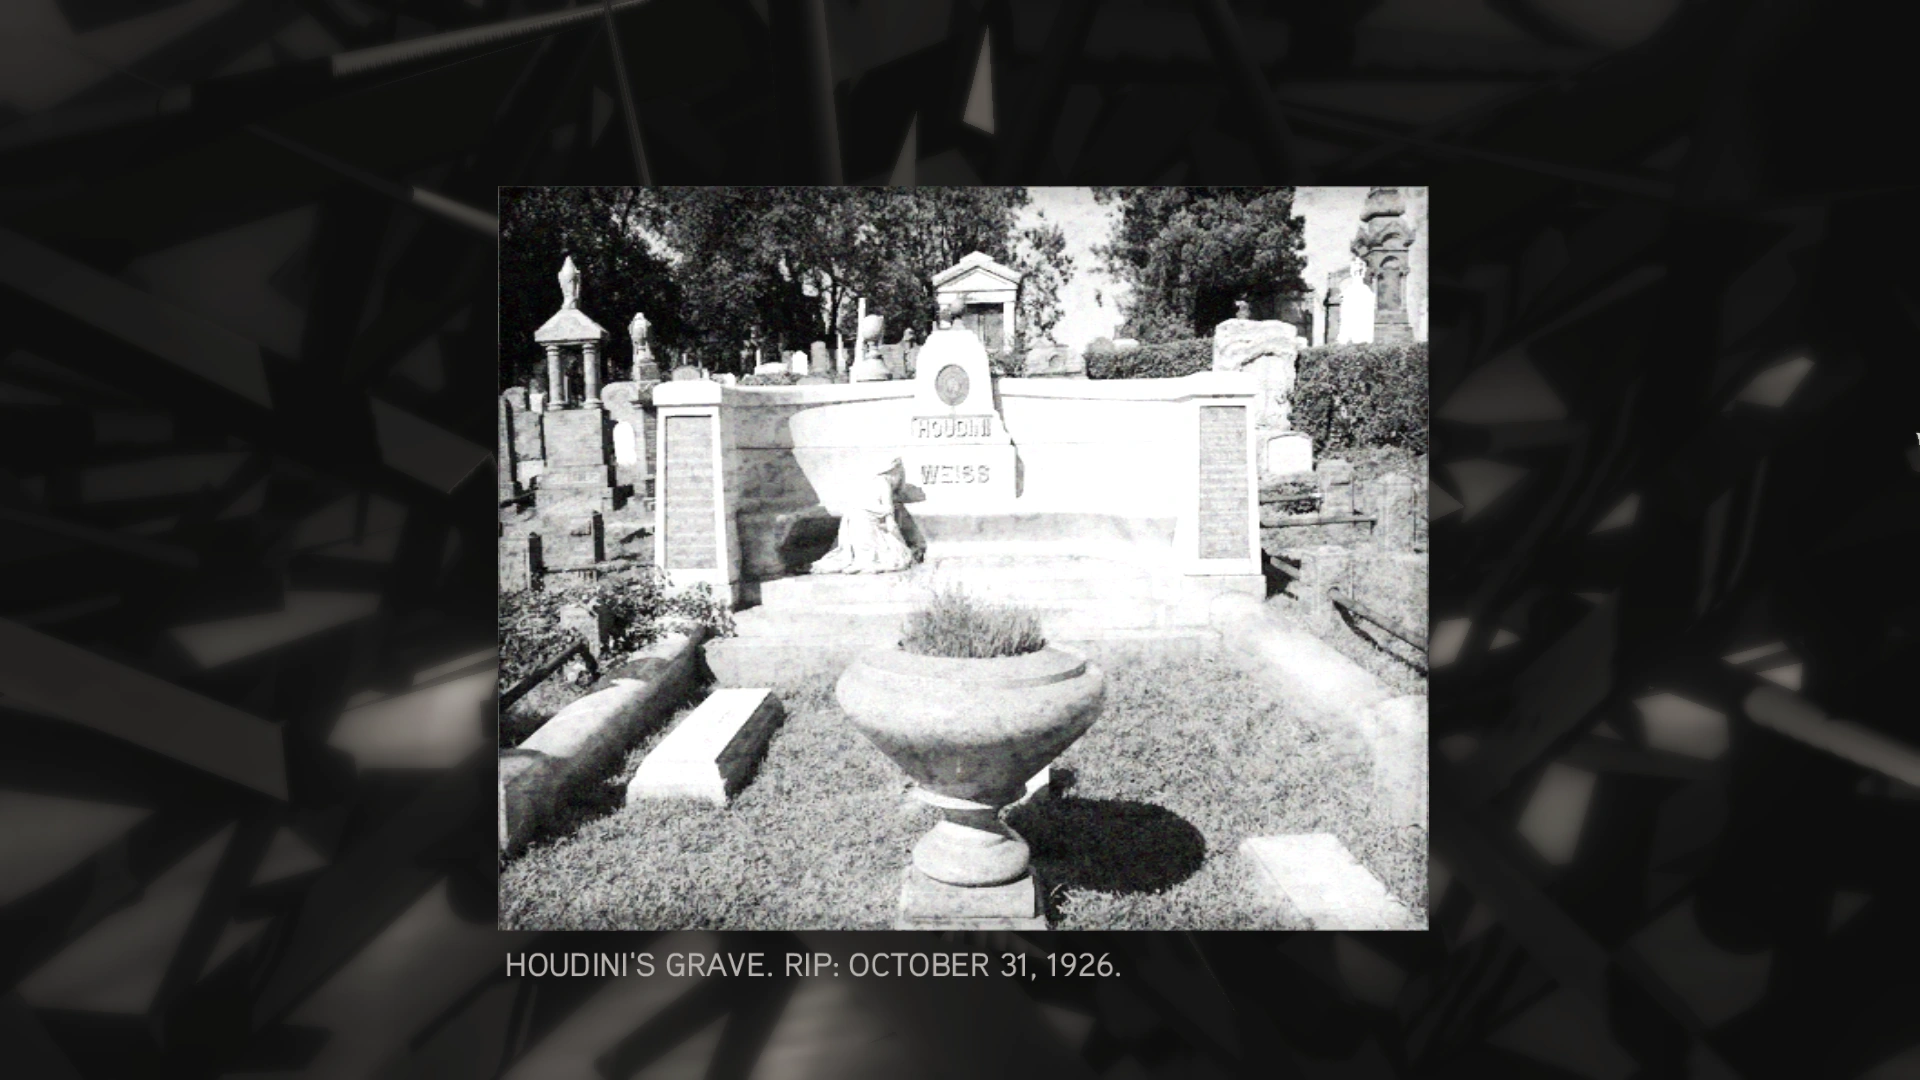
- Harry Houdini: Above Houdini's feet was a Morse cipher that read "They hit him in the stomach."
- Mahatma Gandhi: A Morse cipher hidden in the image read "The bullet hit him in the chest."
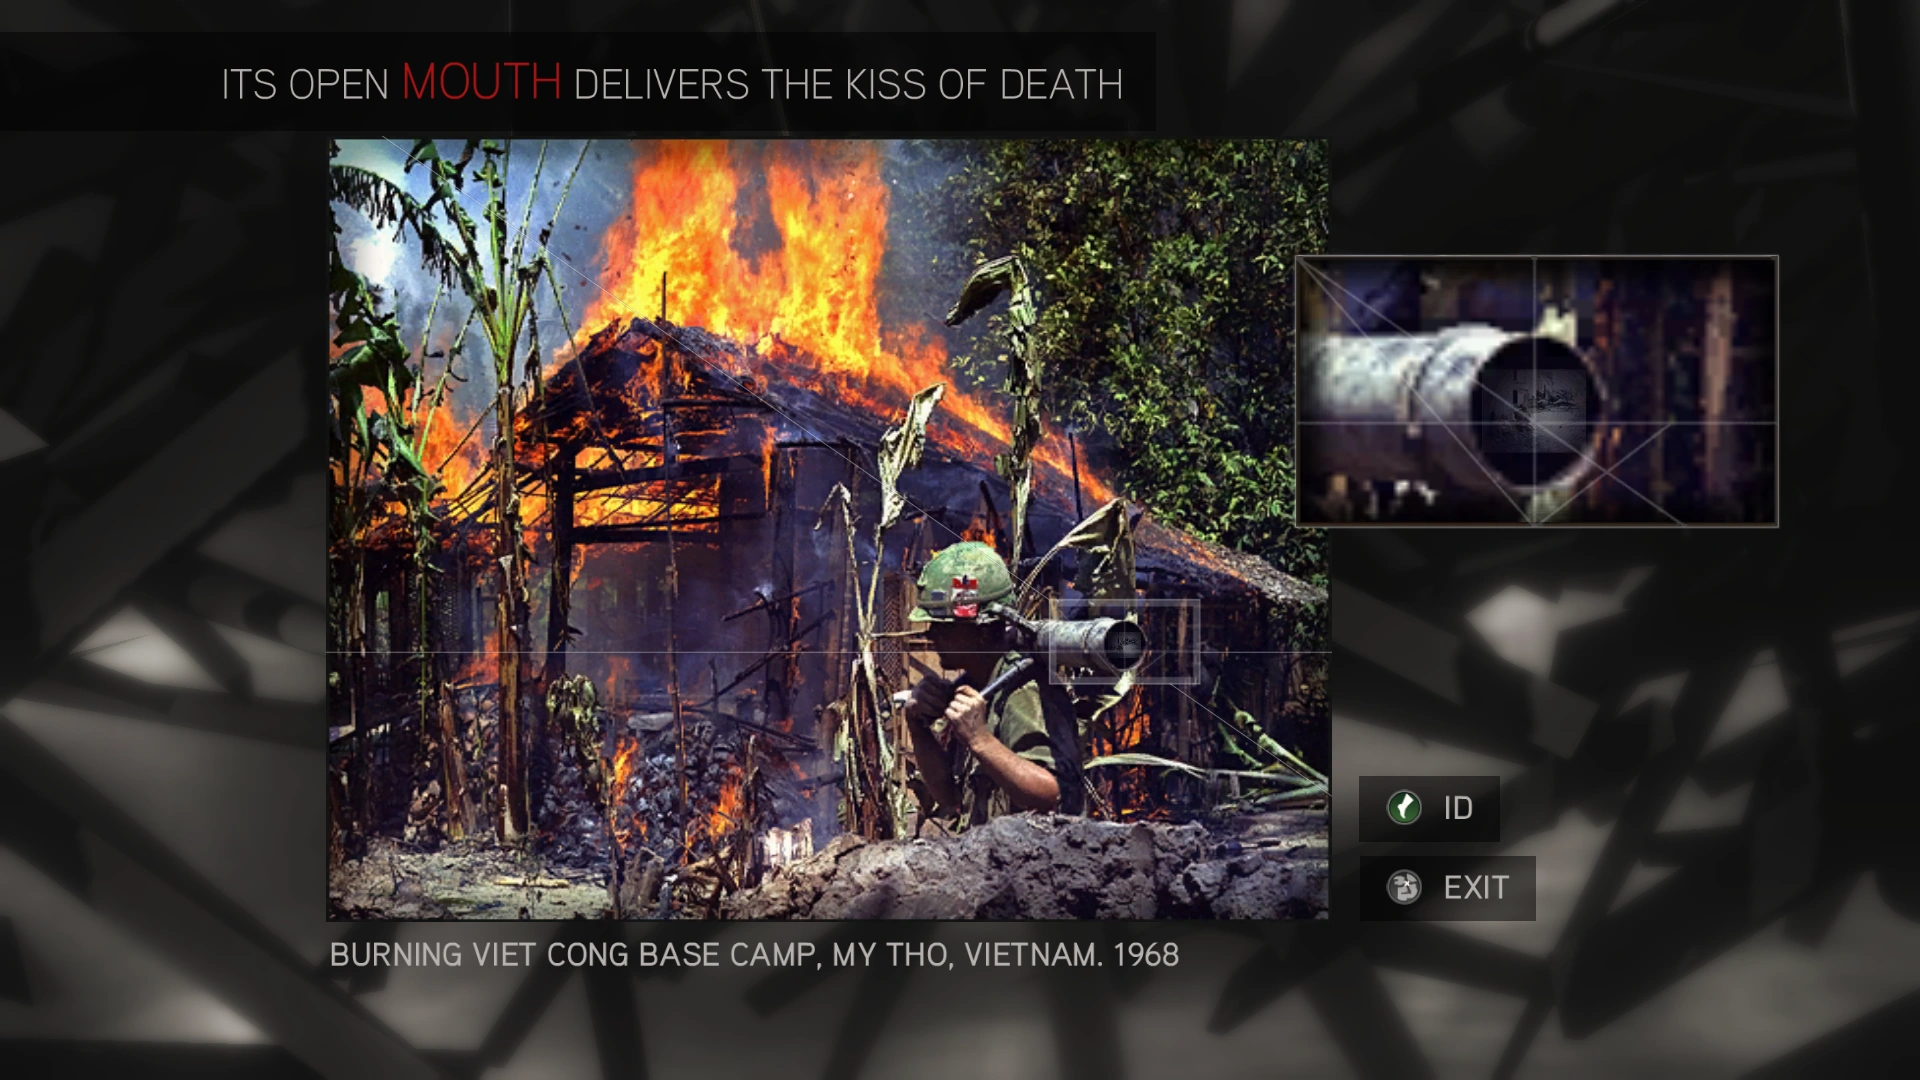
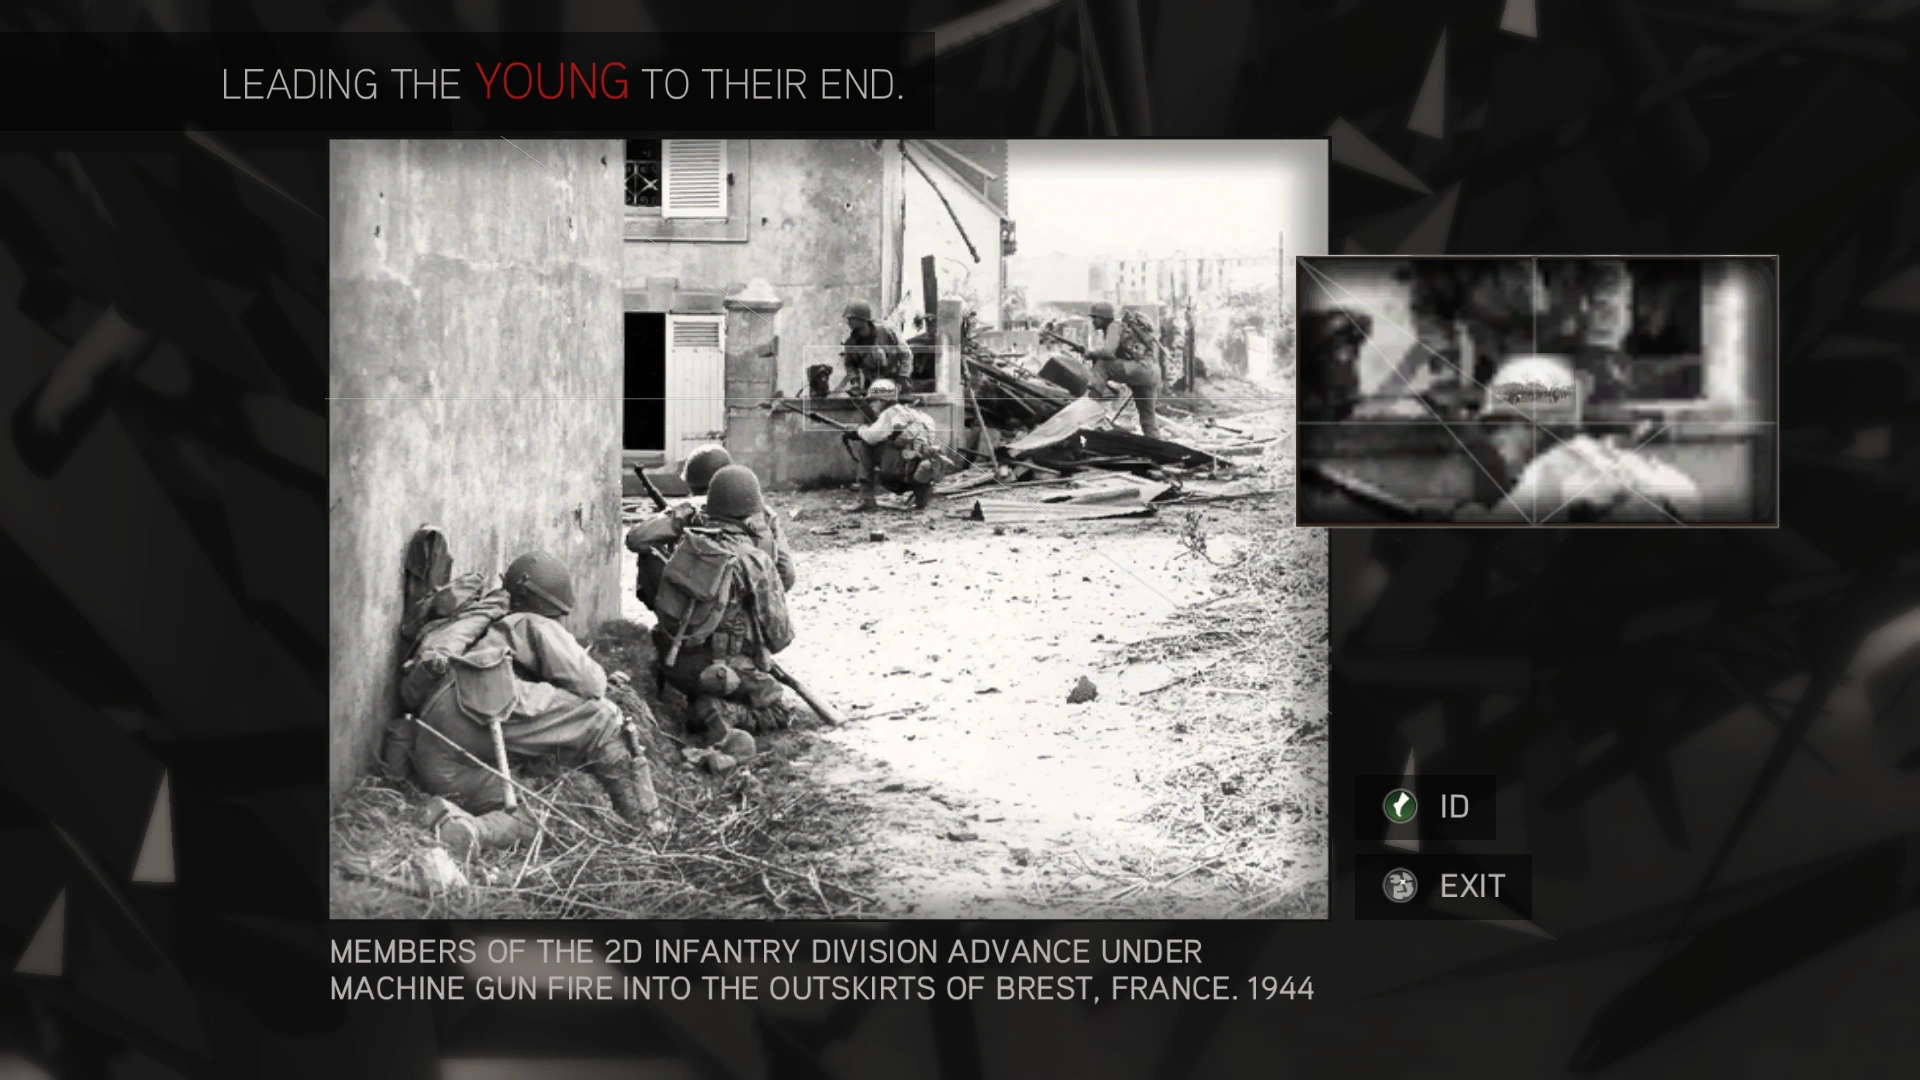
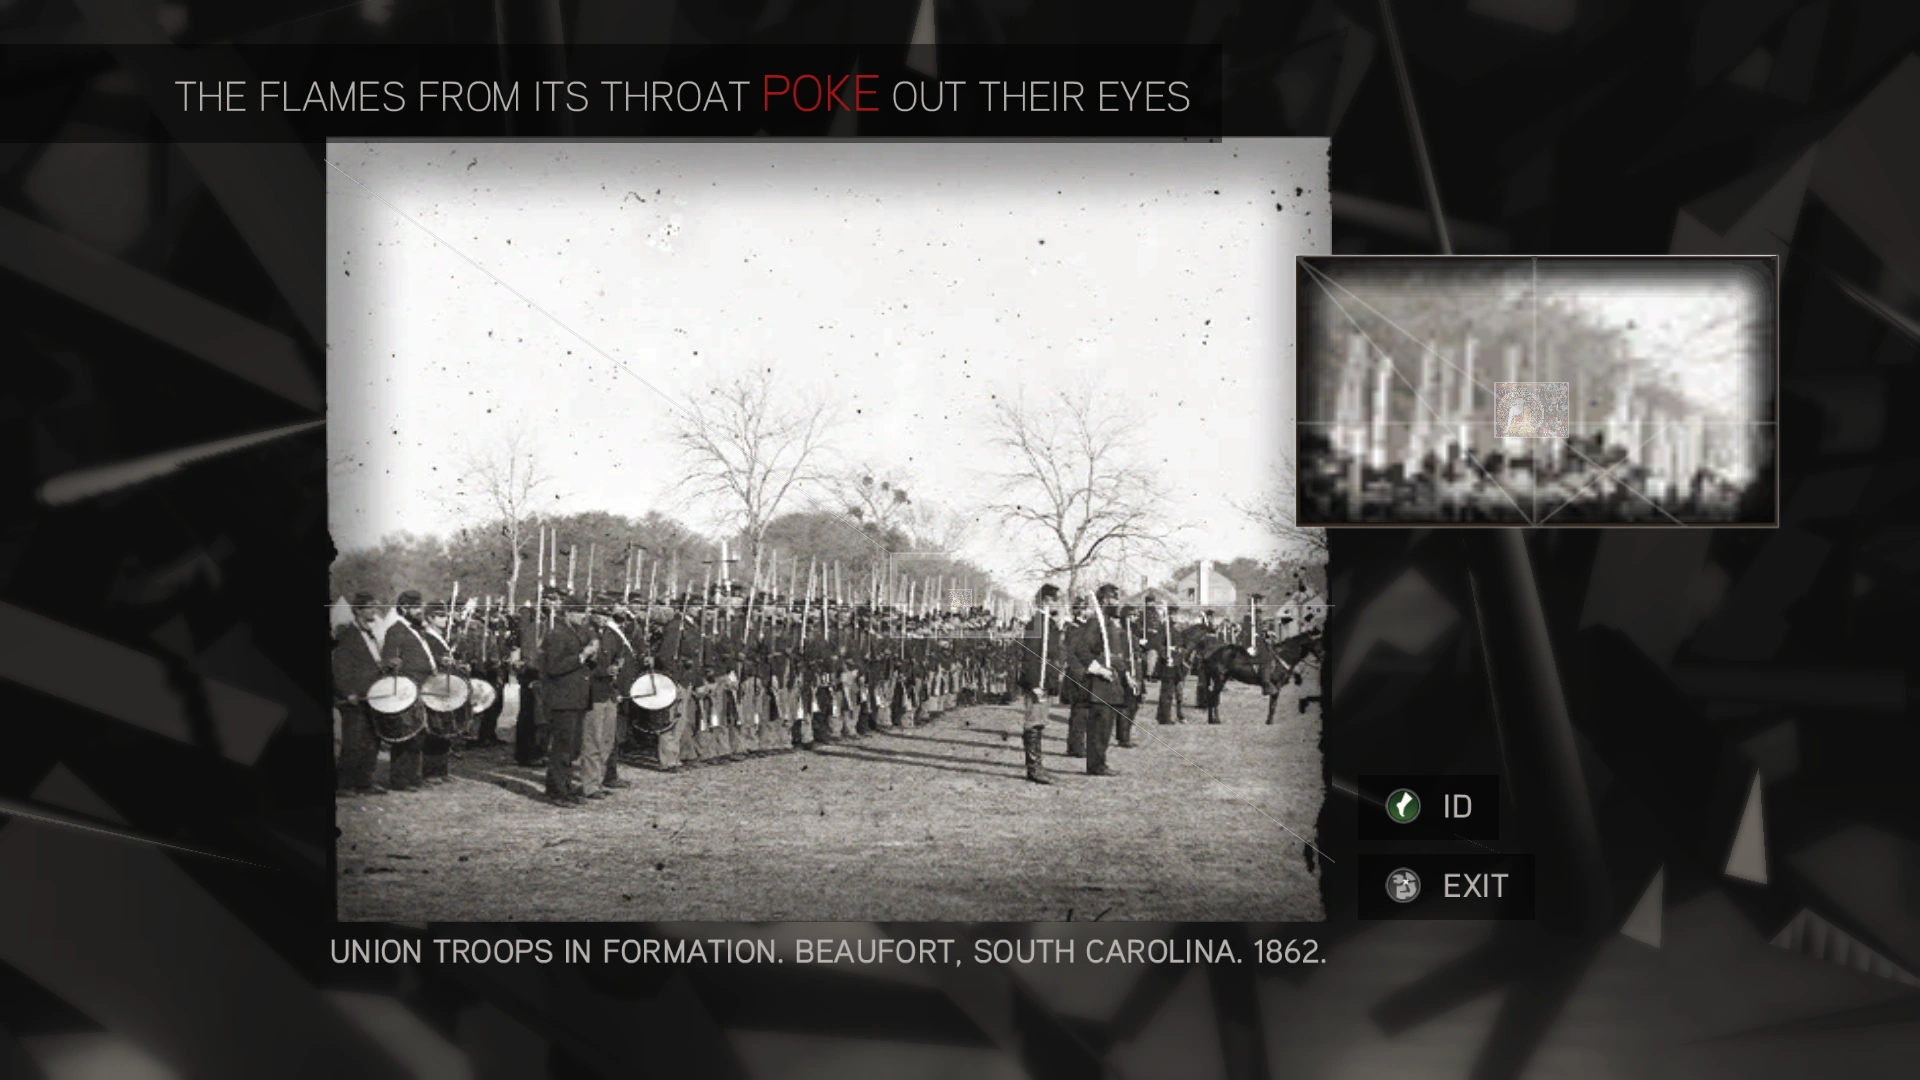
Infinite Knowledge
The puzzle was solved by locating a hidden image in each photo.
The first image's location.
The second image's location.
The third image's location.
The fourth image containing an Apple of Eden.

Hidden messages were present in the images.
- Outskirts of Brest, France, 1944: On the road was hexadecimal cipher that read "Antikythera mechanism, much older than 150 BCE."
- Beaufort, South Carolina, 1862: Above the hidden image was a Caesar cipher that read "Ancient city, Rajastan, India, irradiated by PoE."
- First pictorial representation of a gun, 900: Near Buddha's face was a binary code reading "Sumerian, Me 23".
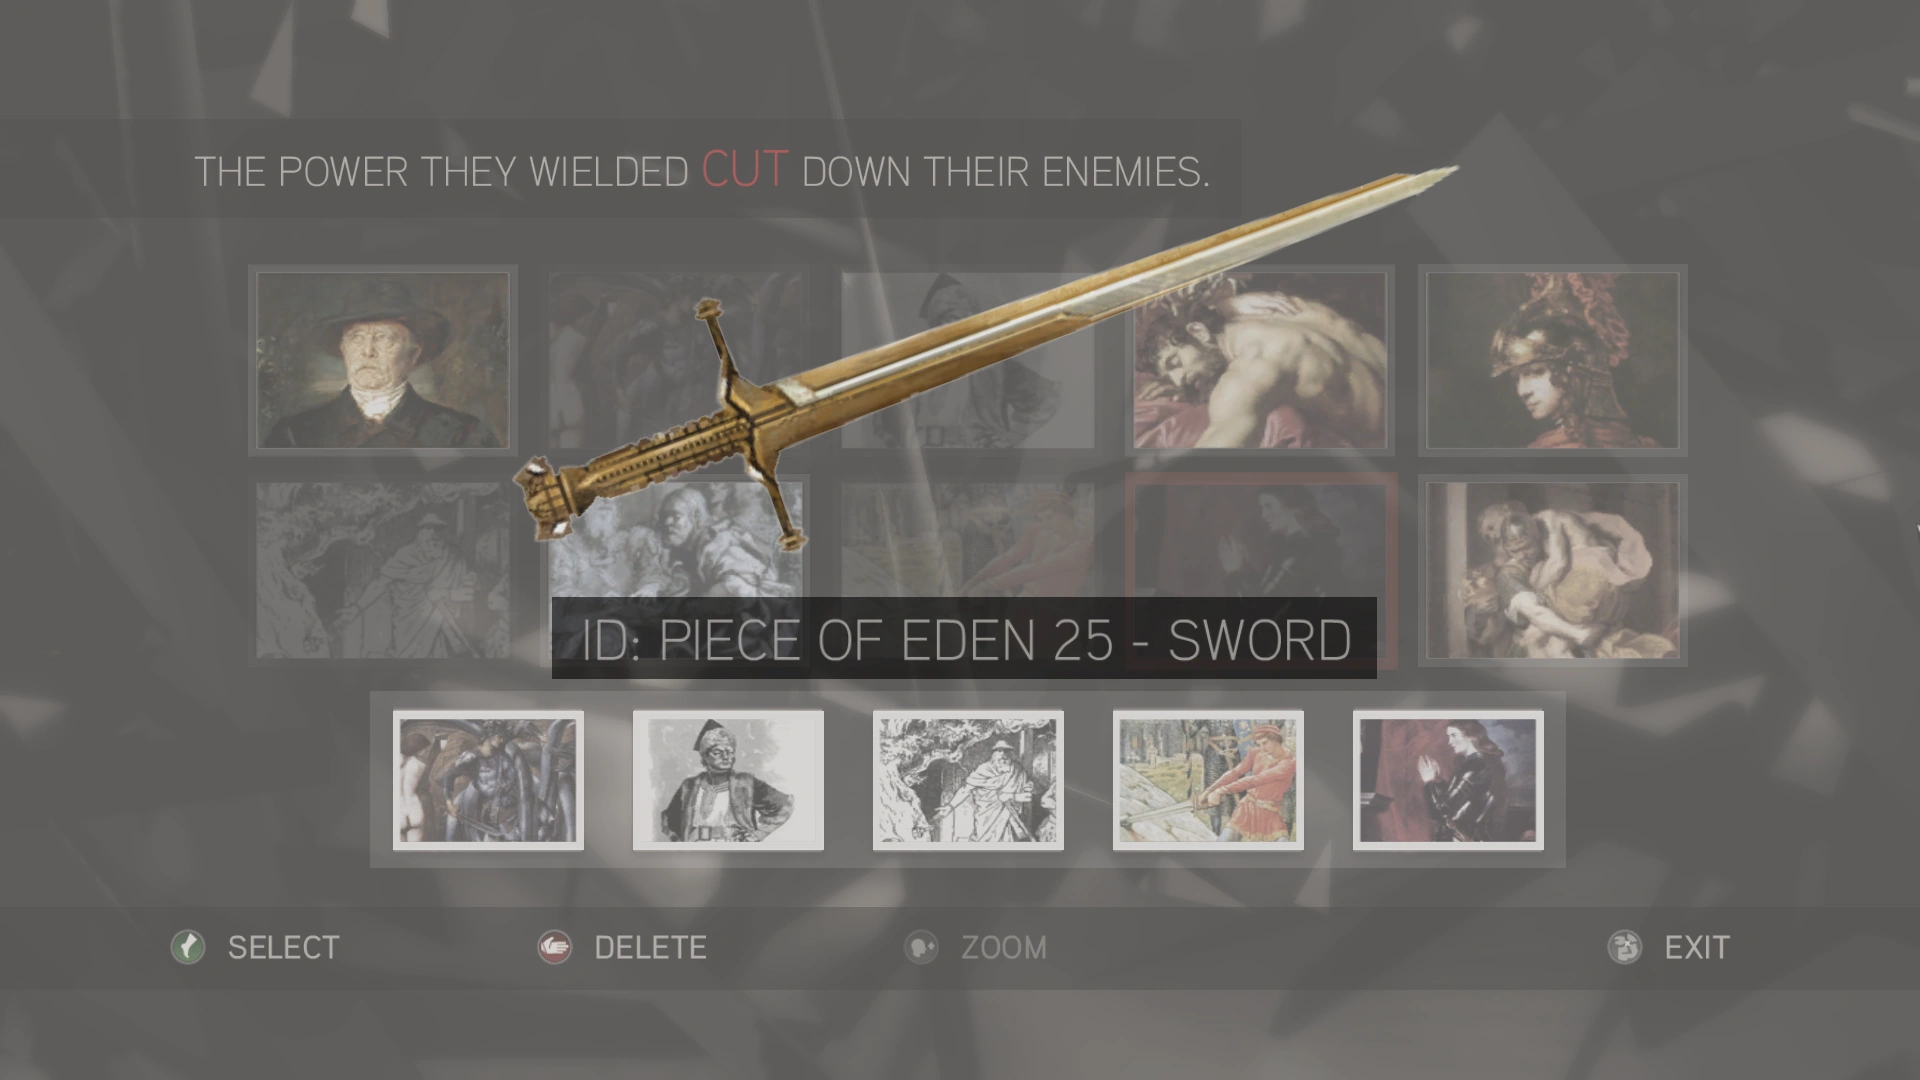
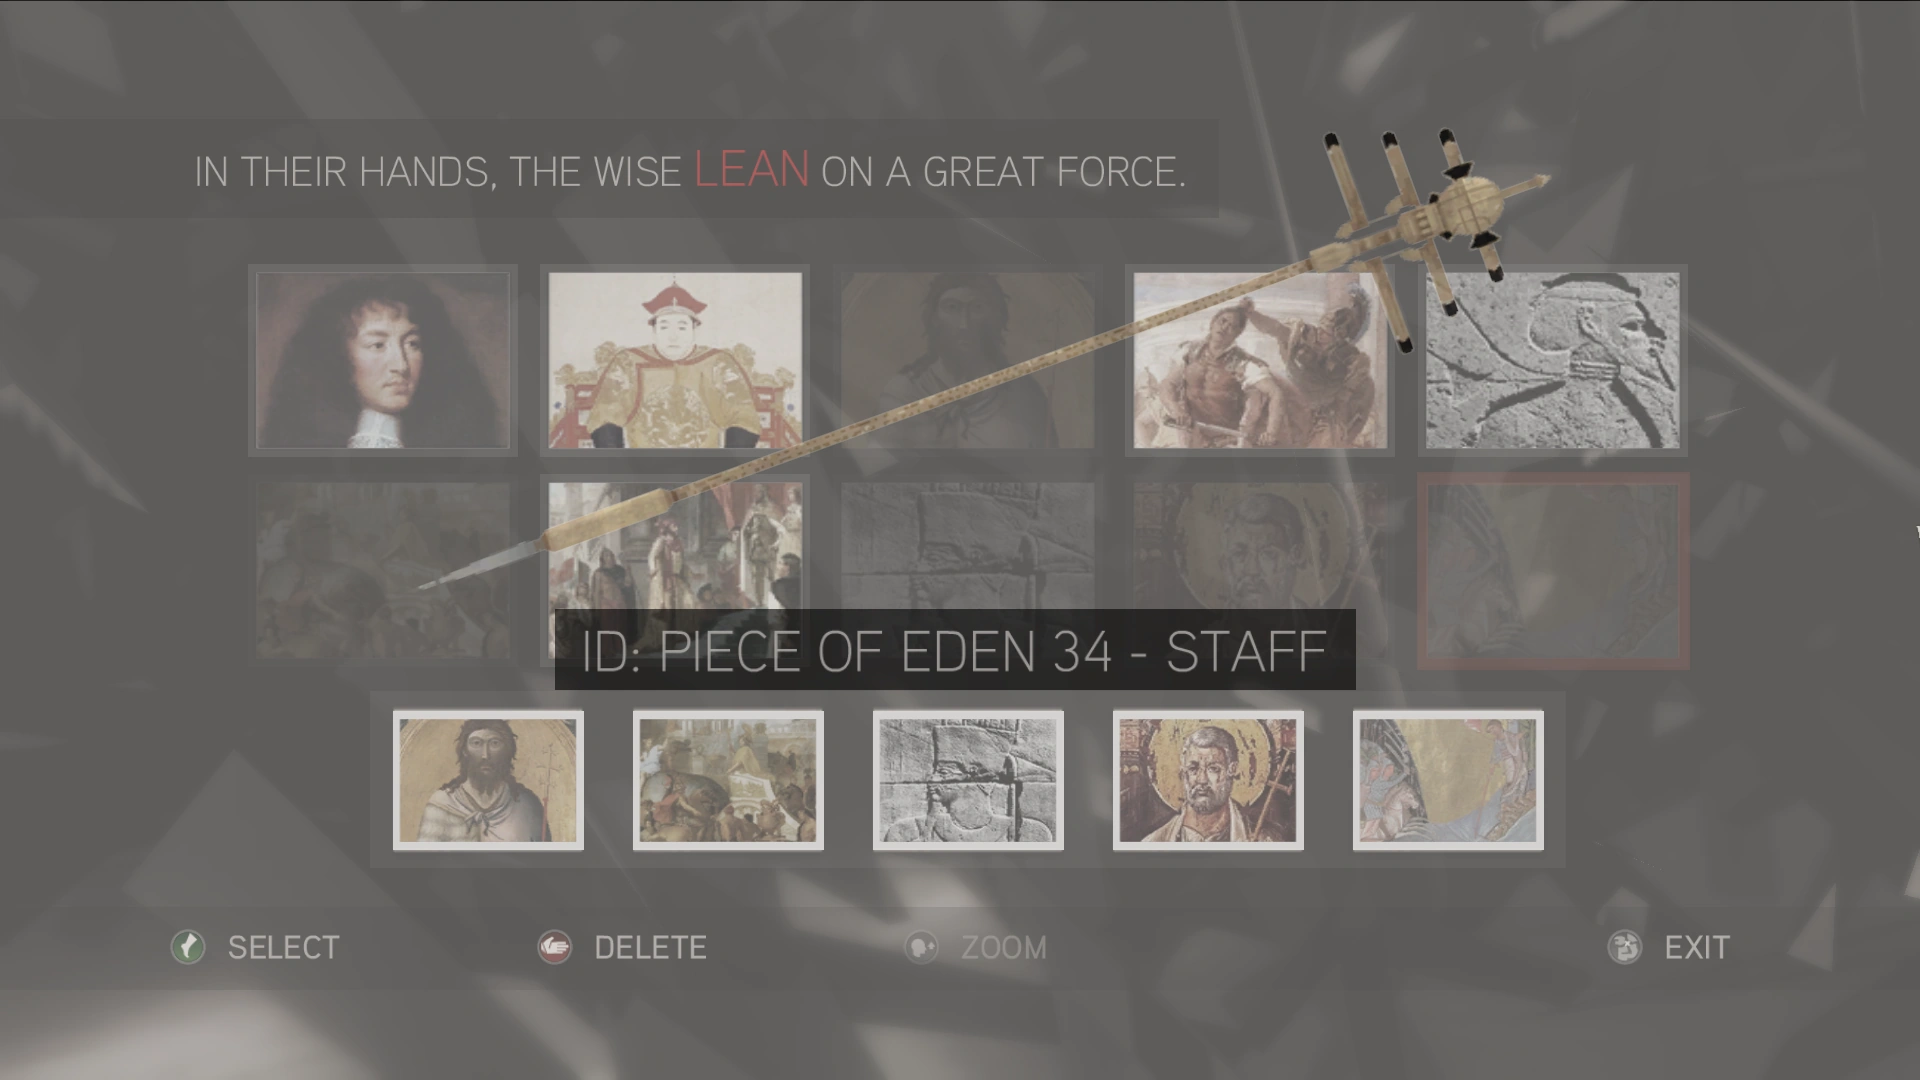
Instruments of Power
The puzzles were solved by selecting images which shared a common theme. A sword in the first set, a staff in the second set.
The first solved puzzle.
The second solved puzzle.
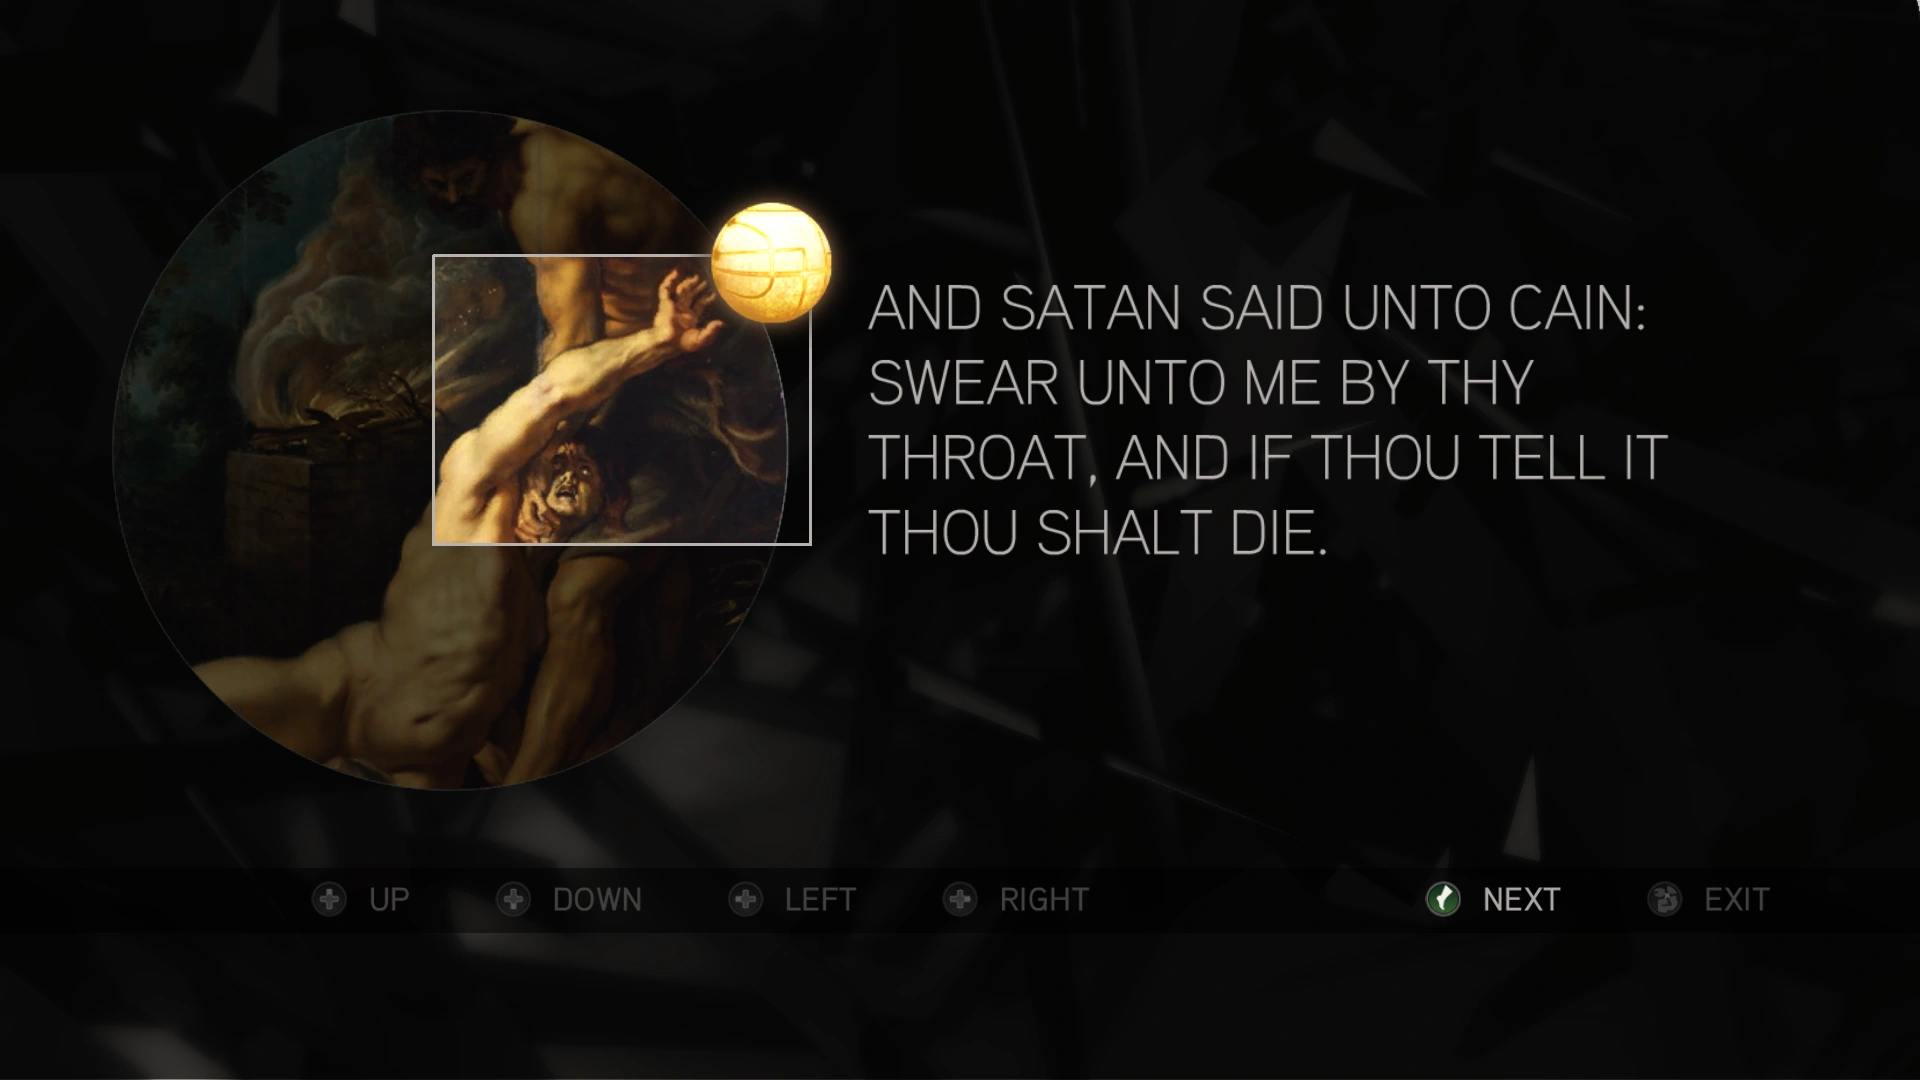
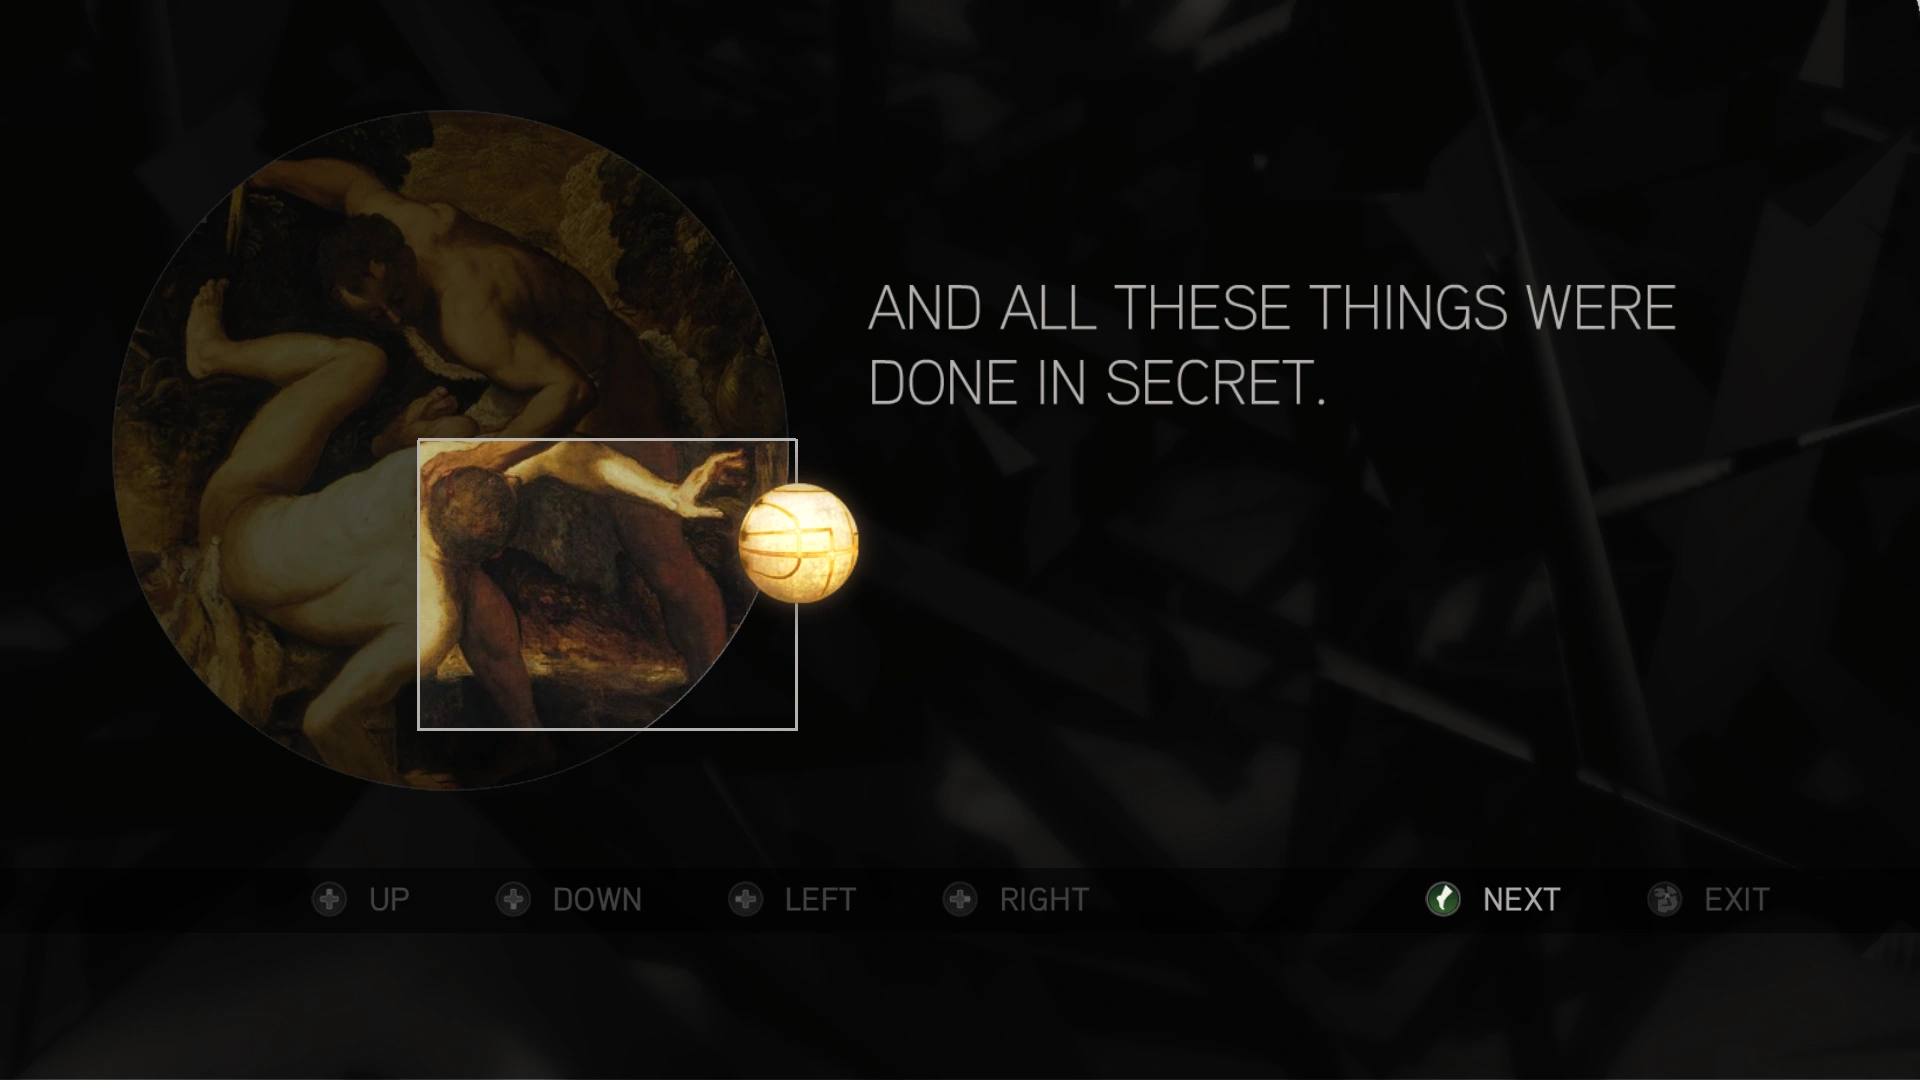
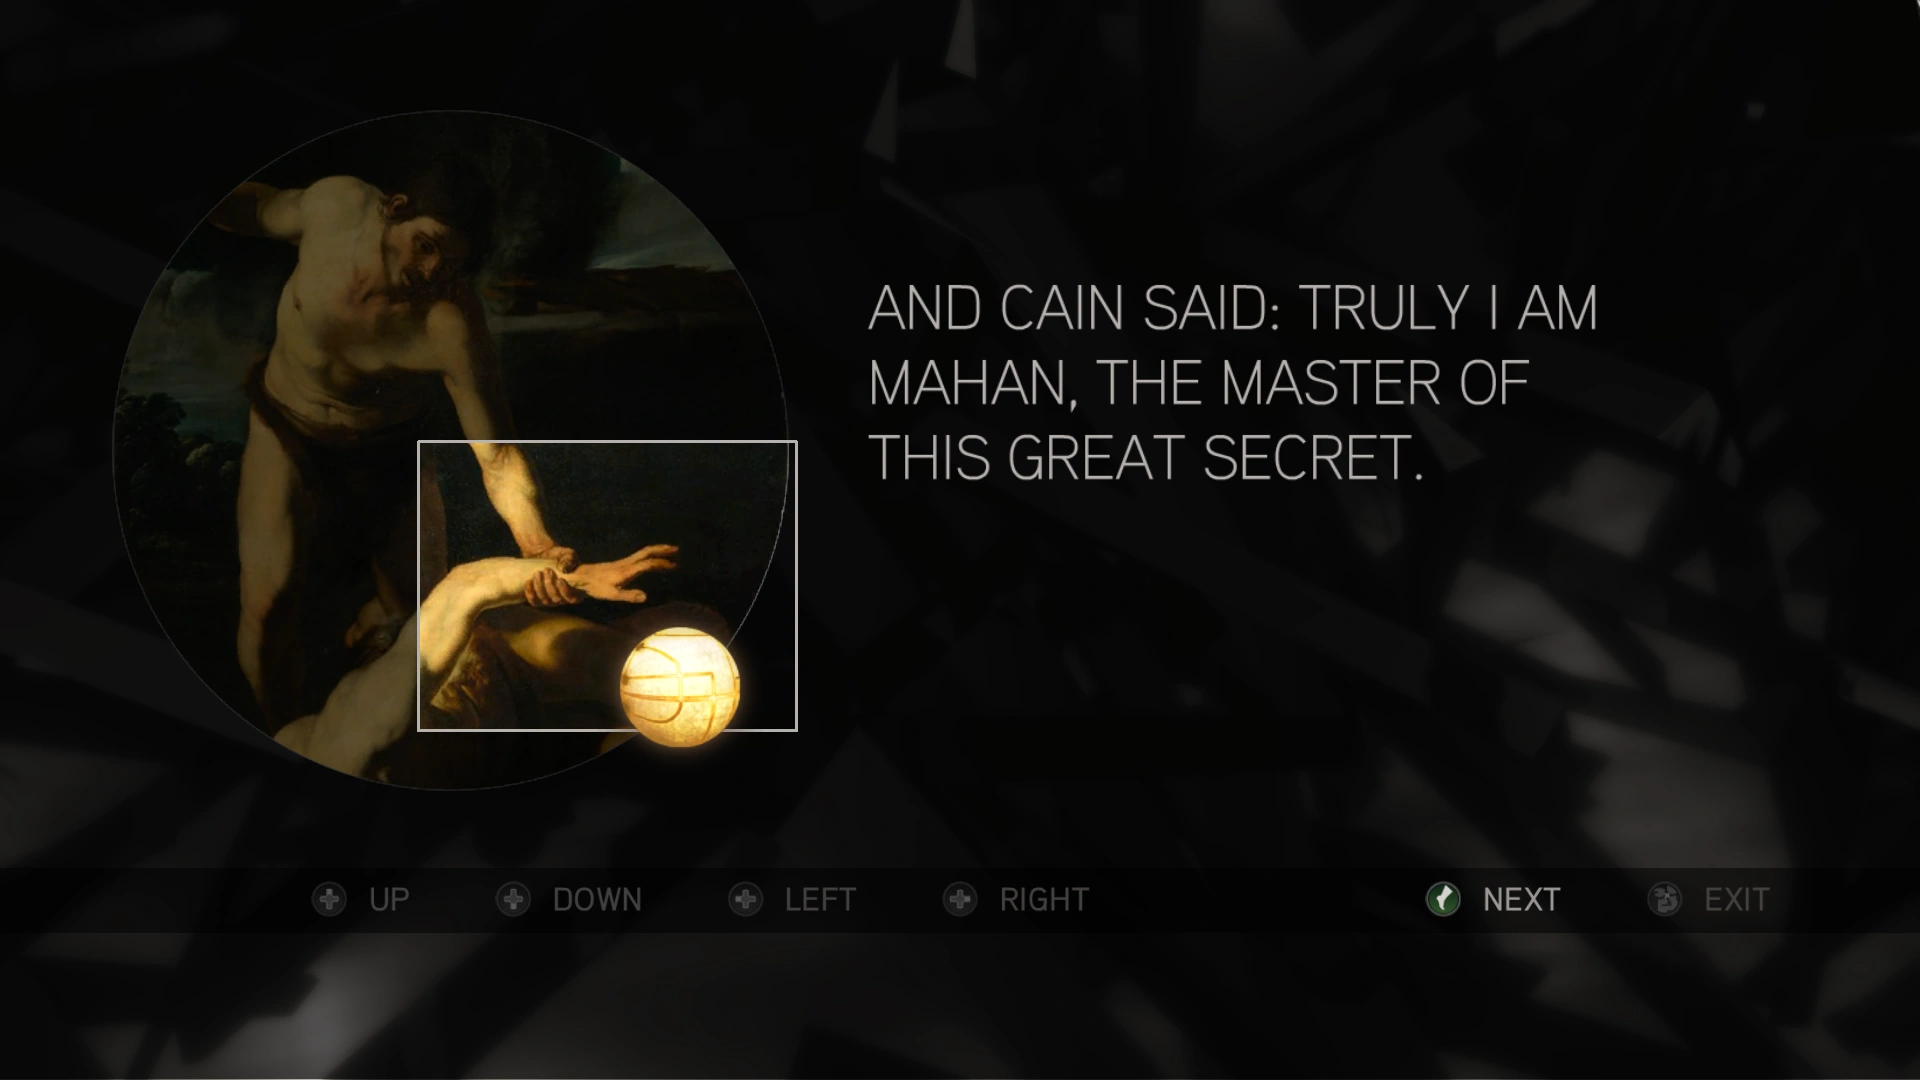
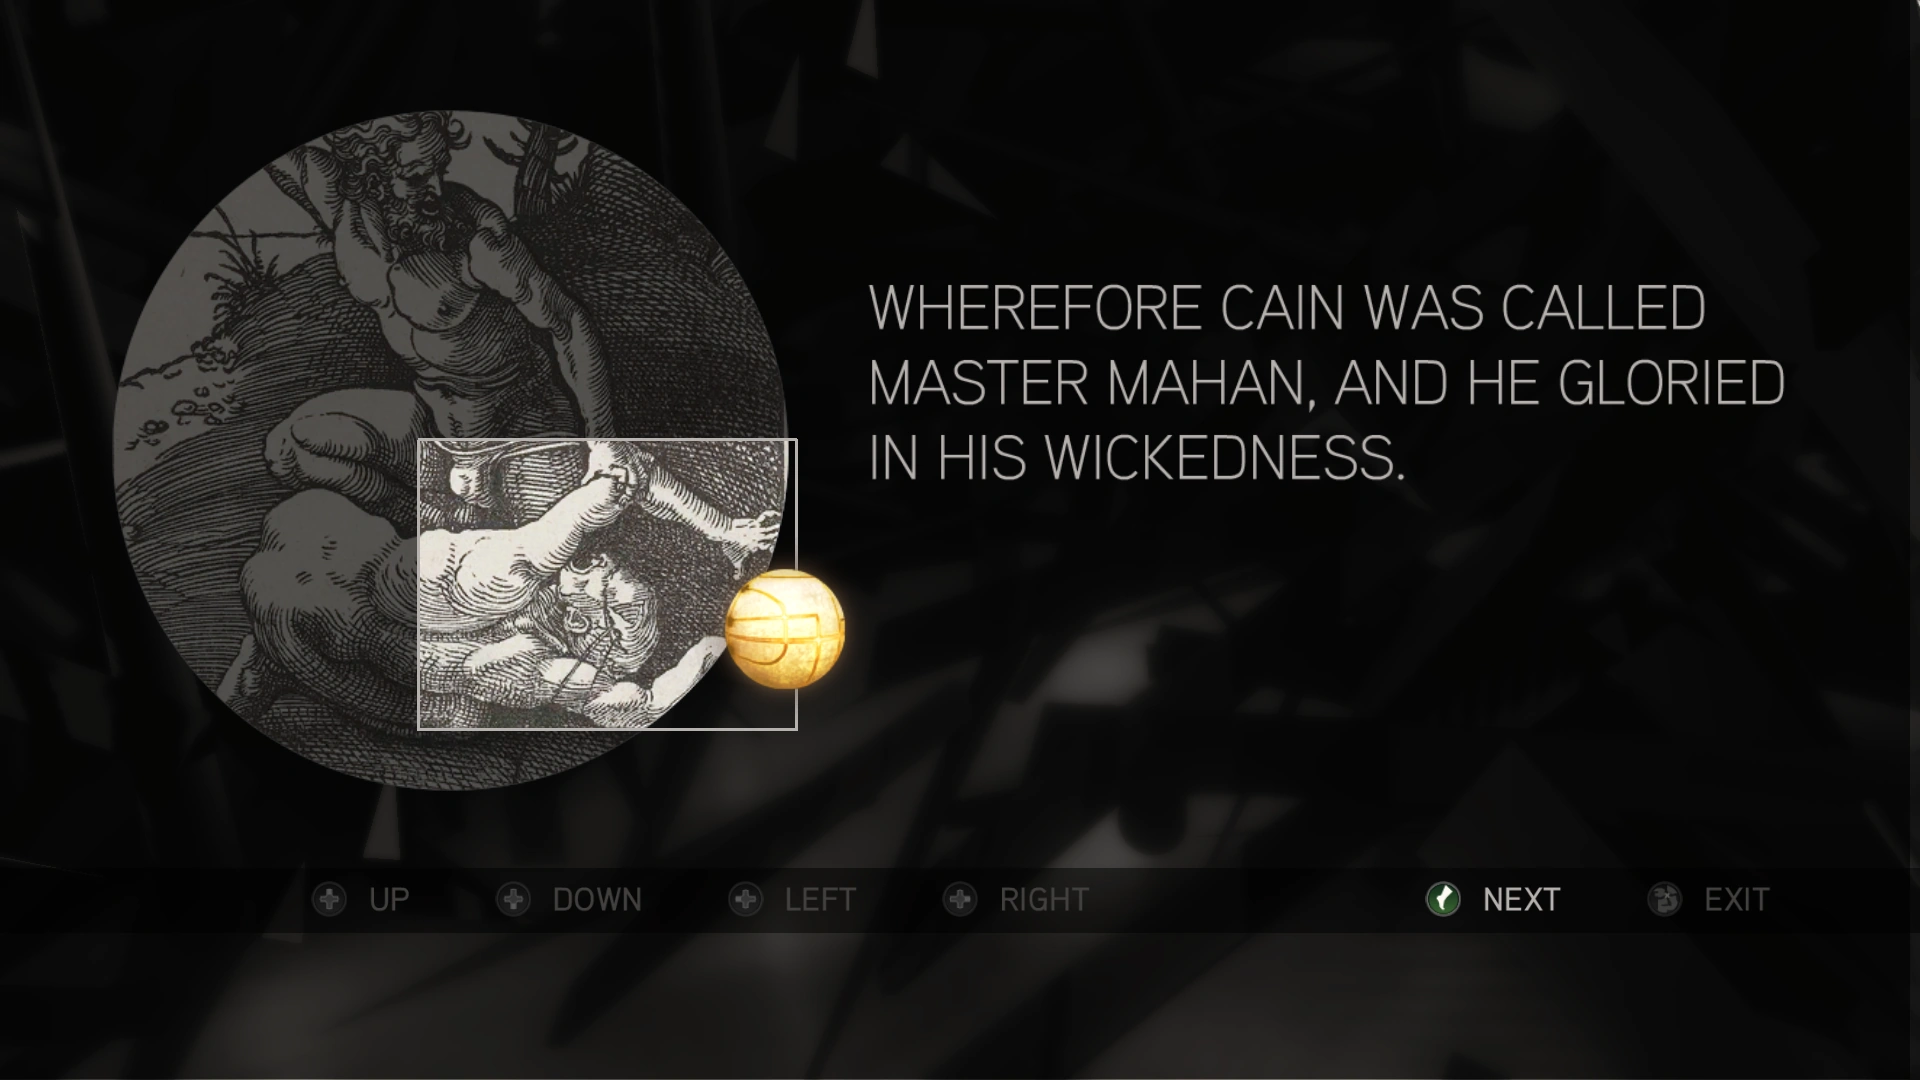
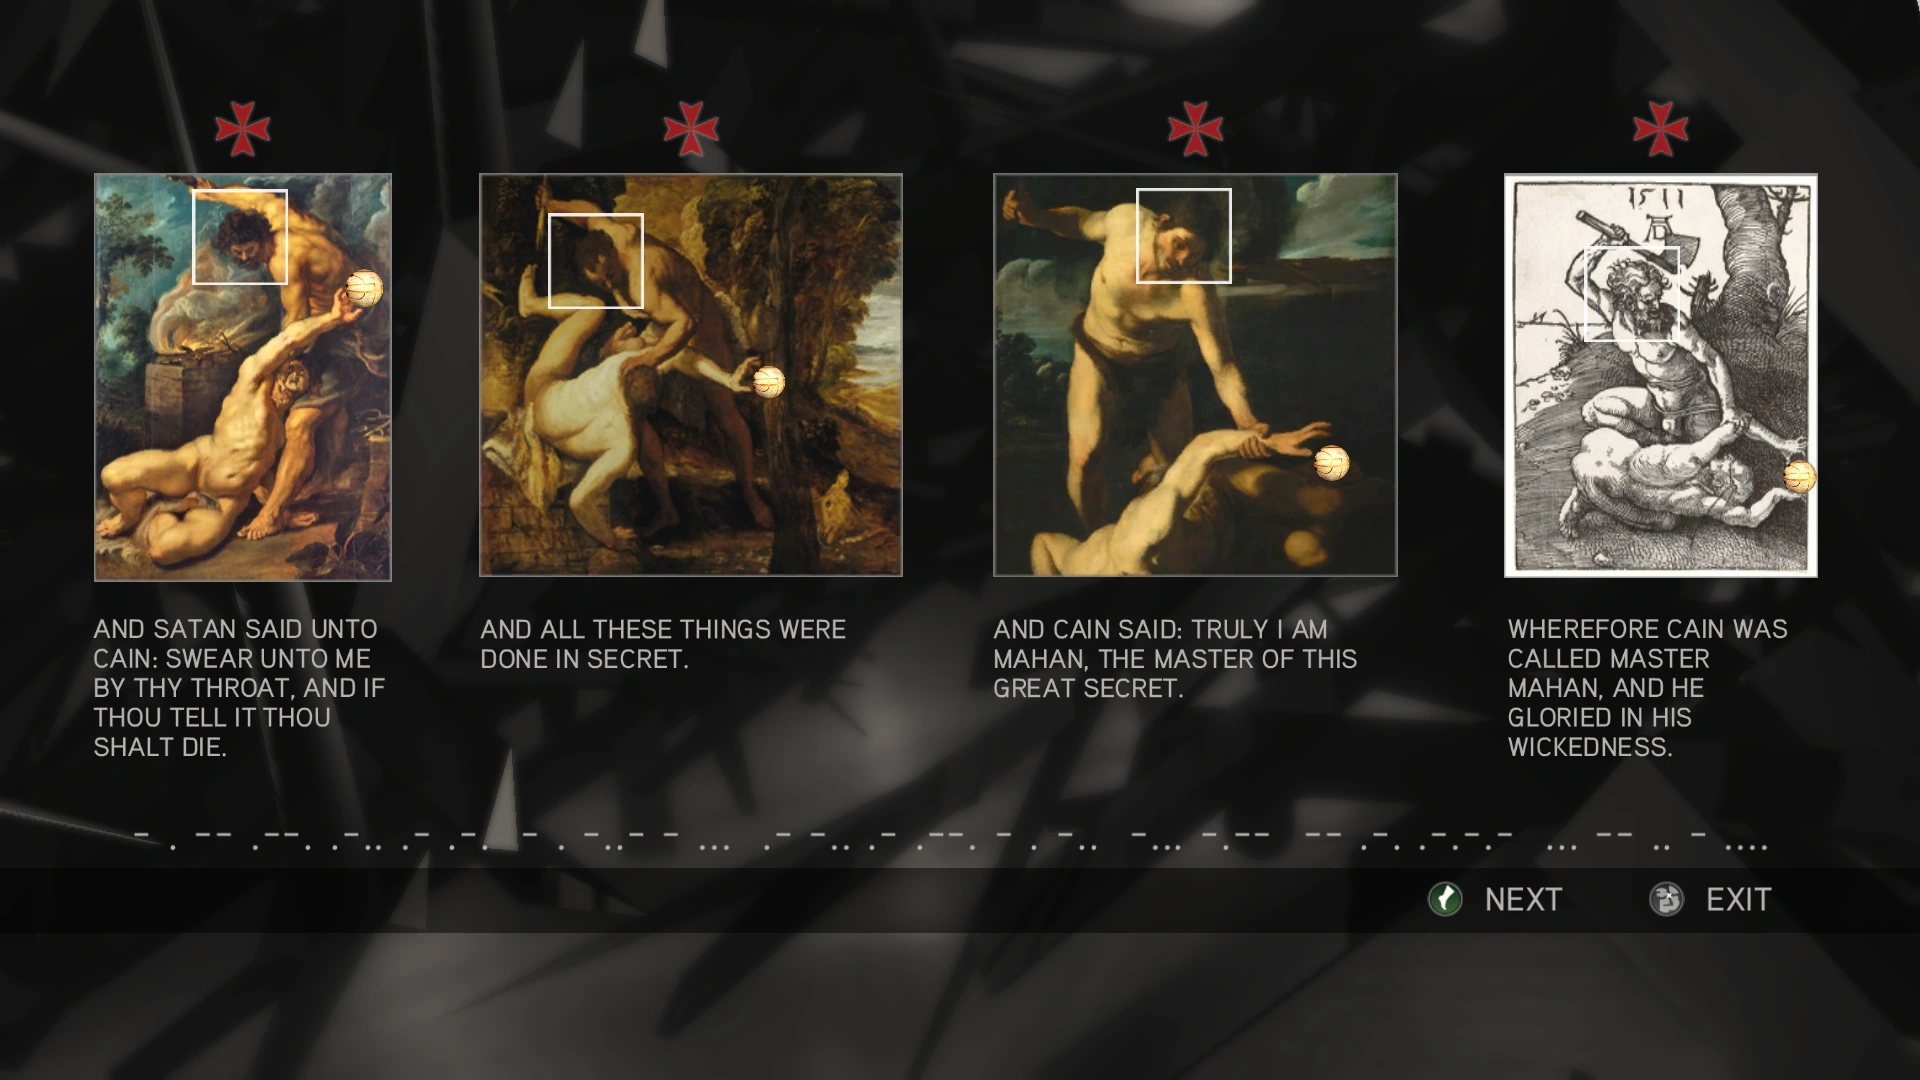
Brothers
The puzzles were solved by rotating the various rings in turn until they formed an image of Cain slaying Abel.
The first puzzle required rotating Ring One 2 times to the left, Ring Two 3 times to the left, Ring Four once to the right, Ring Five 3 times to the right, and Ring Three around to complete the image.
The second puzzle required rotating Ring One 3 times to the left, Ring Three 1 time to the left, Ring Four 4 times to the left, Ring Five once to the right, and Ring 2 around to complete the image.
The third puzzle required rotating Ring One 3 times to the left, Ring Three 1 time to the right, Ring Four 5 times to the left, Ring Five once to the left, and Ring Two around to complete the image.
The fourth puzzle required rotating Ring Three once to the right, Ring Five 2 times to the left, Ring Four 2 times to the left, Ring Two 6 times to the right, and Ring One around to complete the image.
The quotes accompanying the images were taken from the Pearl of Great Price, and the Morse Code underneath the final image read "Templar texts adapted by Mr. Smith".
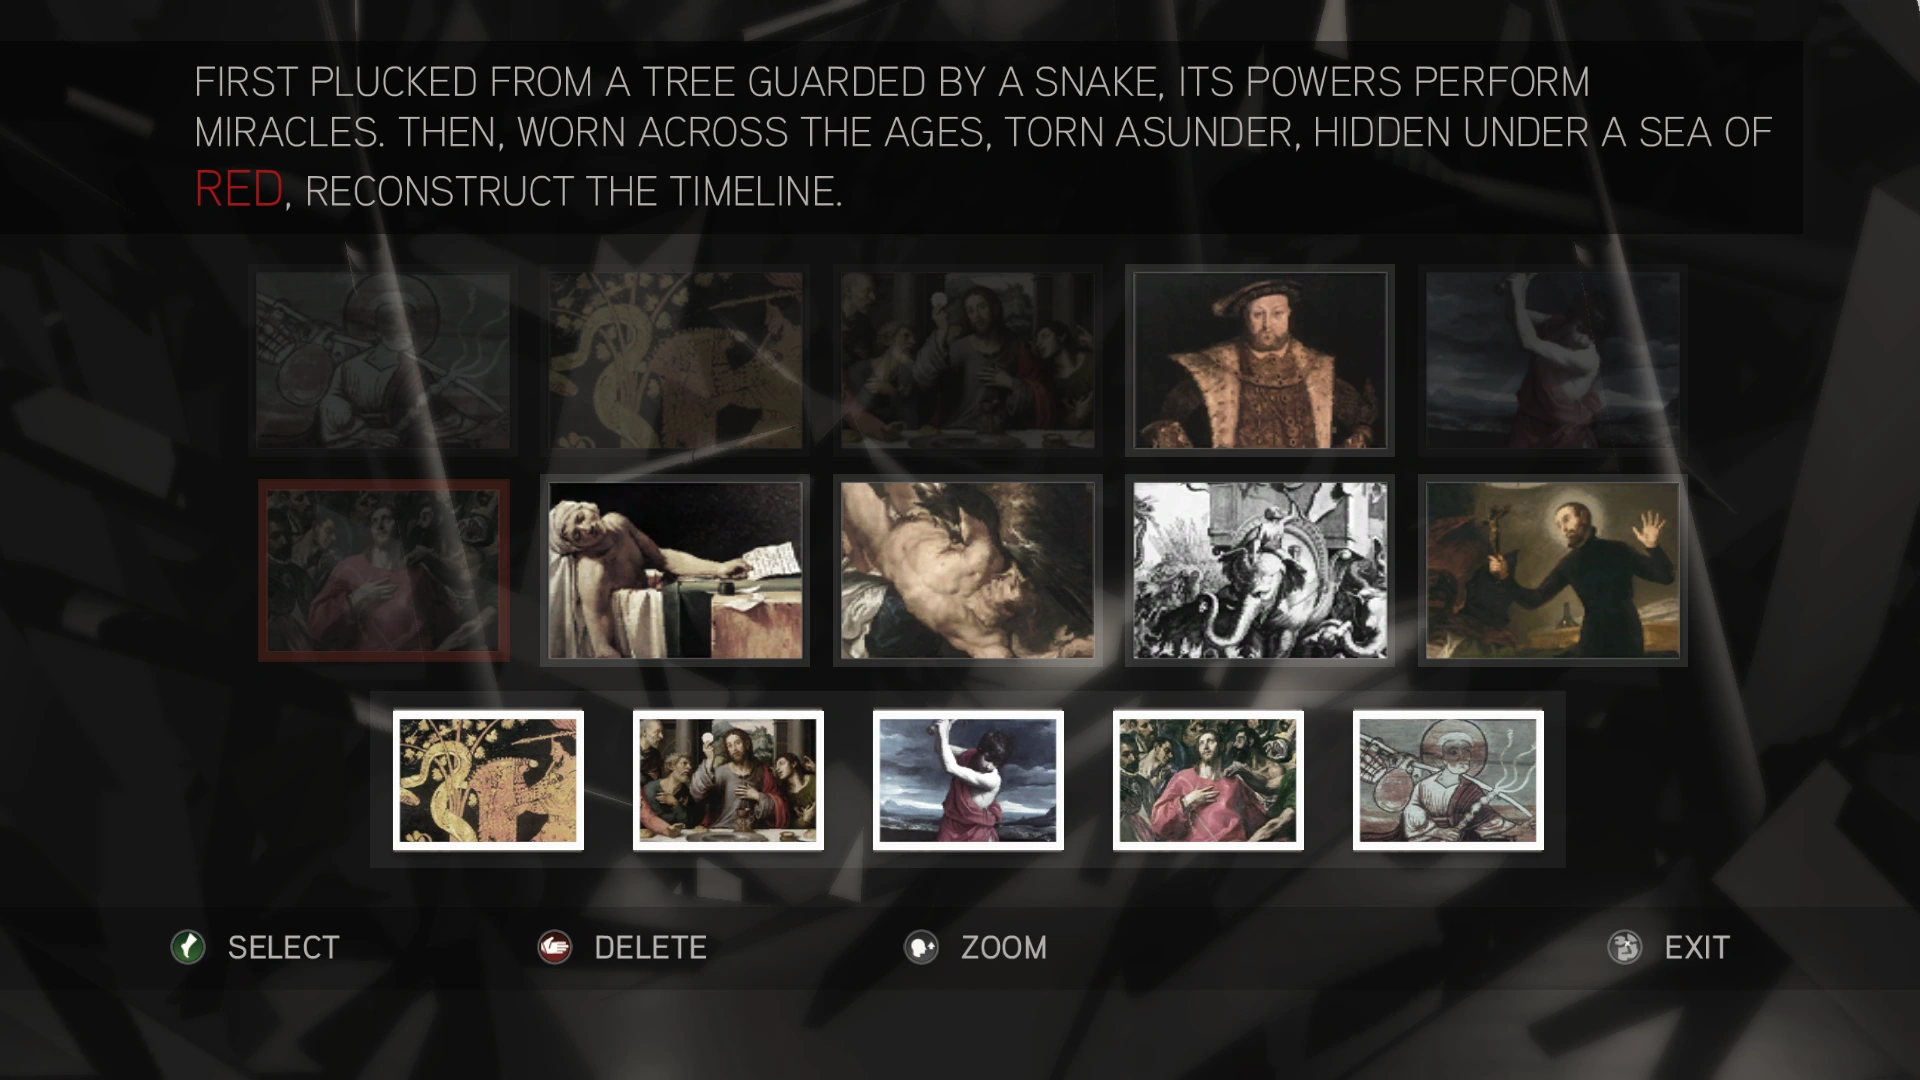
Keep On Seeking, And You Will Find
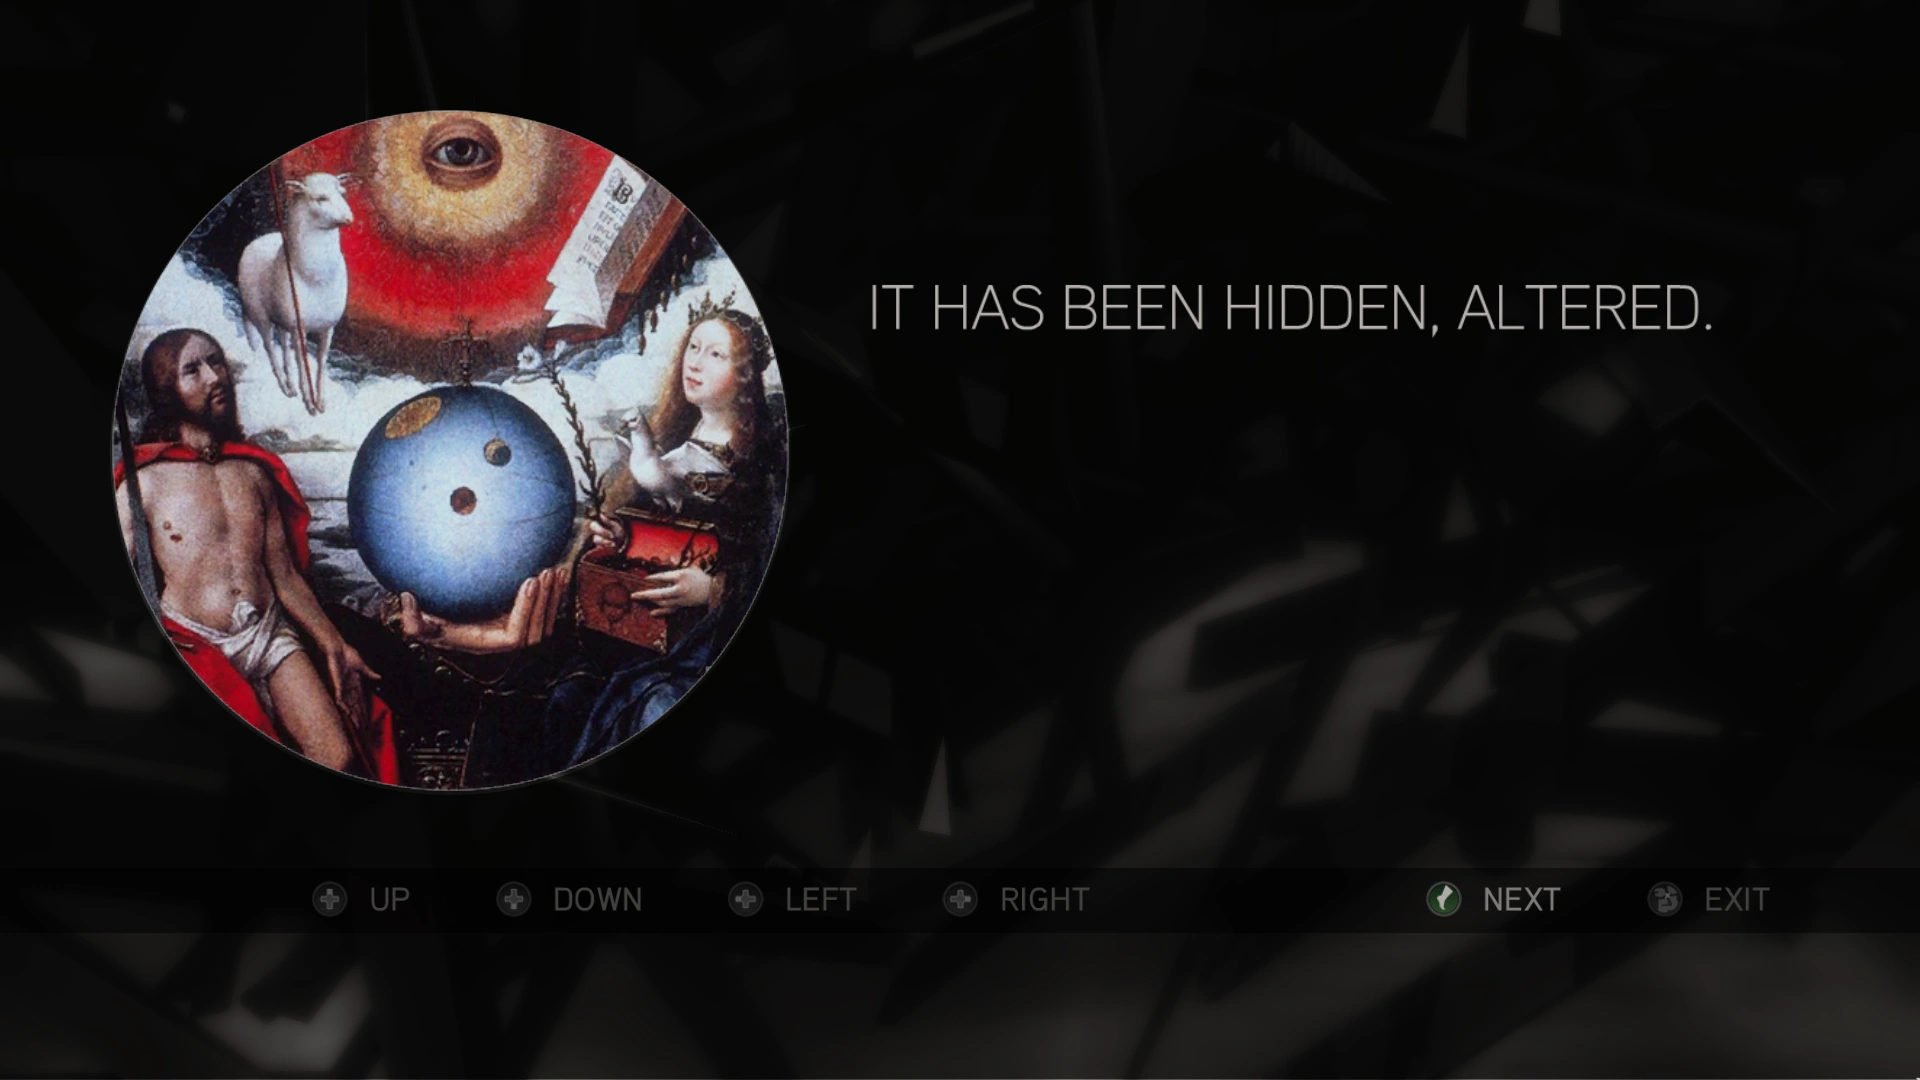
The first puzzle required finding the core similarity in each painting. It was solved by selecting the images containing the red shroud.
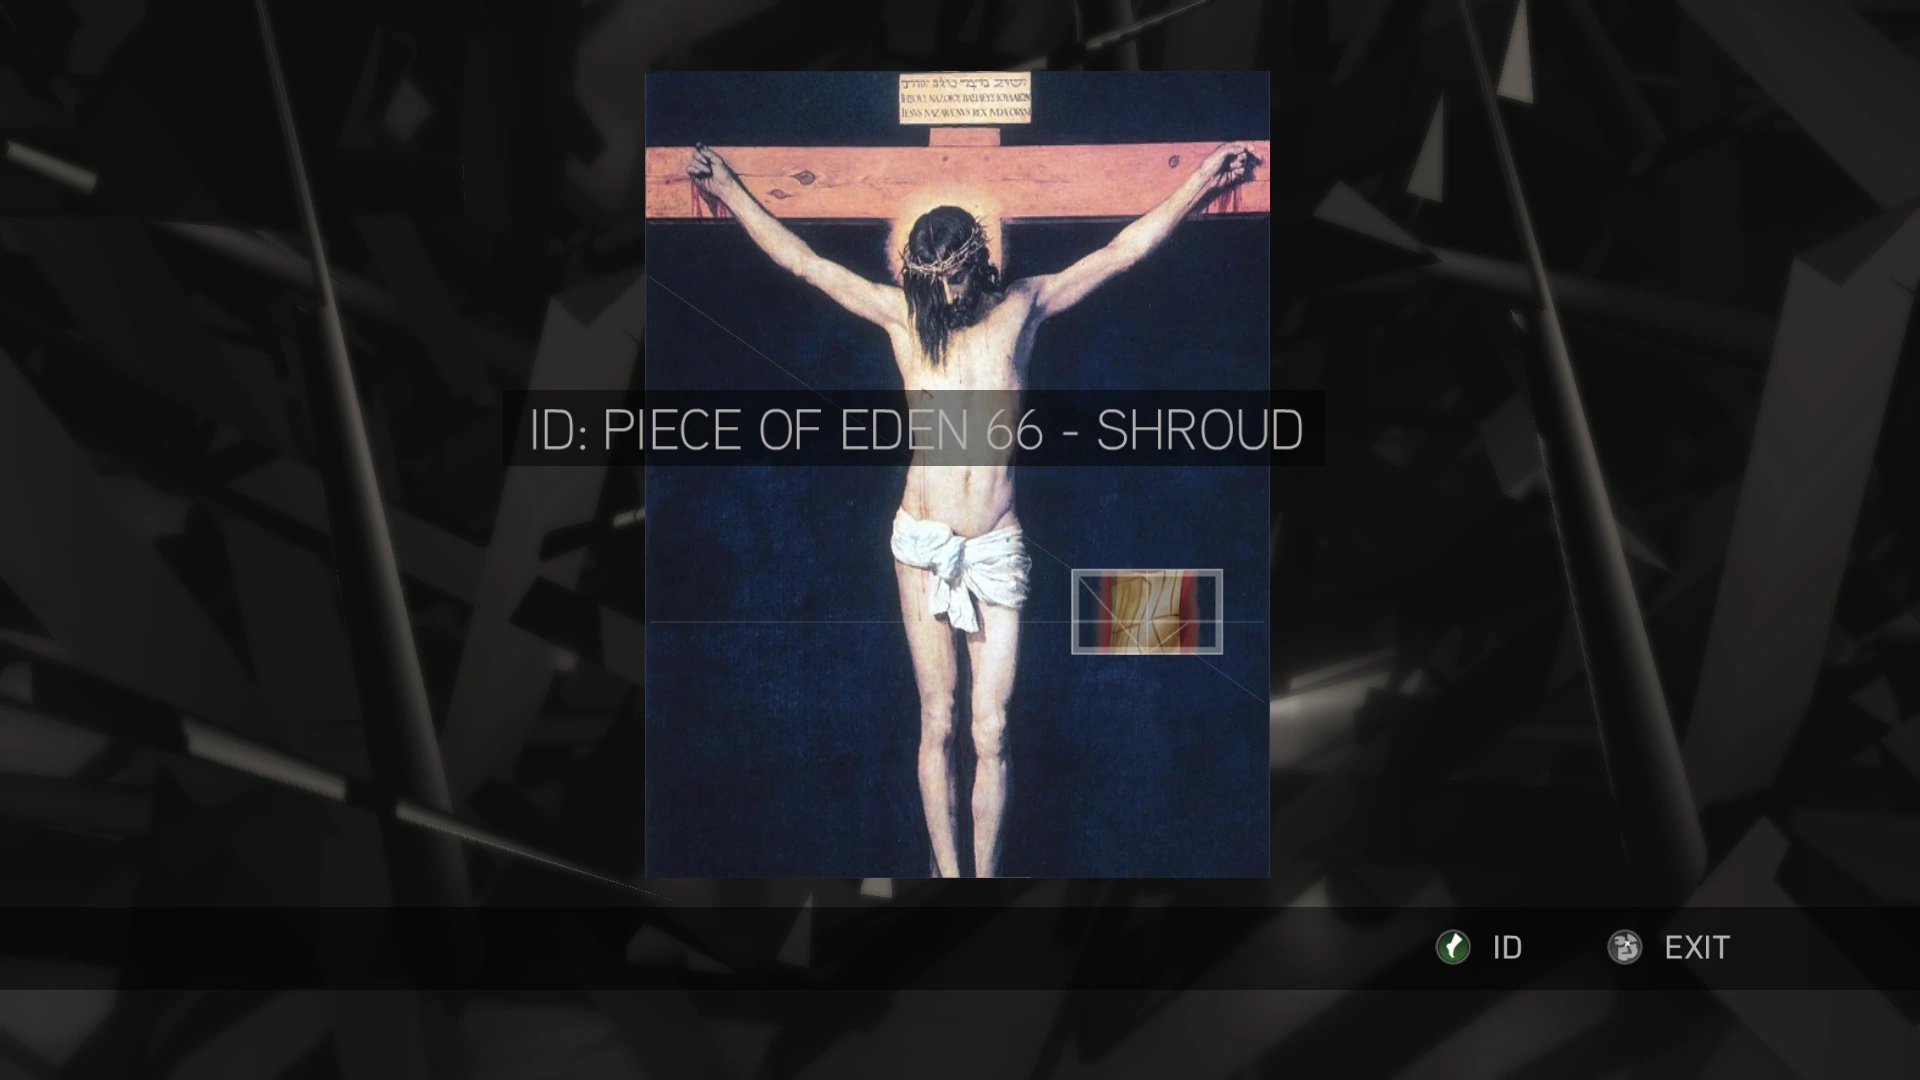
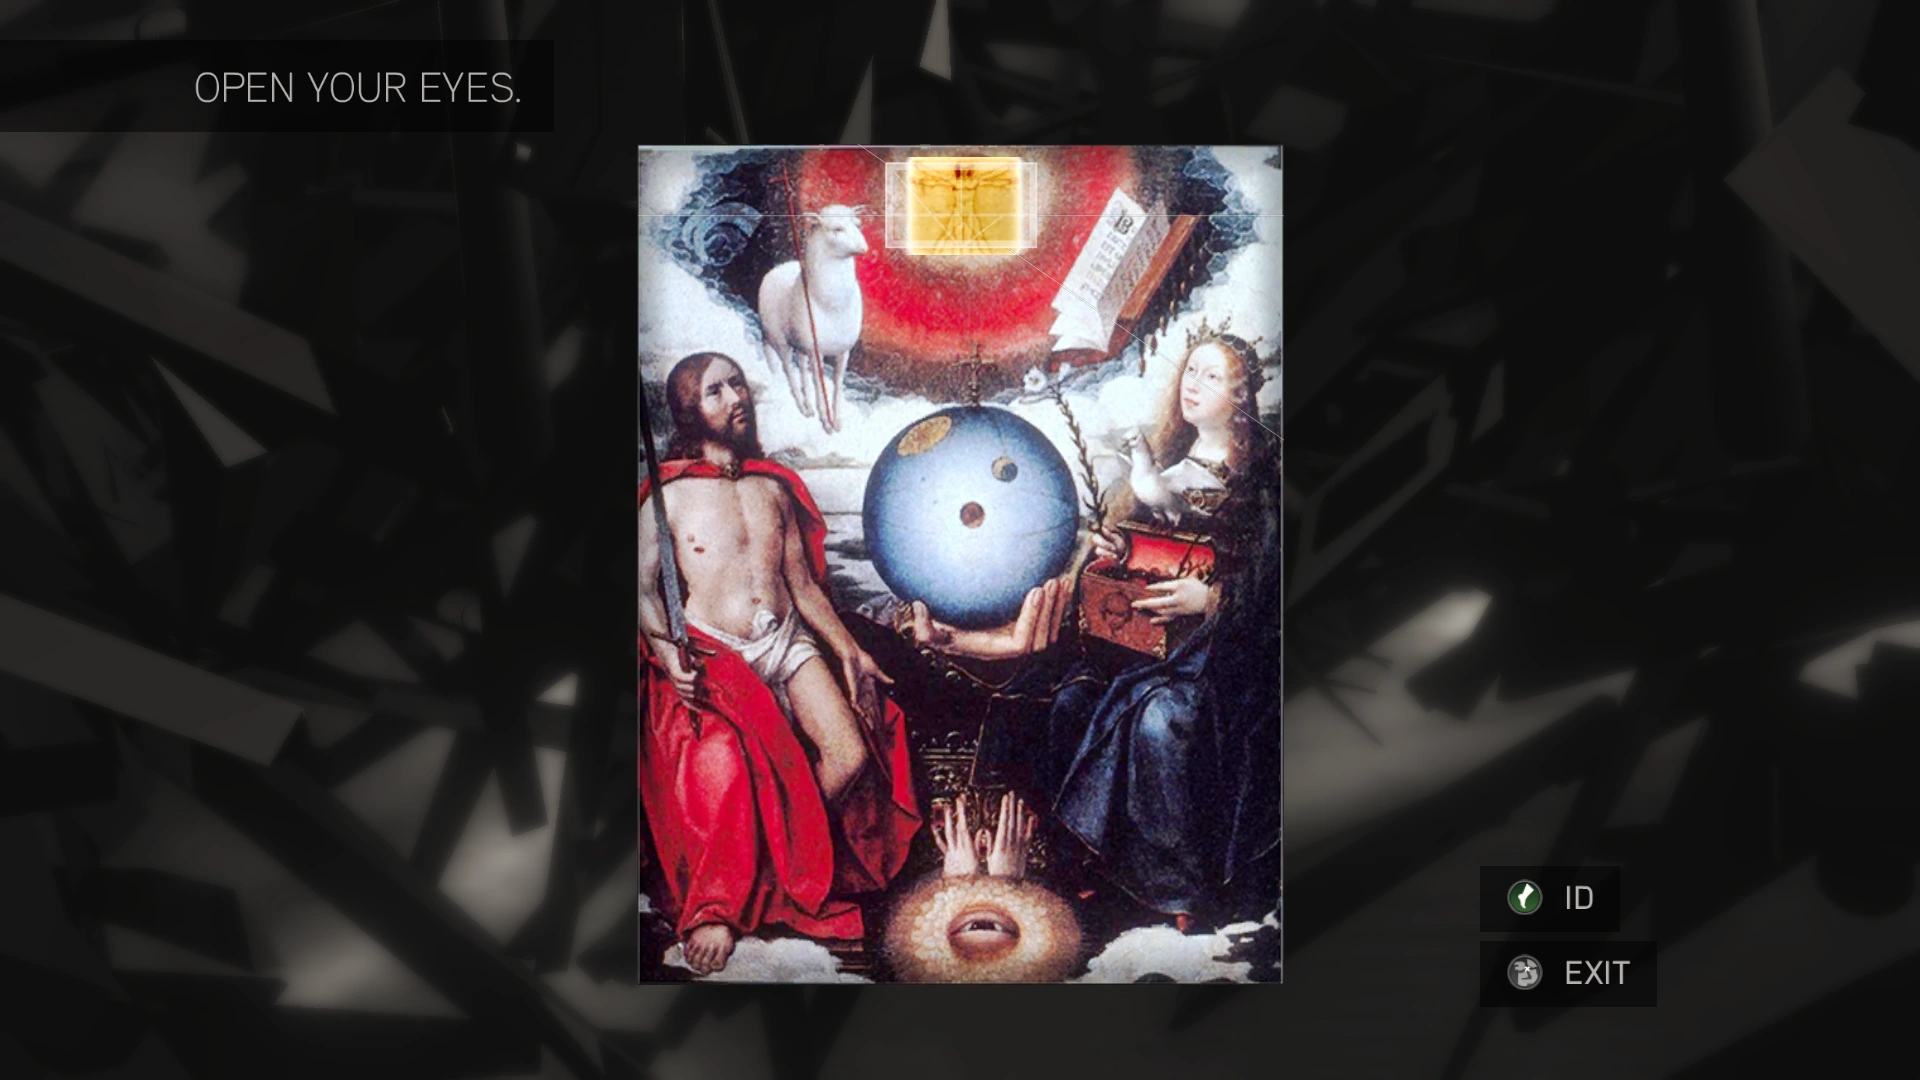
The second part of the puzzle involved scanning a picture of the crucified Jesus Christ, in search for the Shroud of Eden. The Templar insignia and the words "They took it." were hidden in the image.
Martyrs
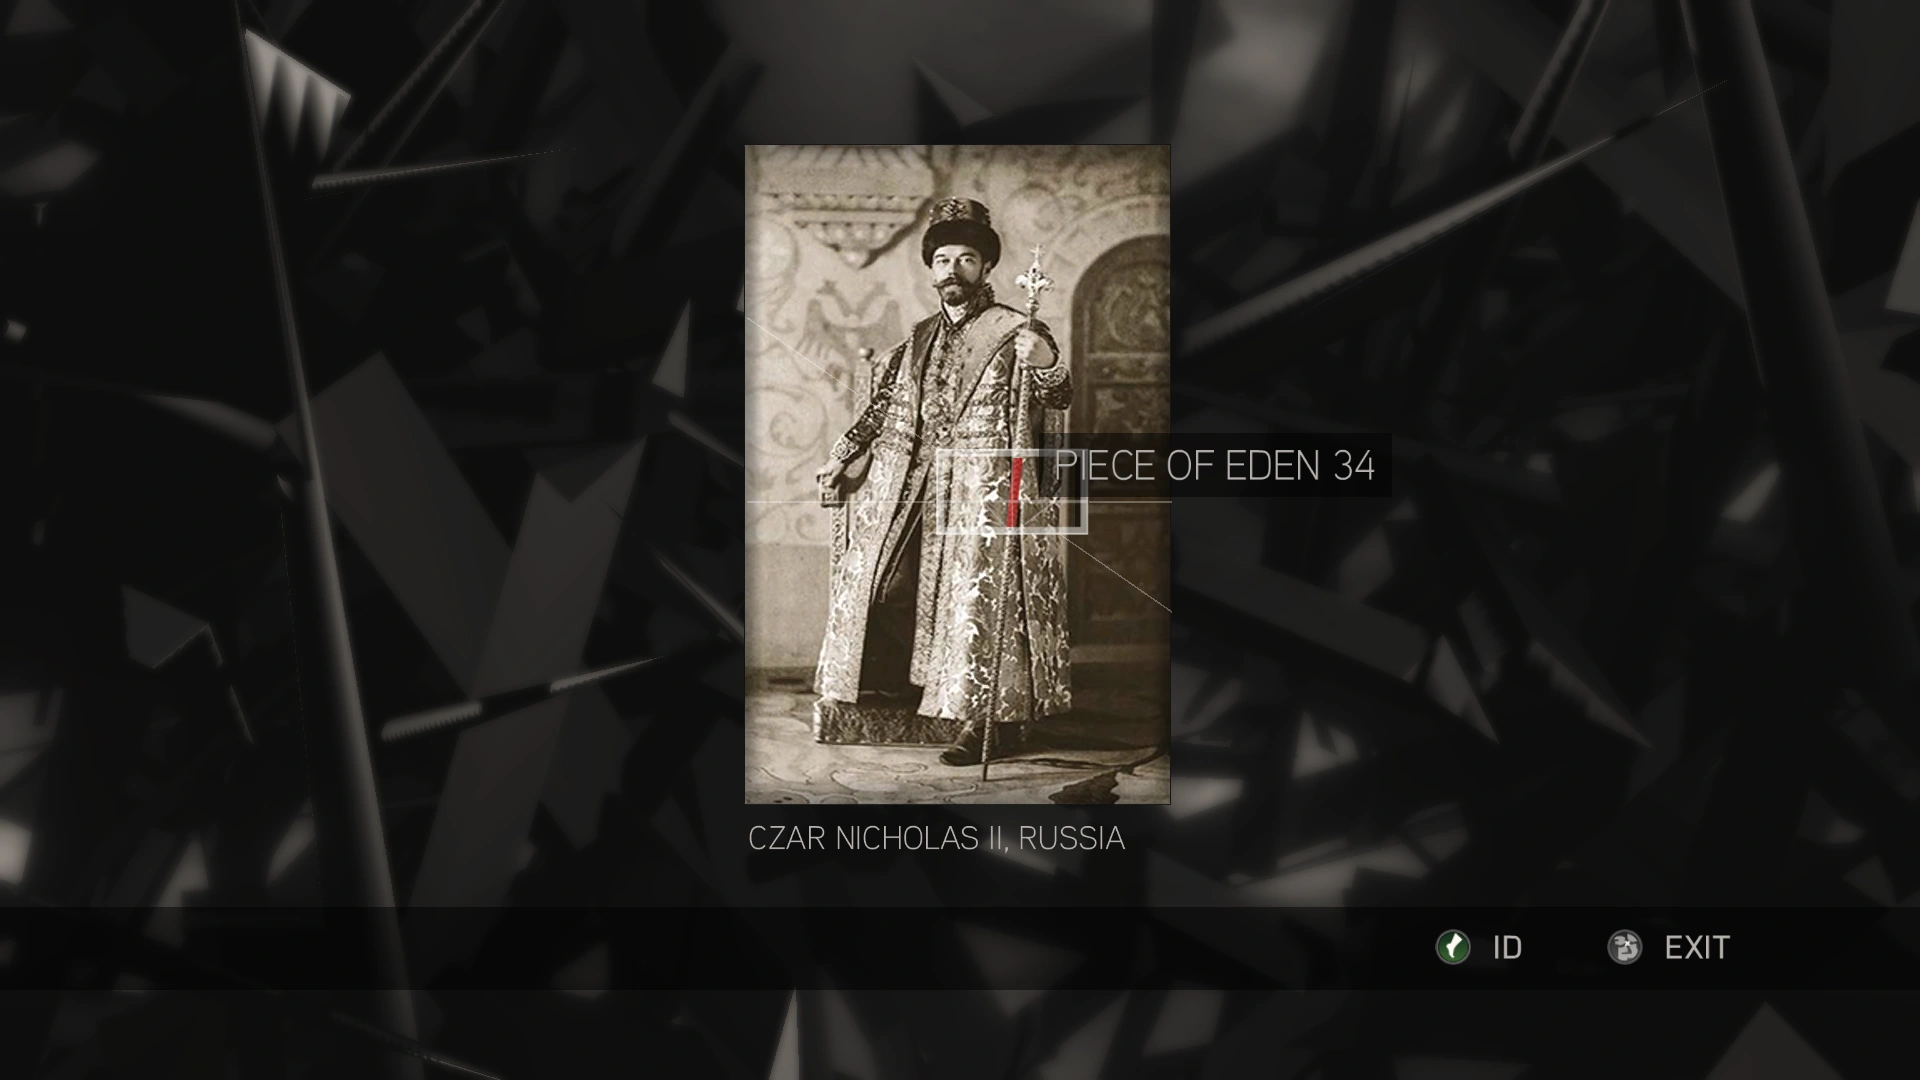
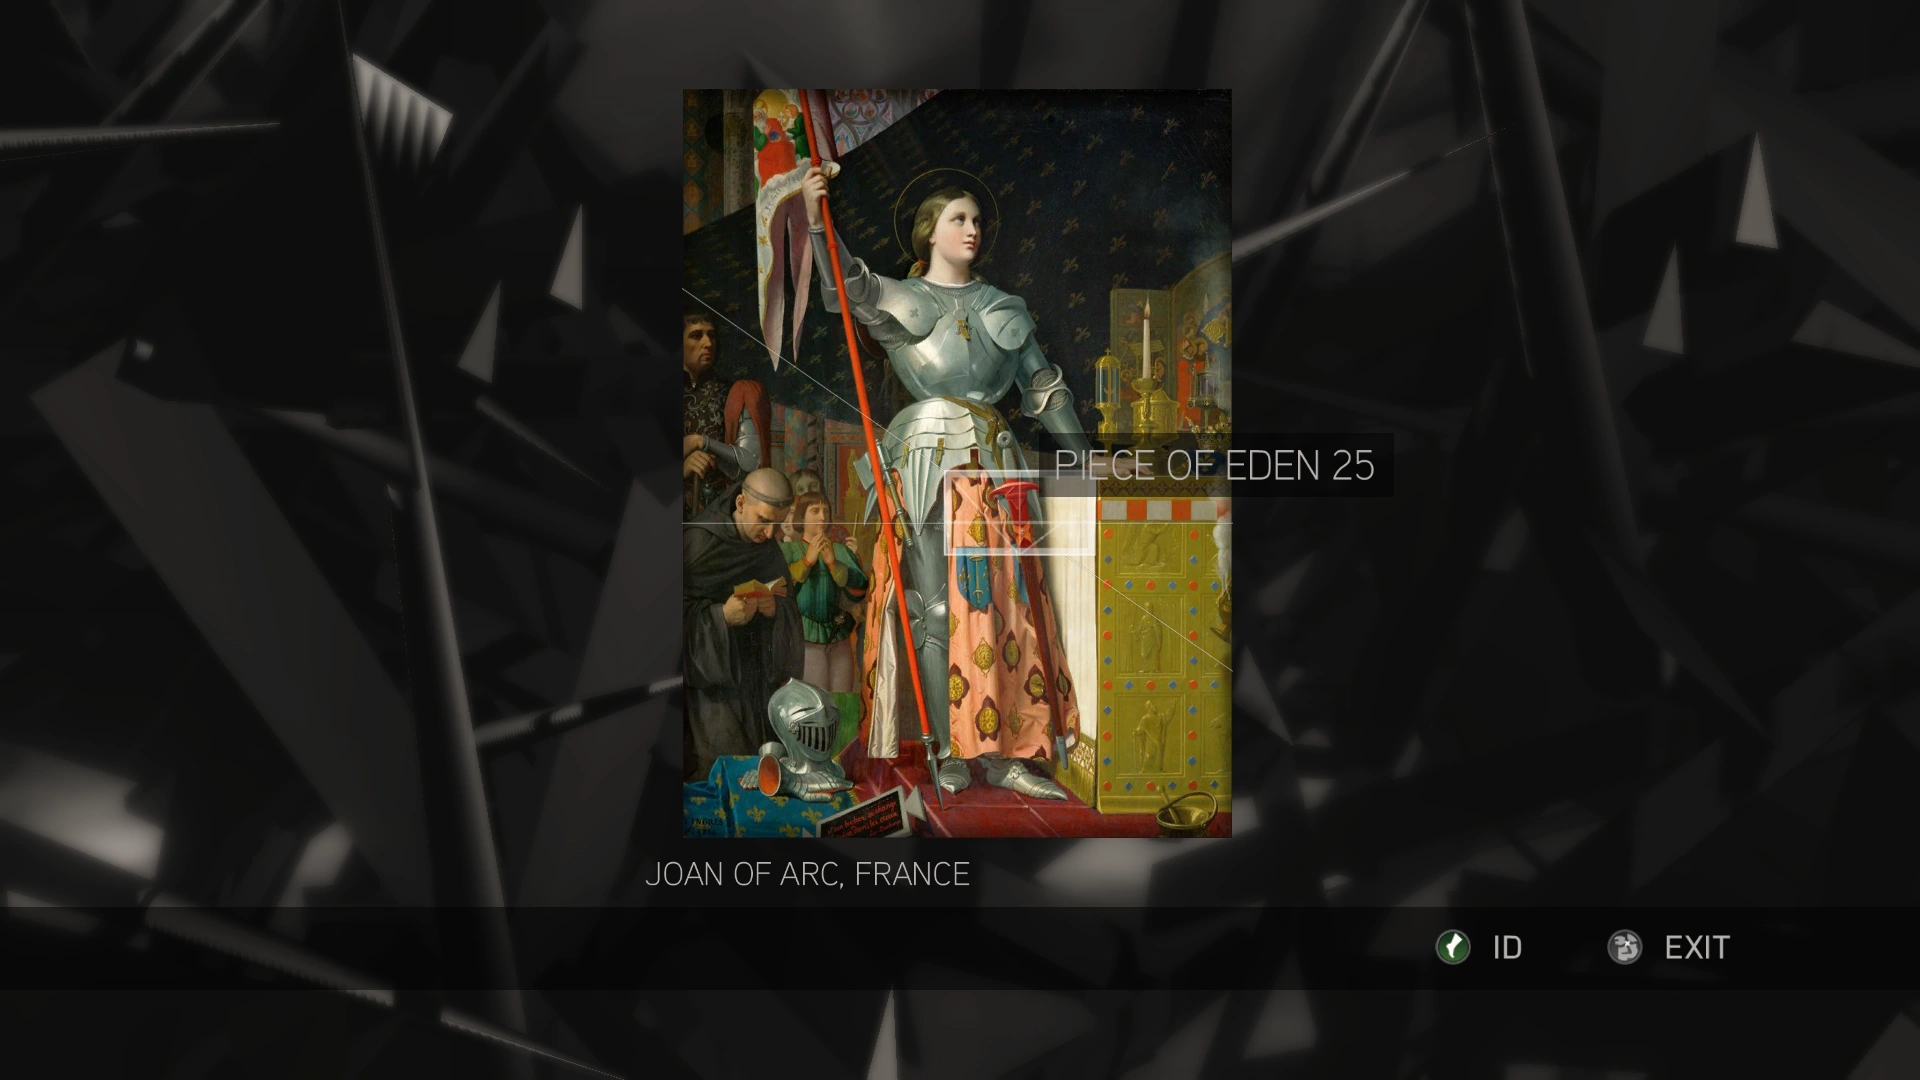
The first puzzle was solved by locating a Piece of Eden using the sonar signals.
The first solved image.
The second solved image.
Each image contained a hidden message.
- Nicholas II of Russia: A binary cipher which read "17th July 1918", the date Nicholas and his entire family were murdered, was hidden within the image..
- Joan of Arc: Hidden binary message in the image read "30th May 1431," the date Joan was burned at the stake.
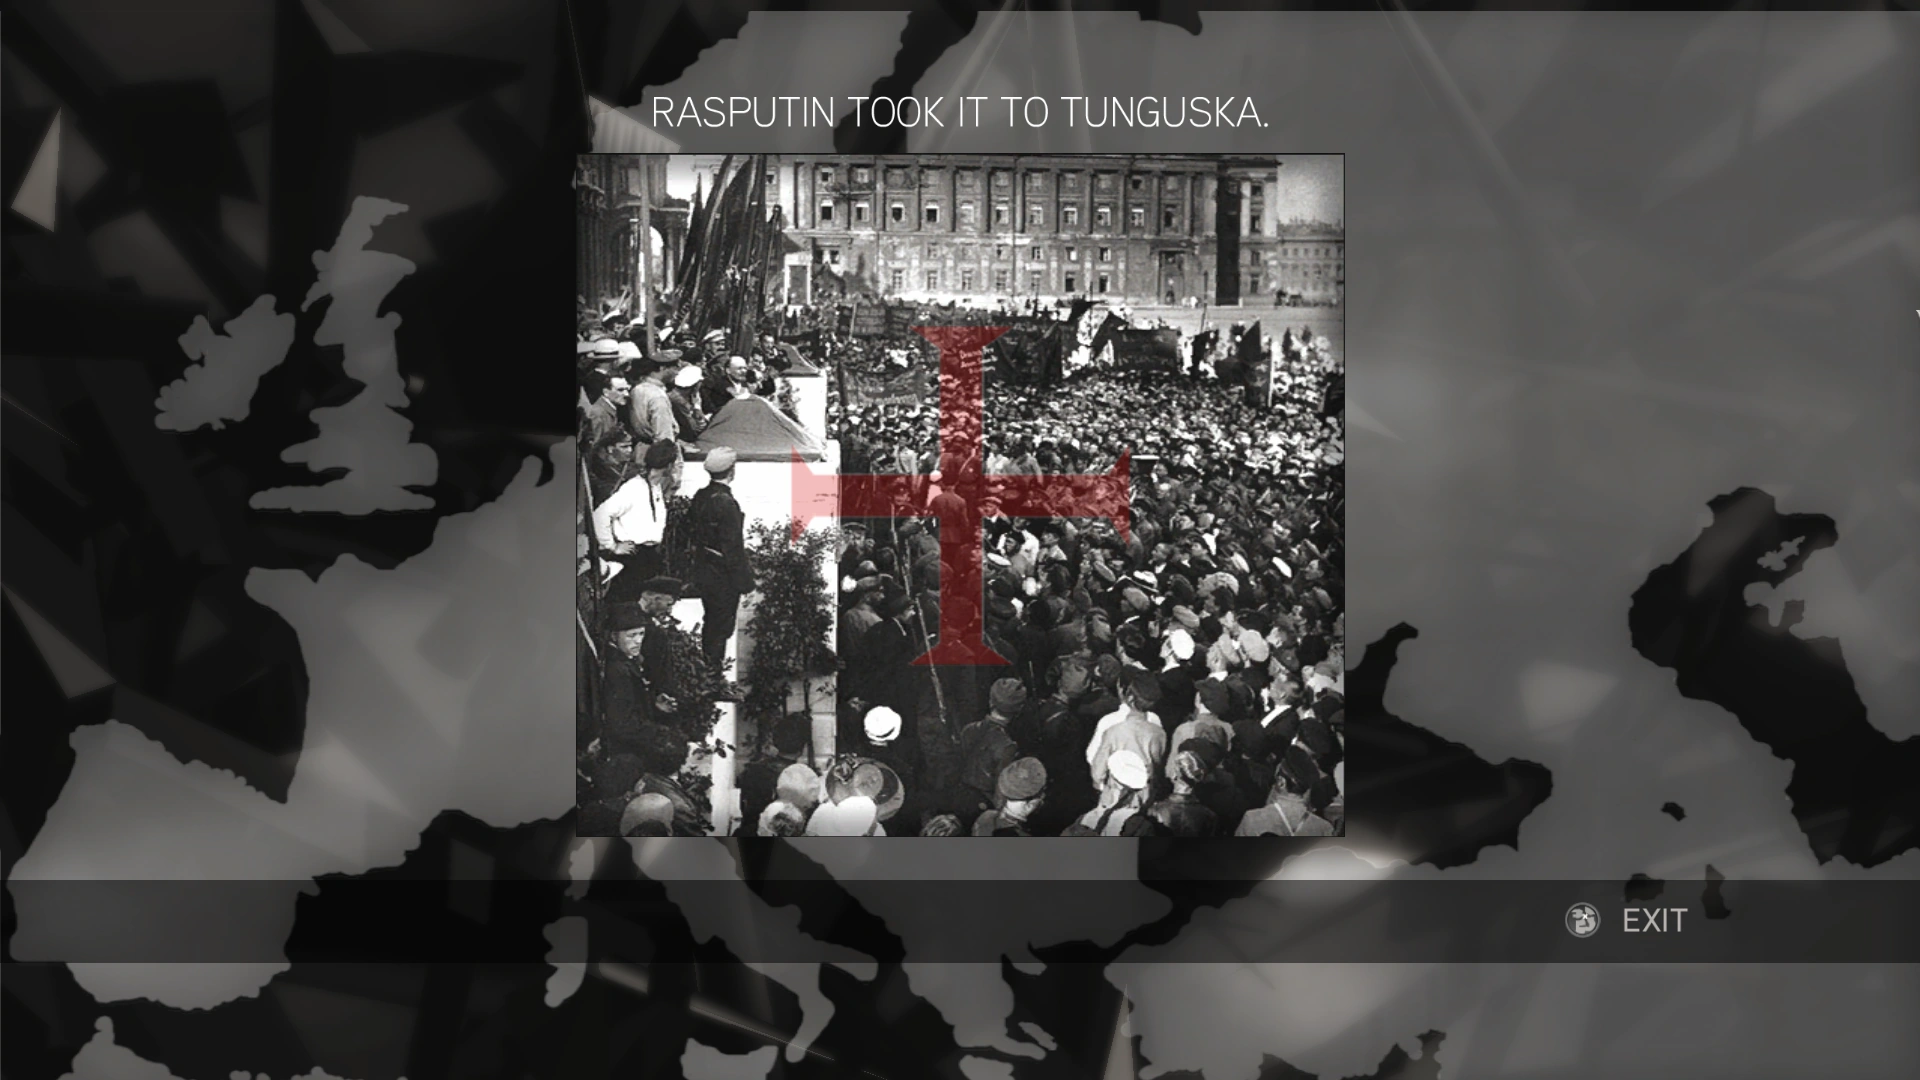
The next phase of this puzzle involved picking up the flame and placing it over the image of Joan, and placing the image of Grigori Rasputin over the image of Nicholas.
Image showing Joan's burning.
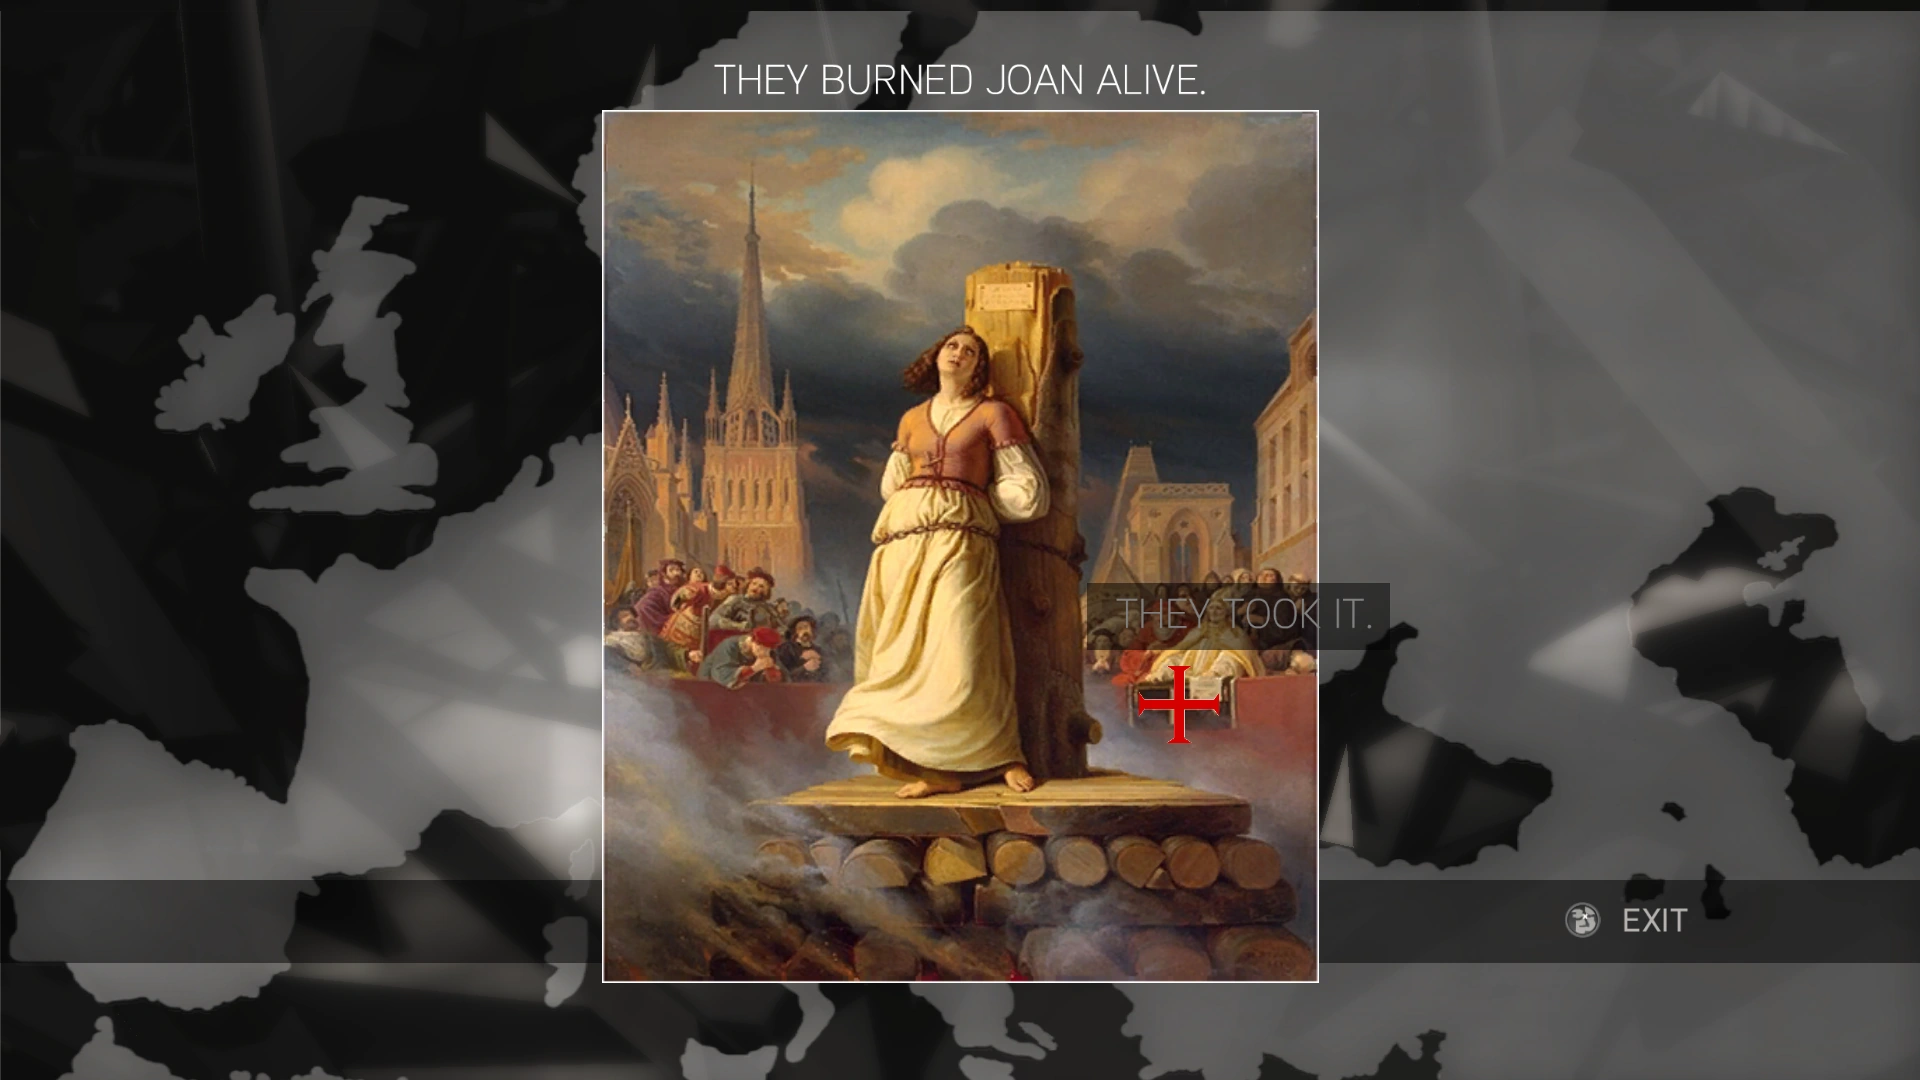
Image showing the Russian Revolution.
Hat Trick
The first puzzle involved using sonar to locate a Piece of Eden in the images.
The first solved image.

Image of Houdini's grave.
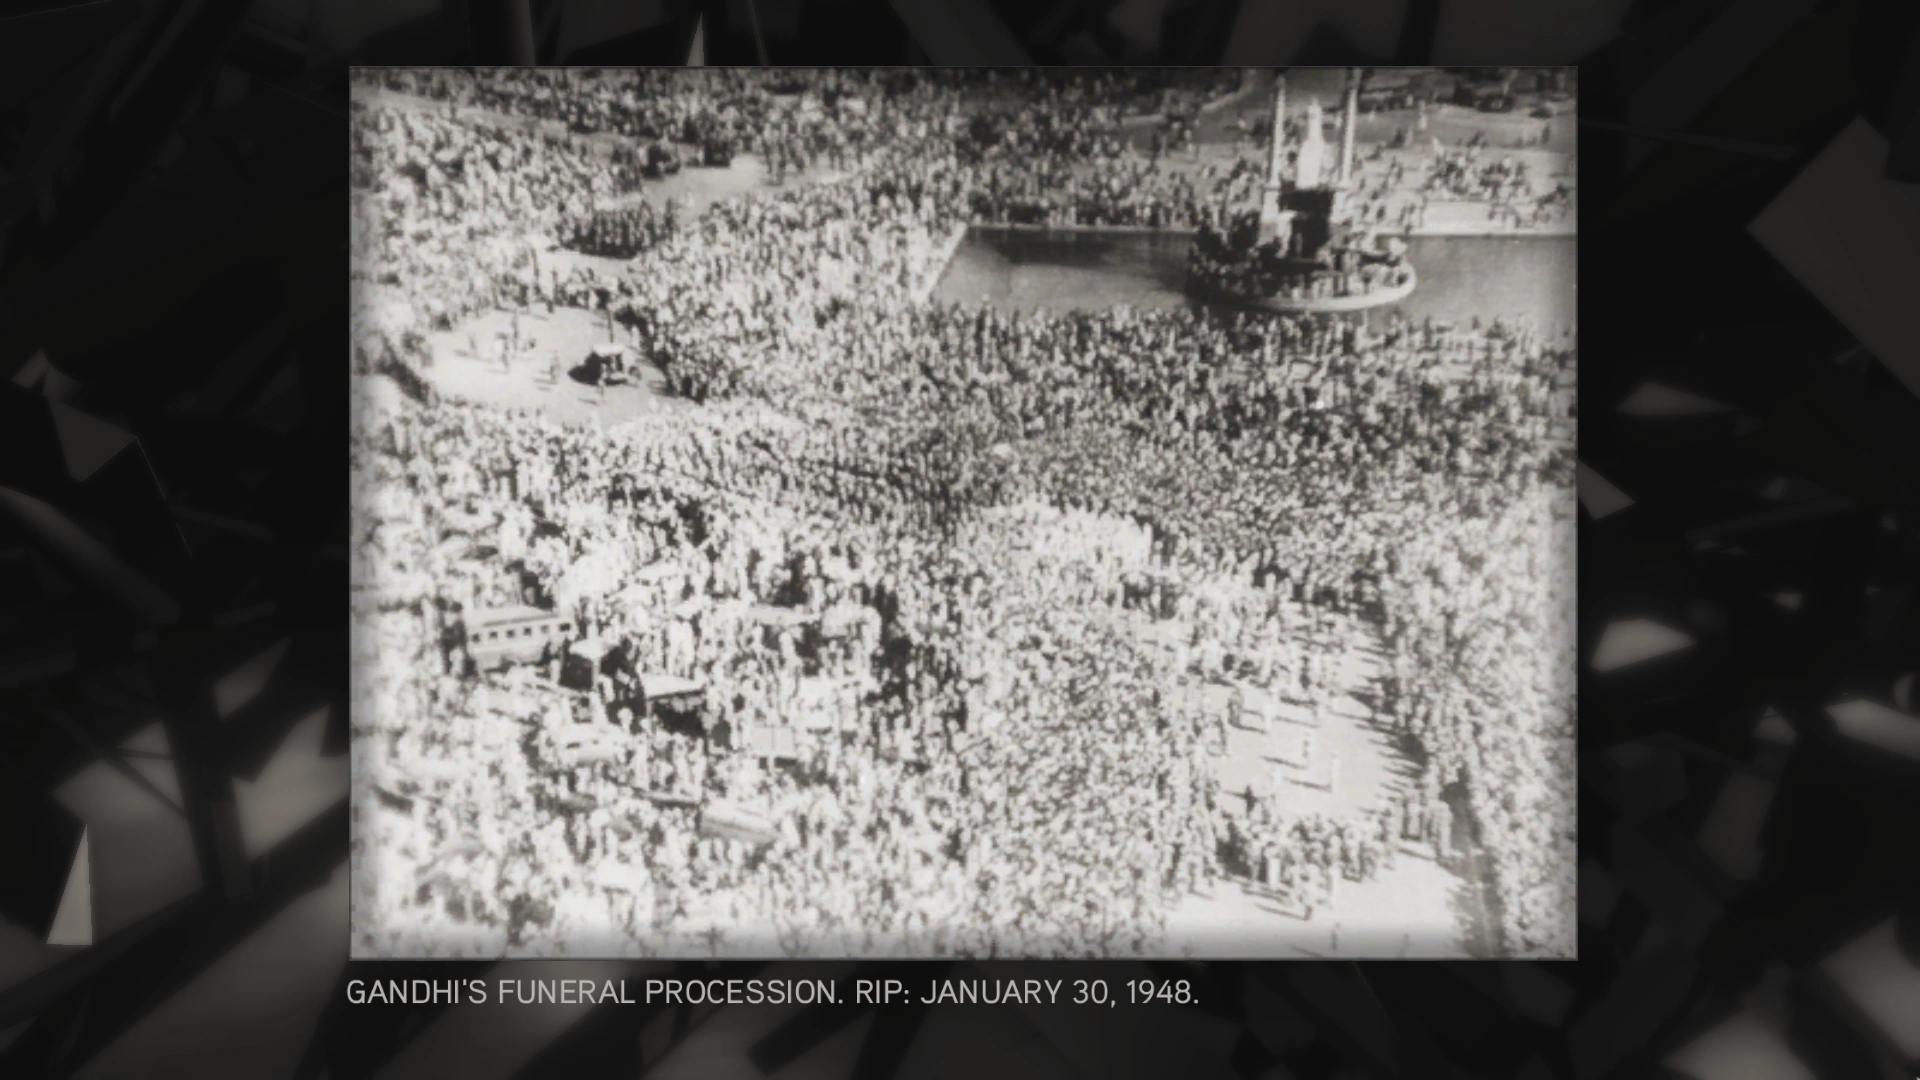
The second solved image.
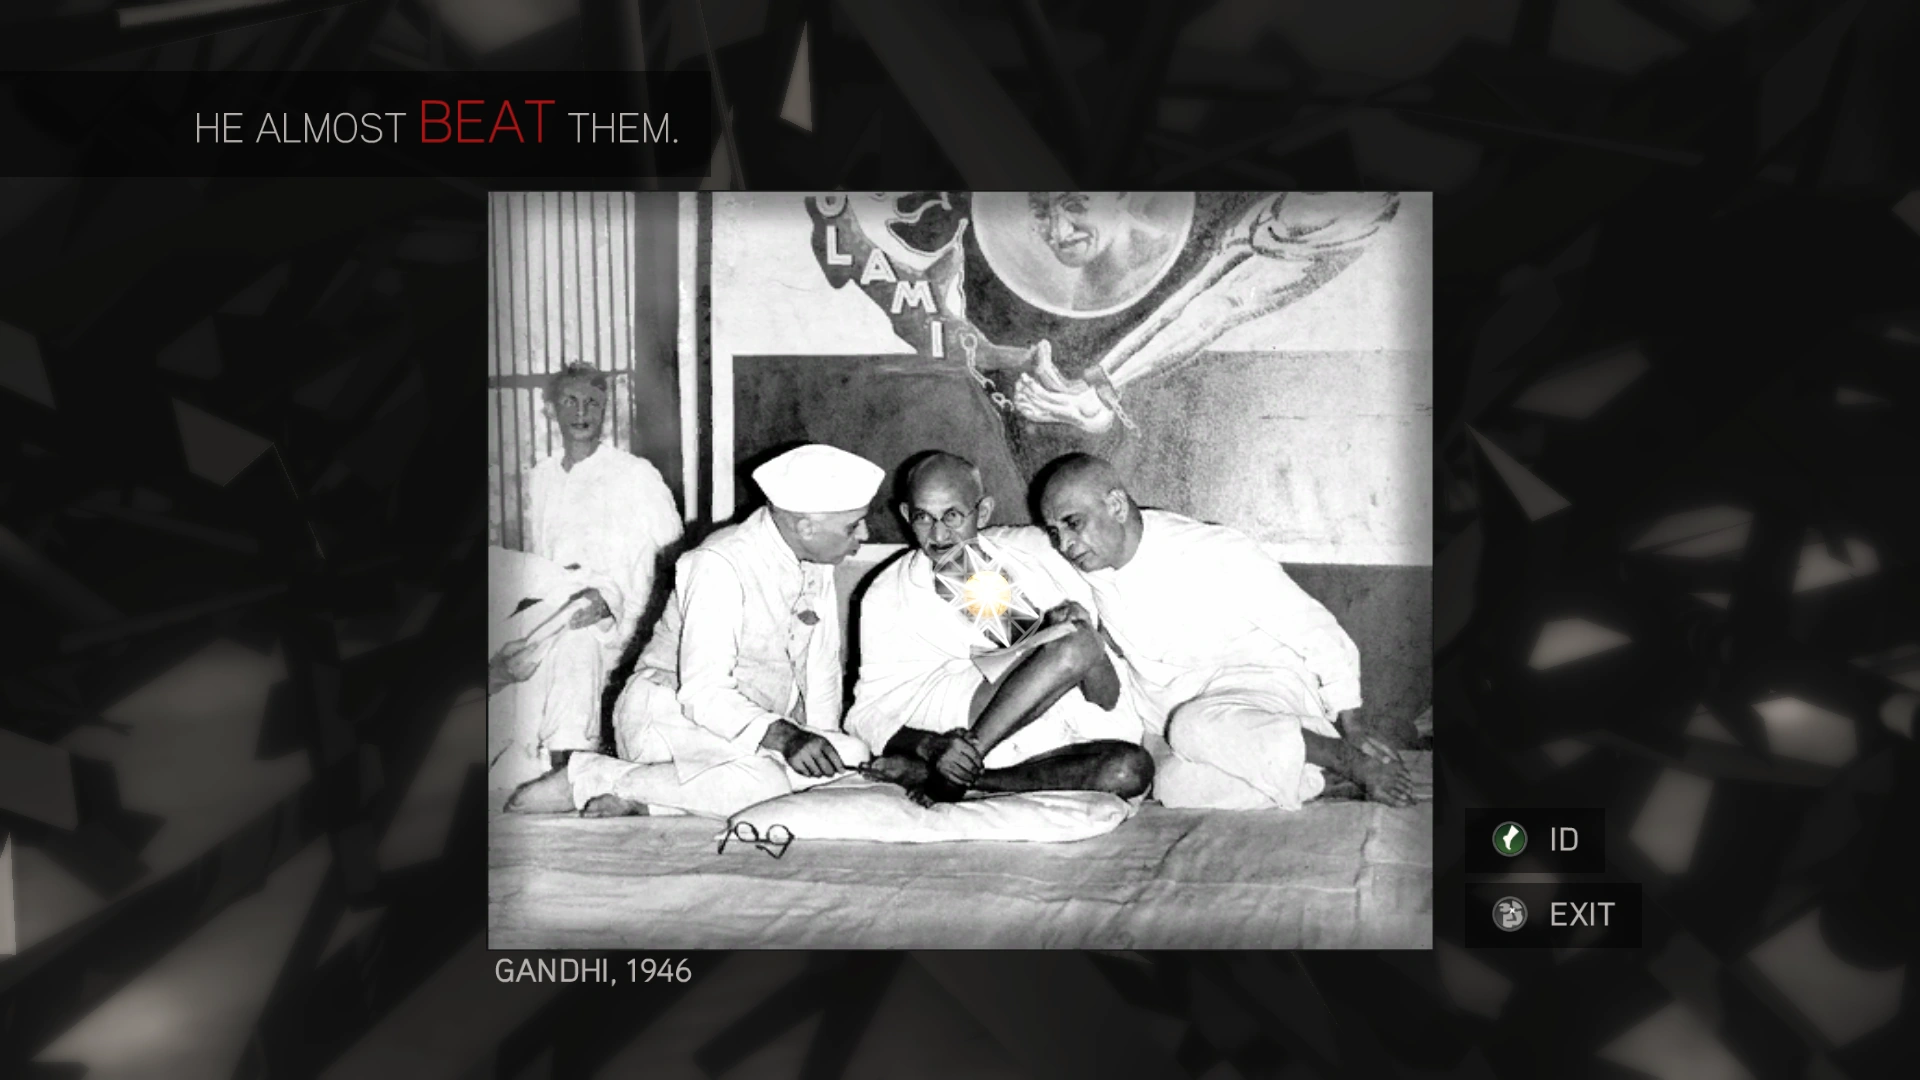
Image of Ghandi's funeral procession.
The second puzzle involved solving a Caesar cipher to obtain the access code.
The solved Caesar wheel.
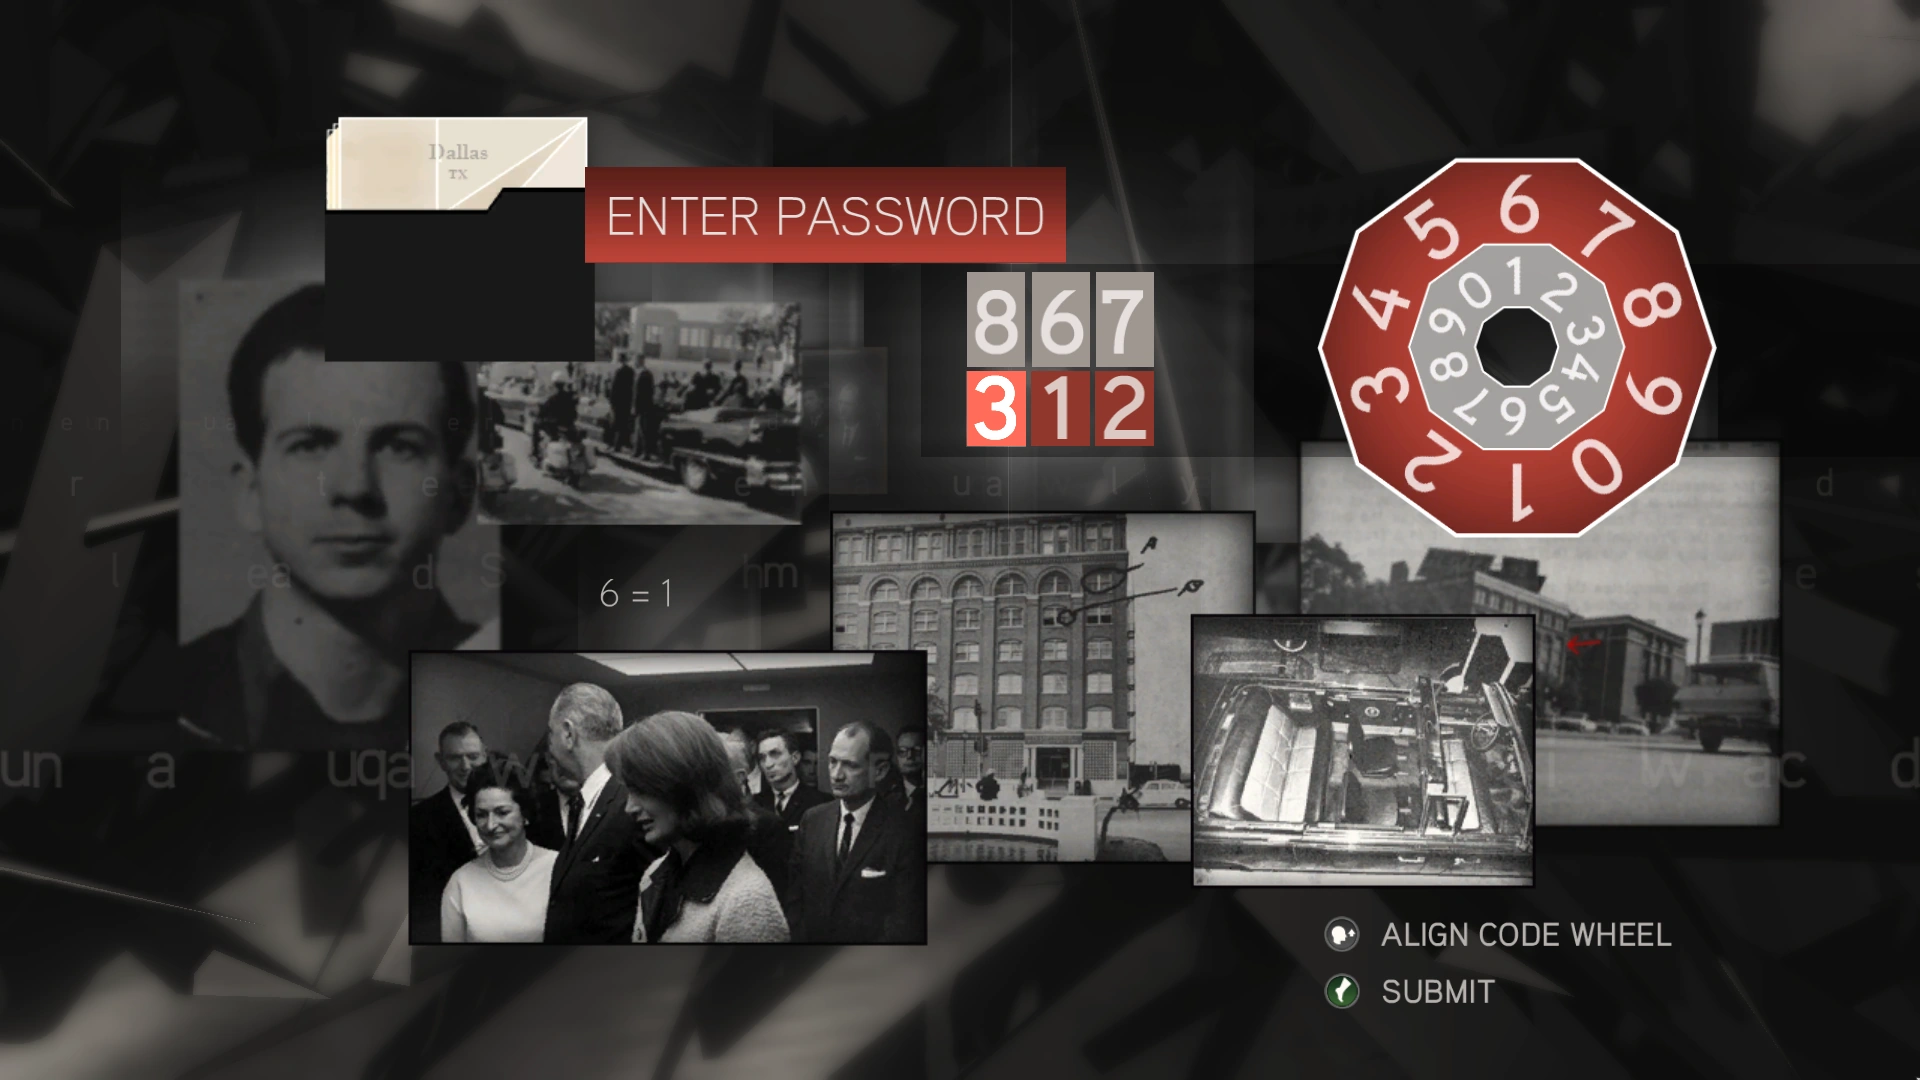
A message followed.
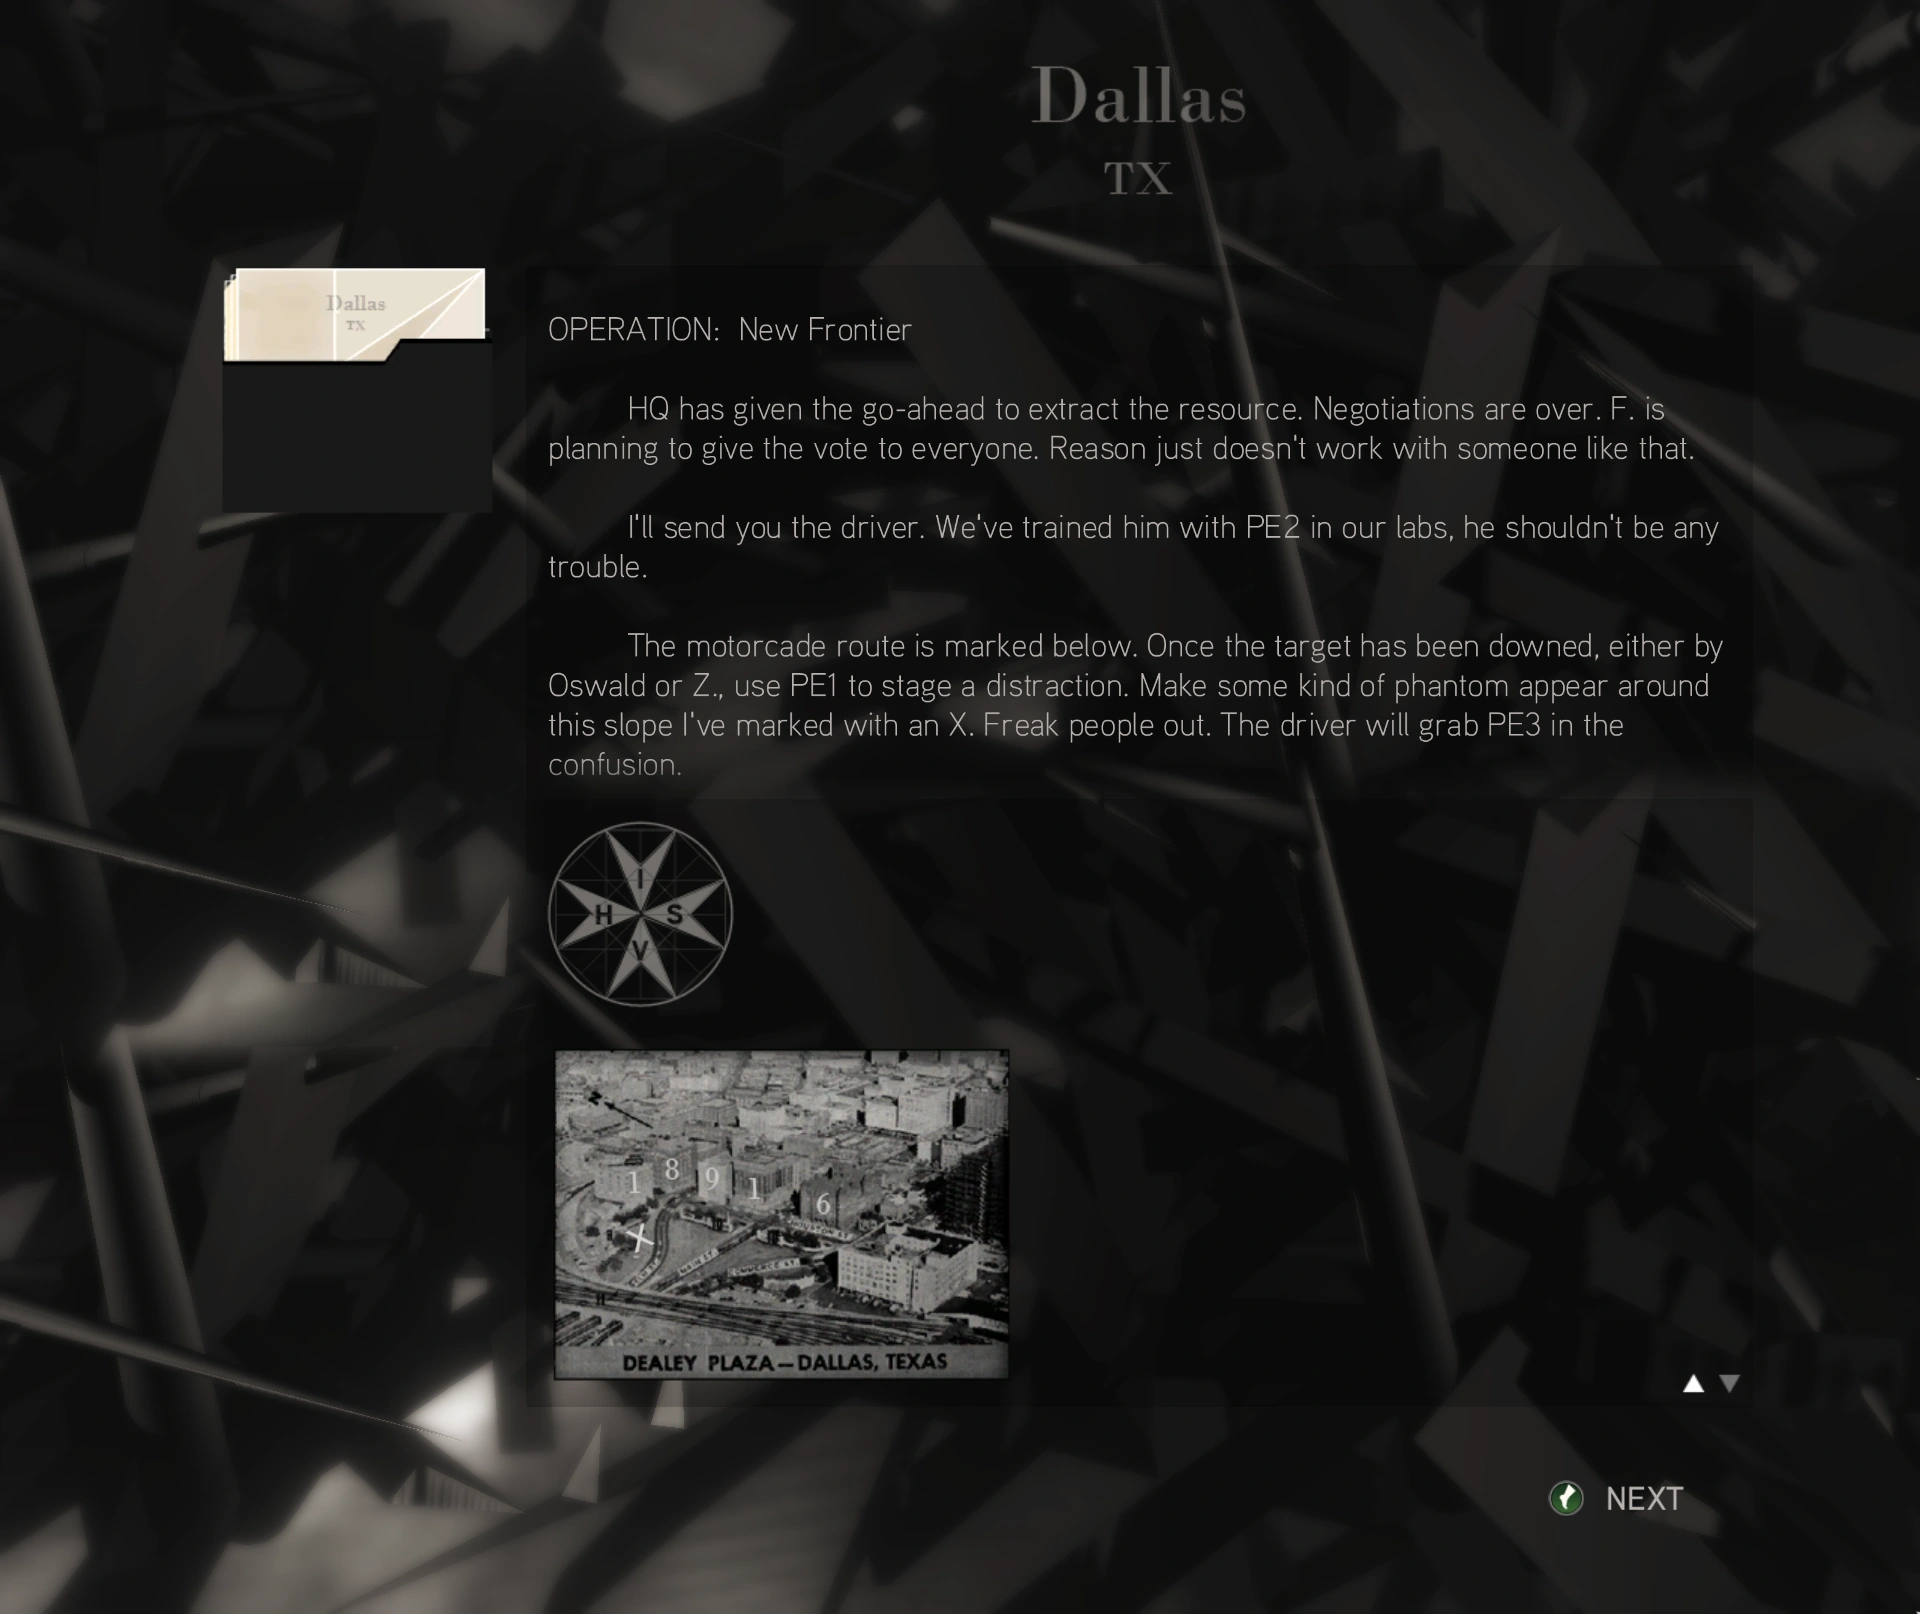
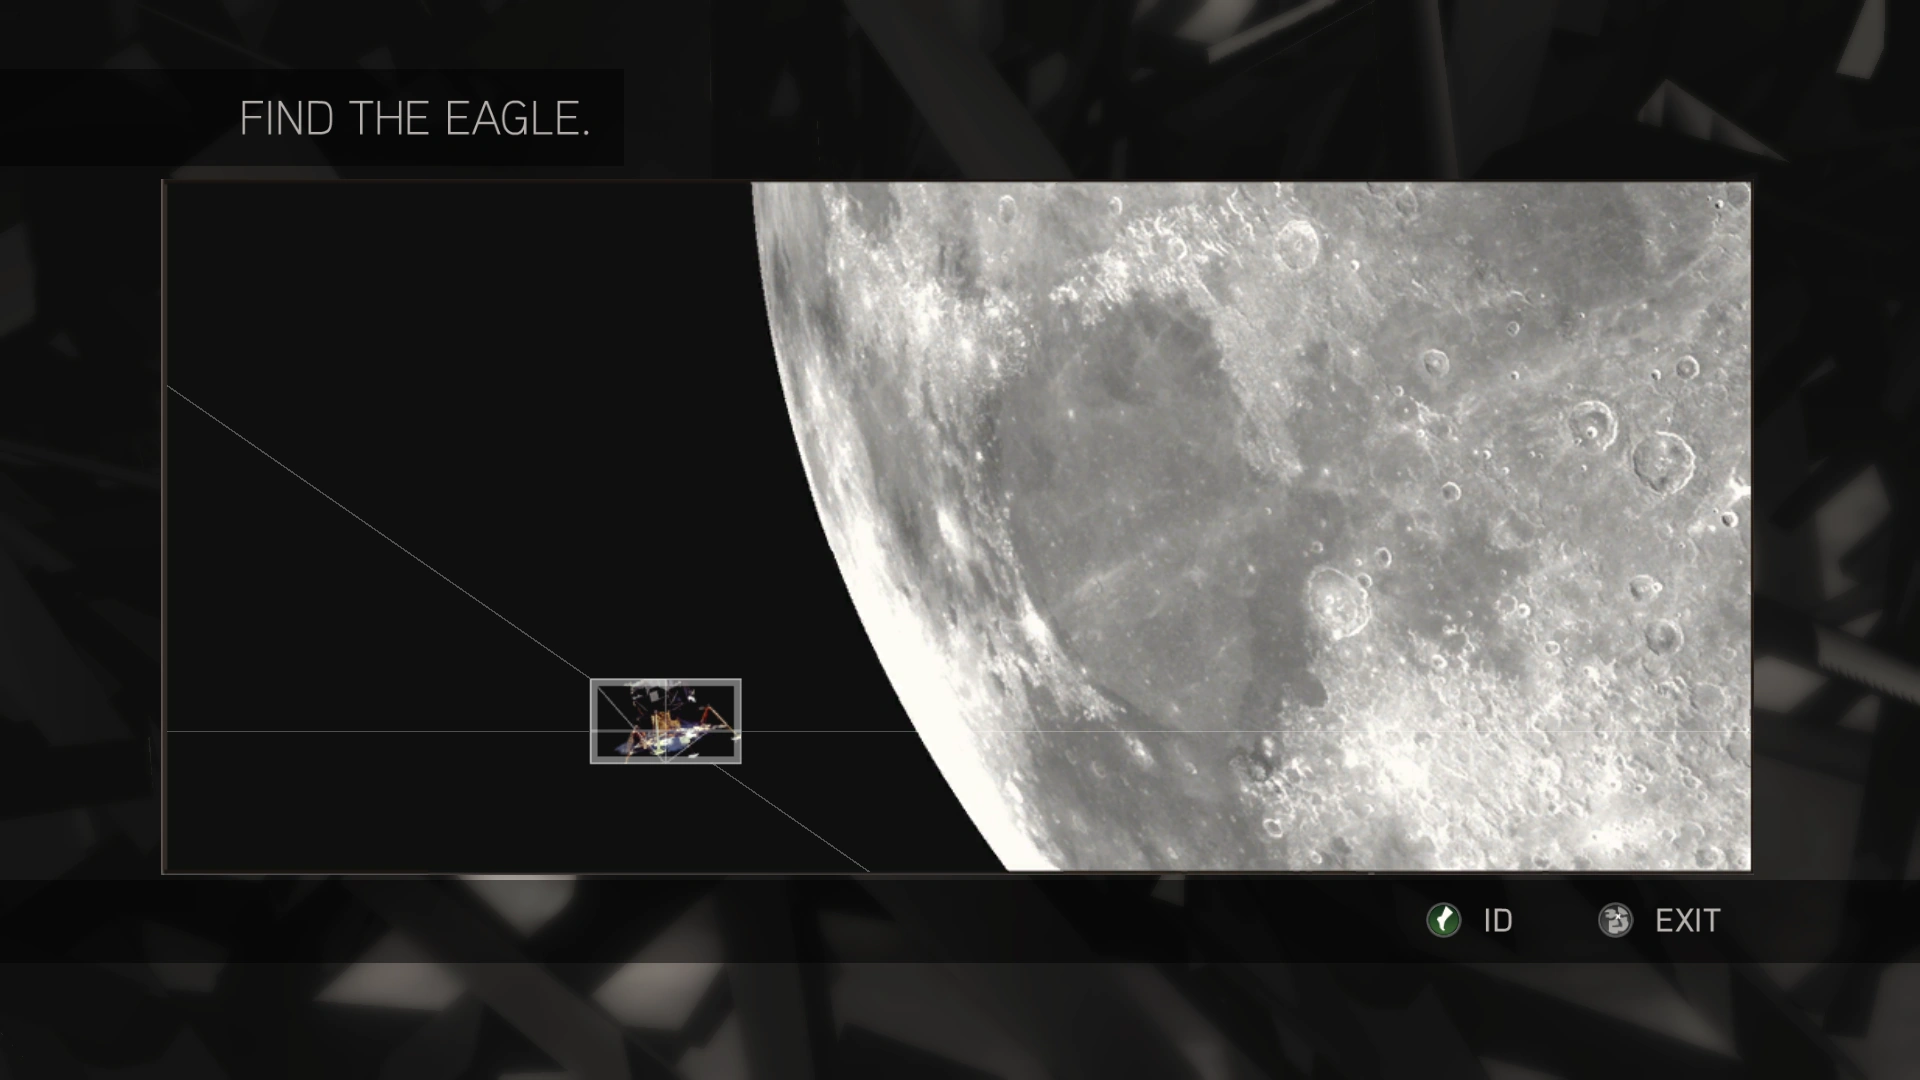
Apollo
The first puzzle involved using sonar to locate and identify the Apollo 11 landing module.
The solved image.
A Masonic pigpen cipher that read "Johnson was one of them. The bee's drone too. Follow the money" was hidden in the image.
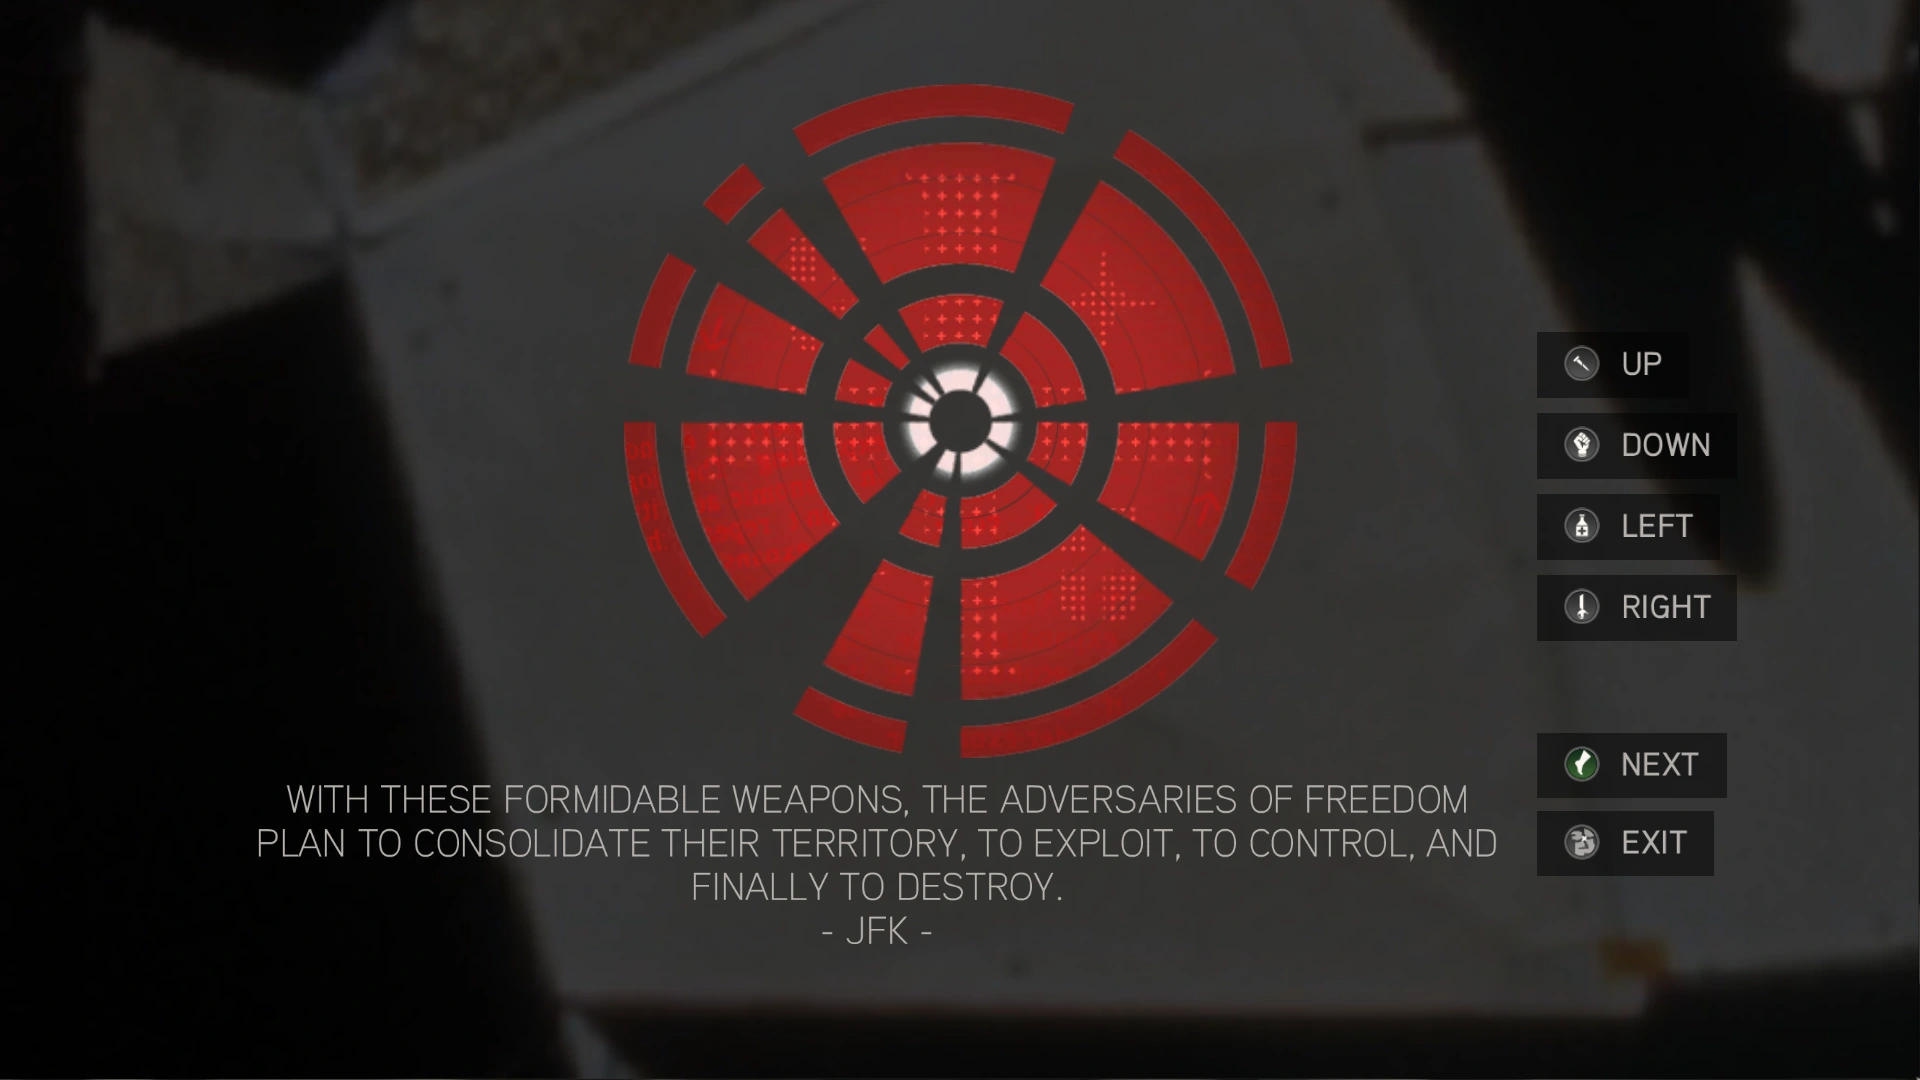
The next puzzle was solved by correctly aligning the gaps across the rings.
The solved image.
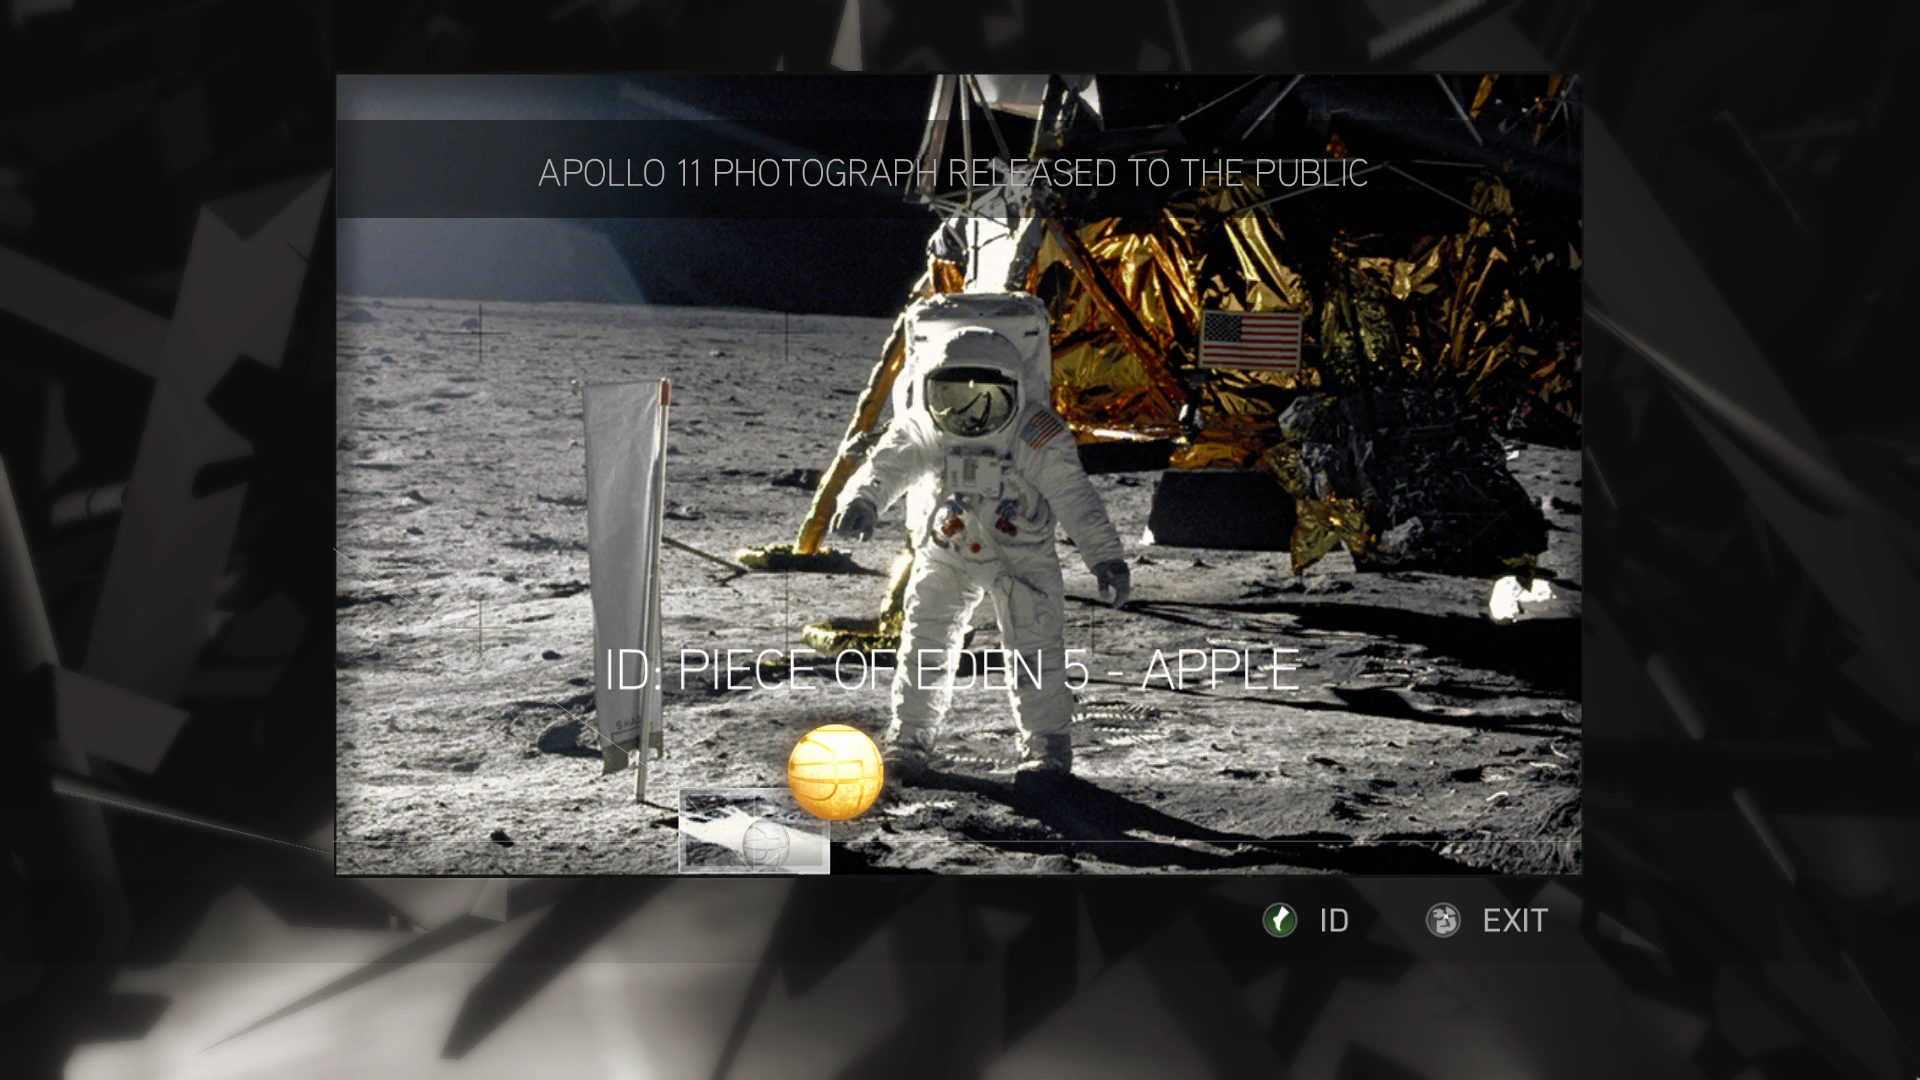
The third puzzle involved using sonar signals to locate the Apple of Eden.
The solved image.
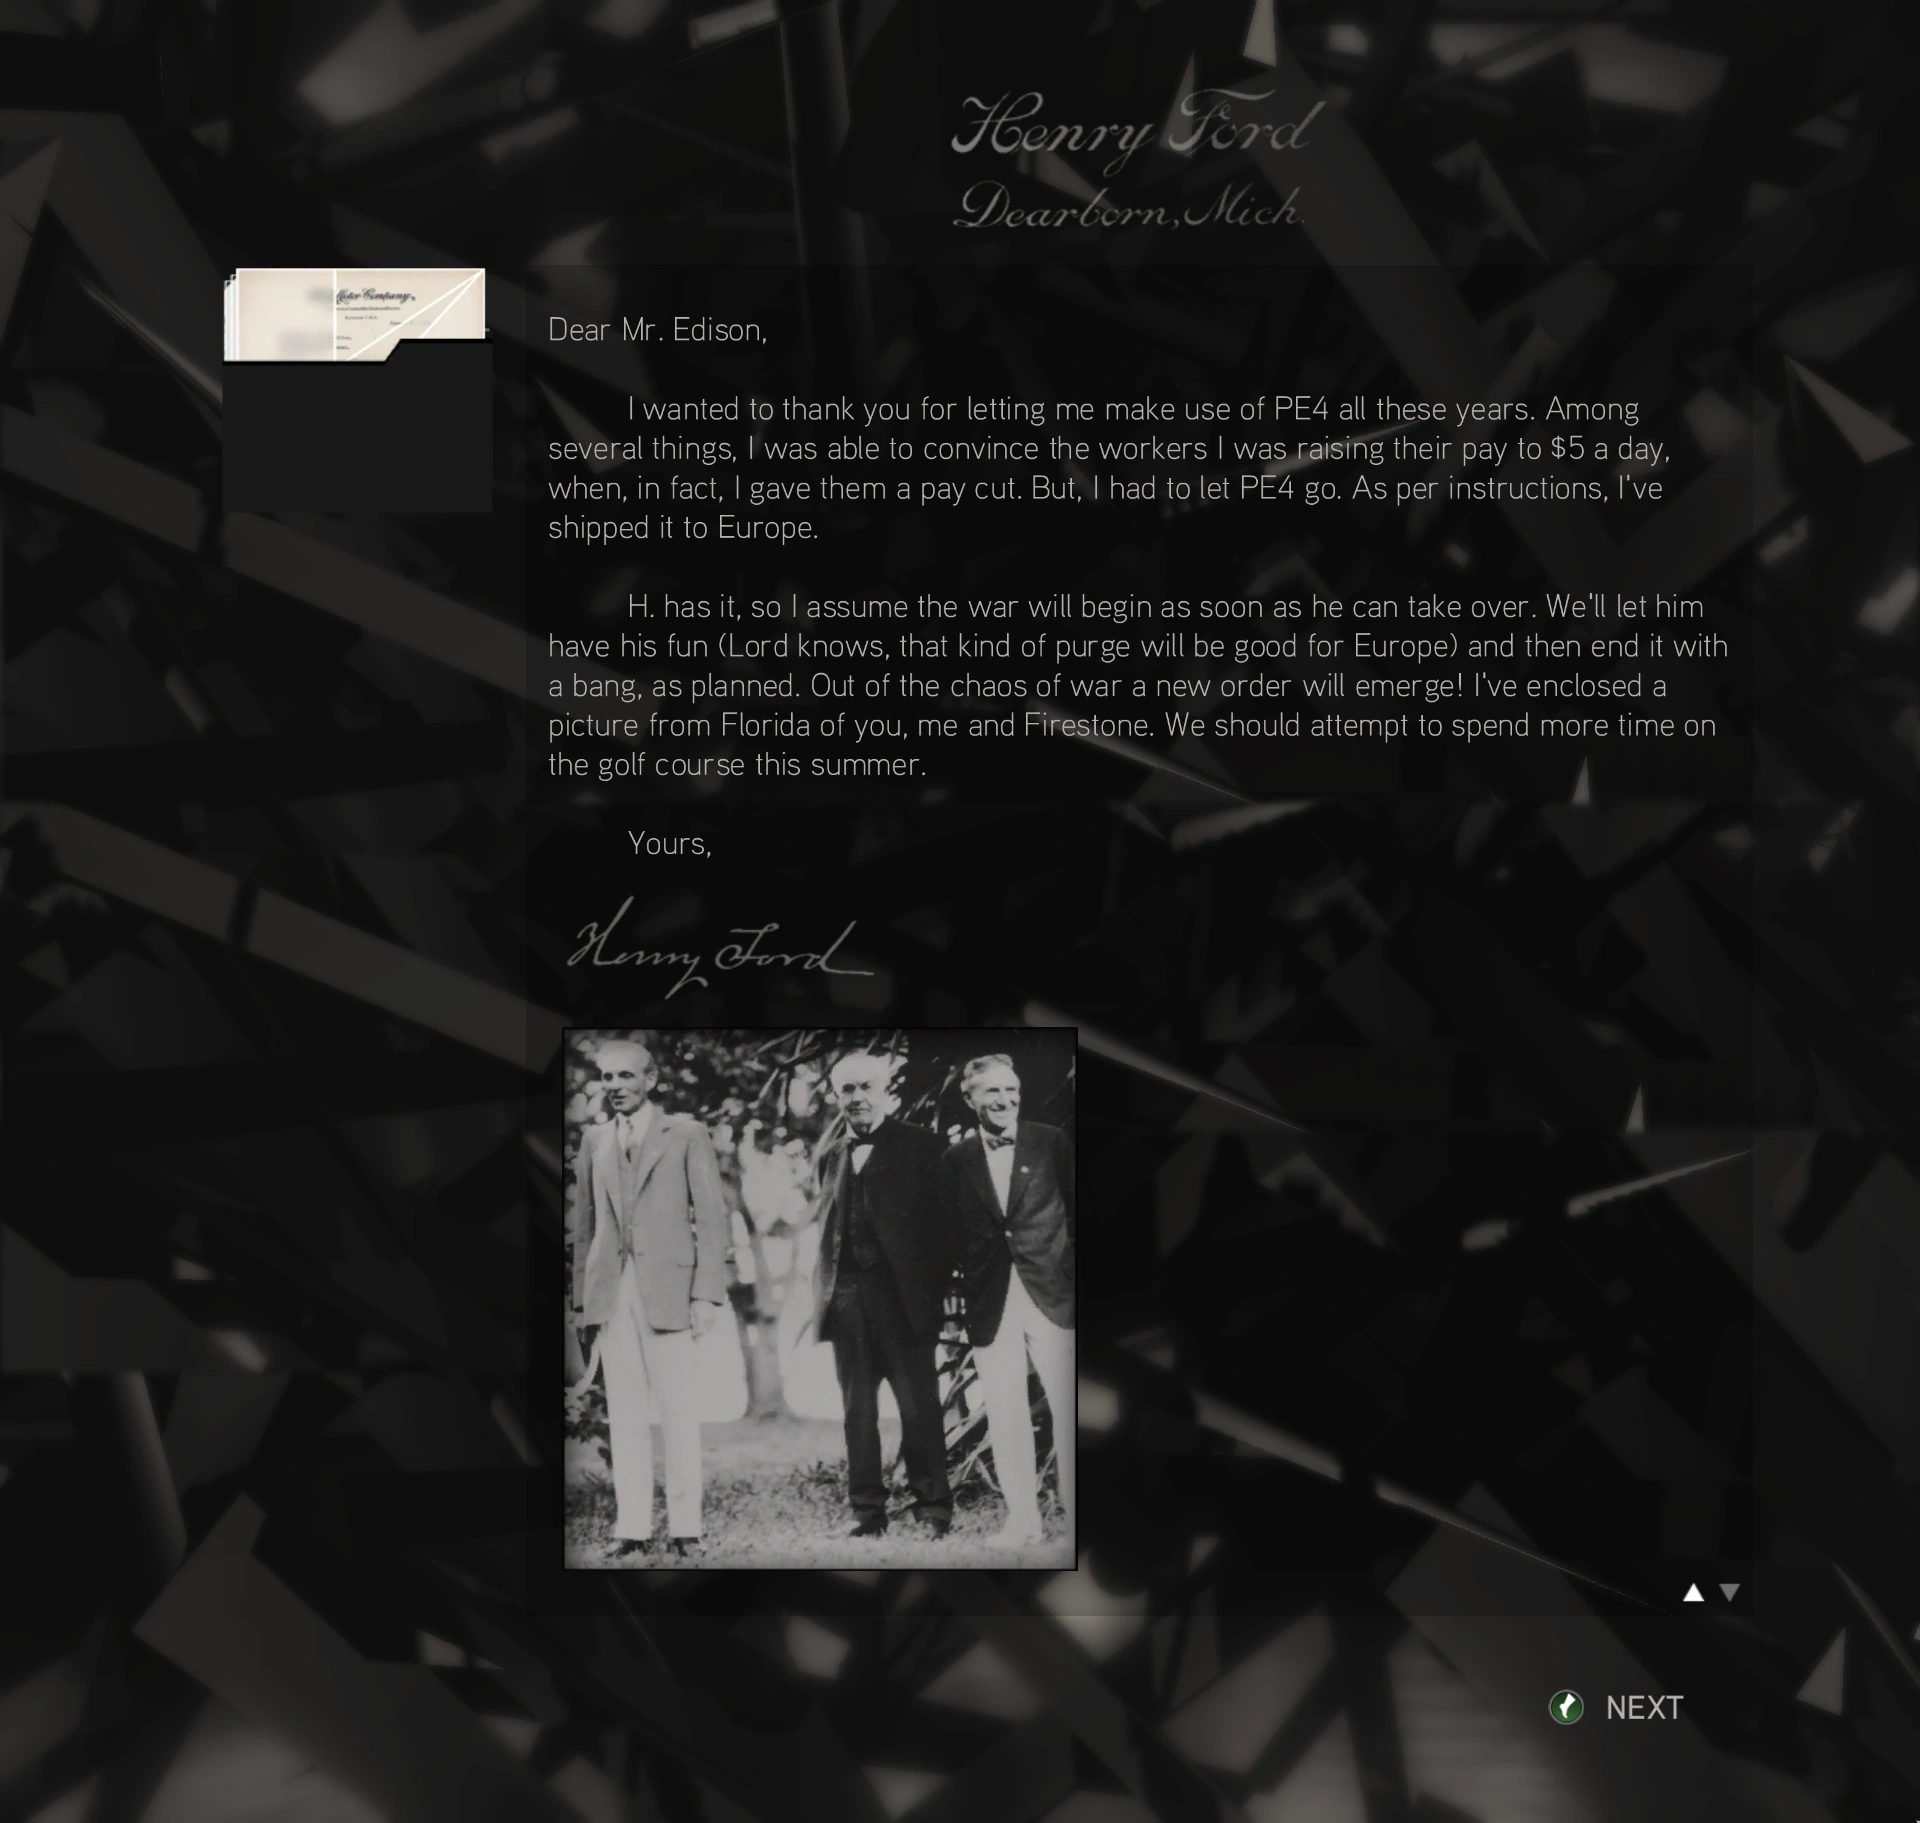
The Inventor
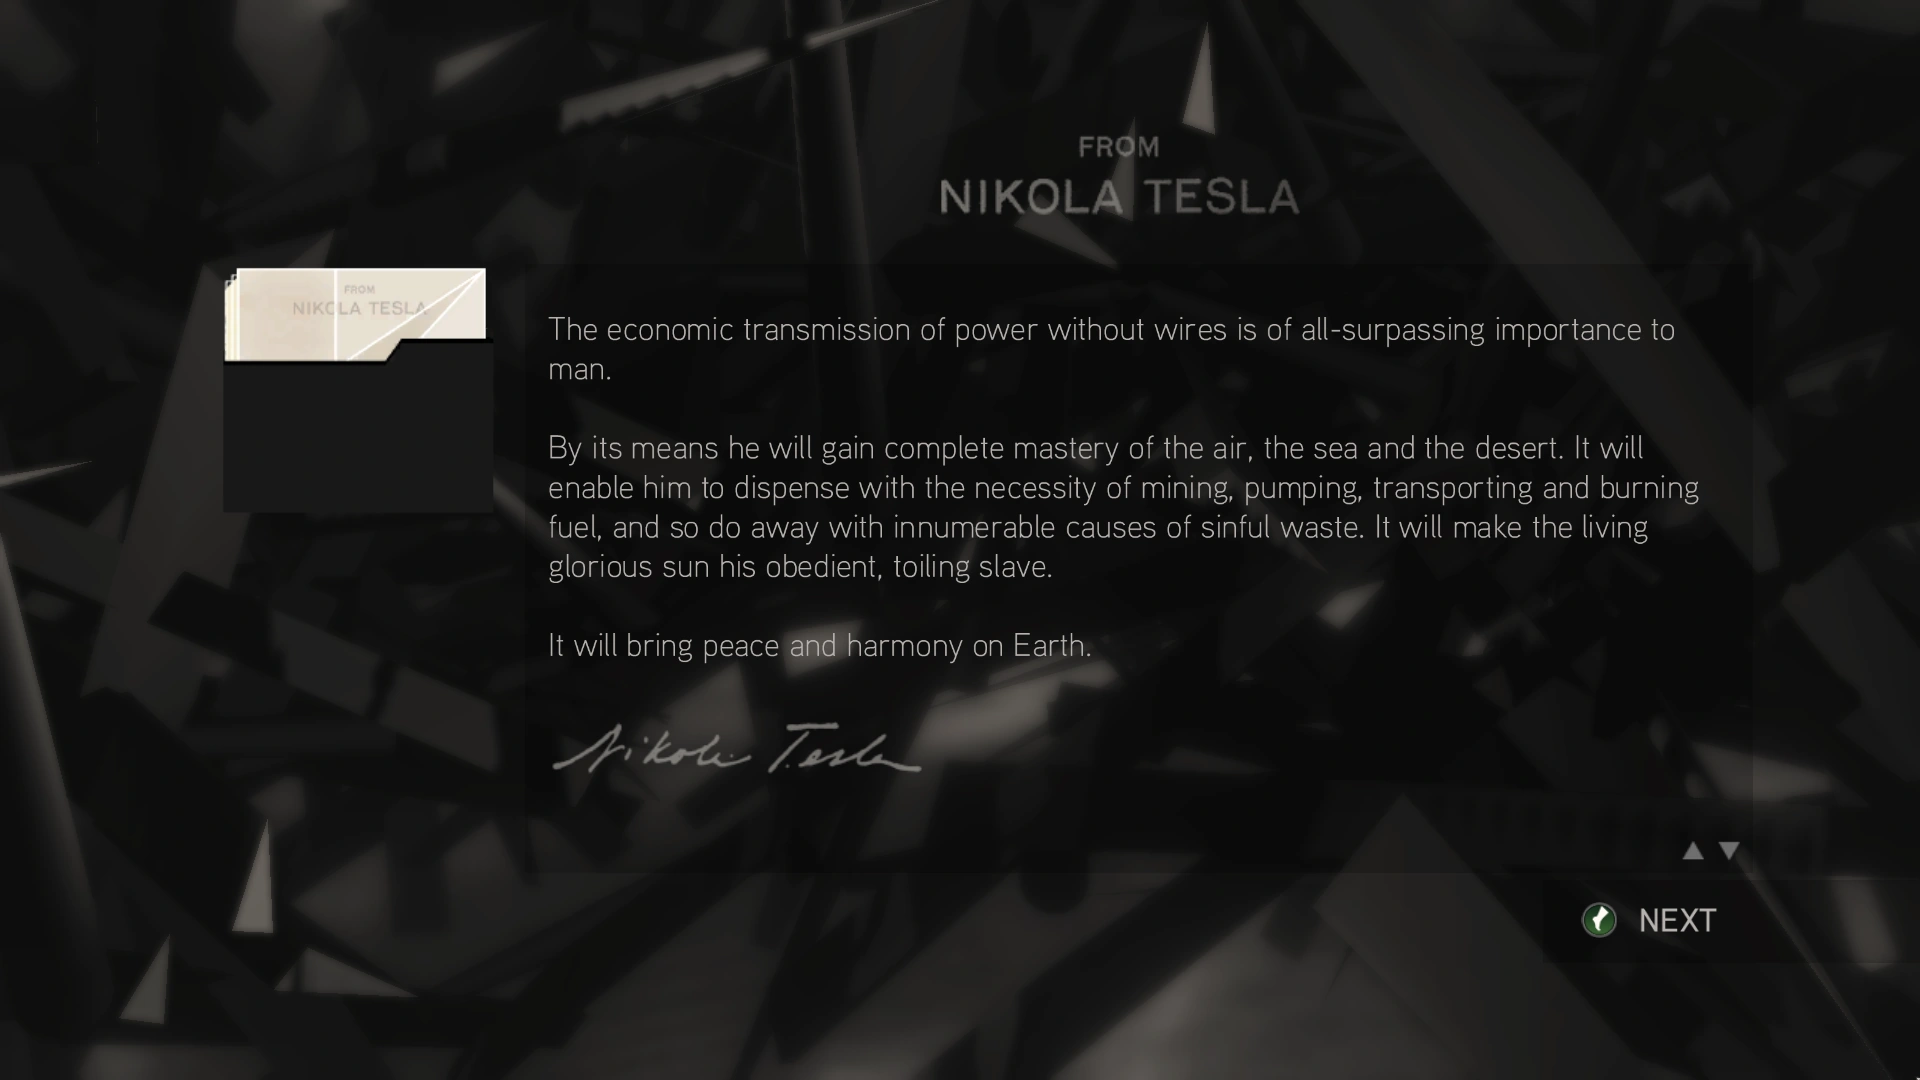
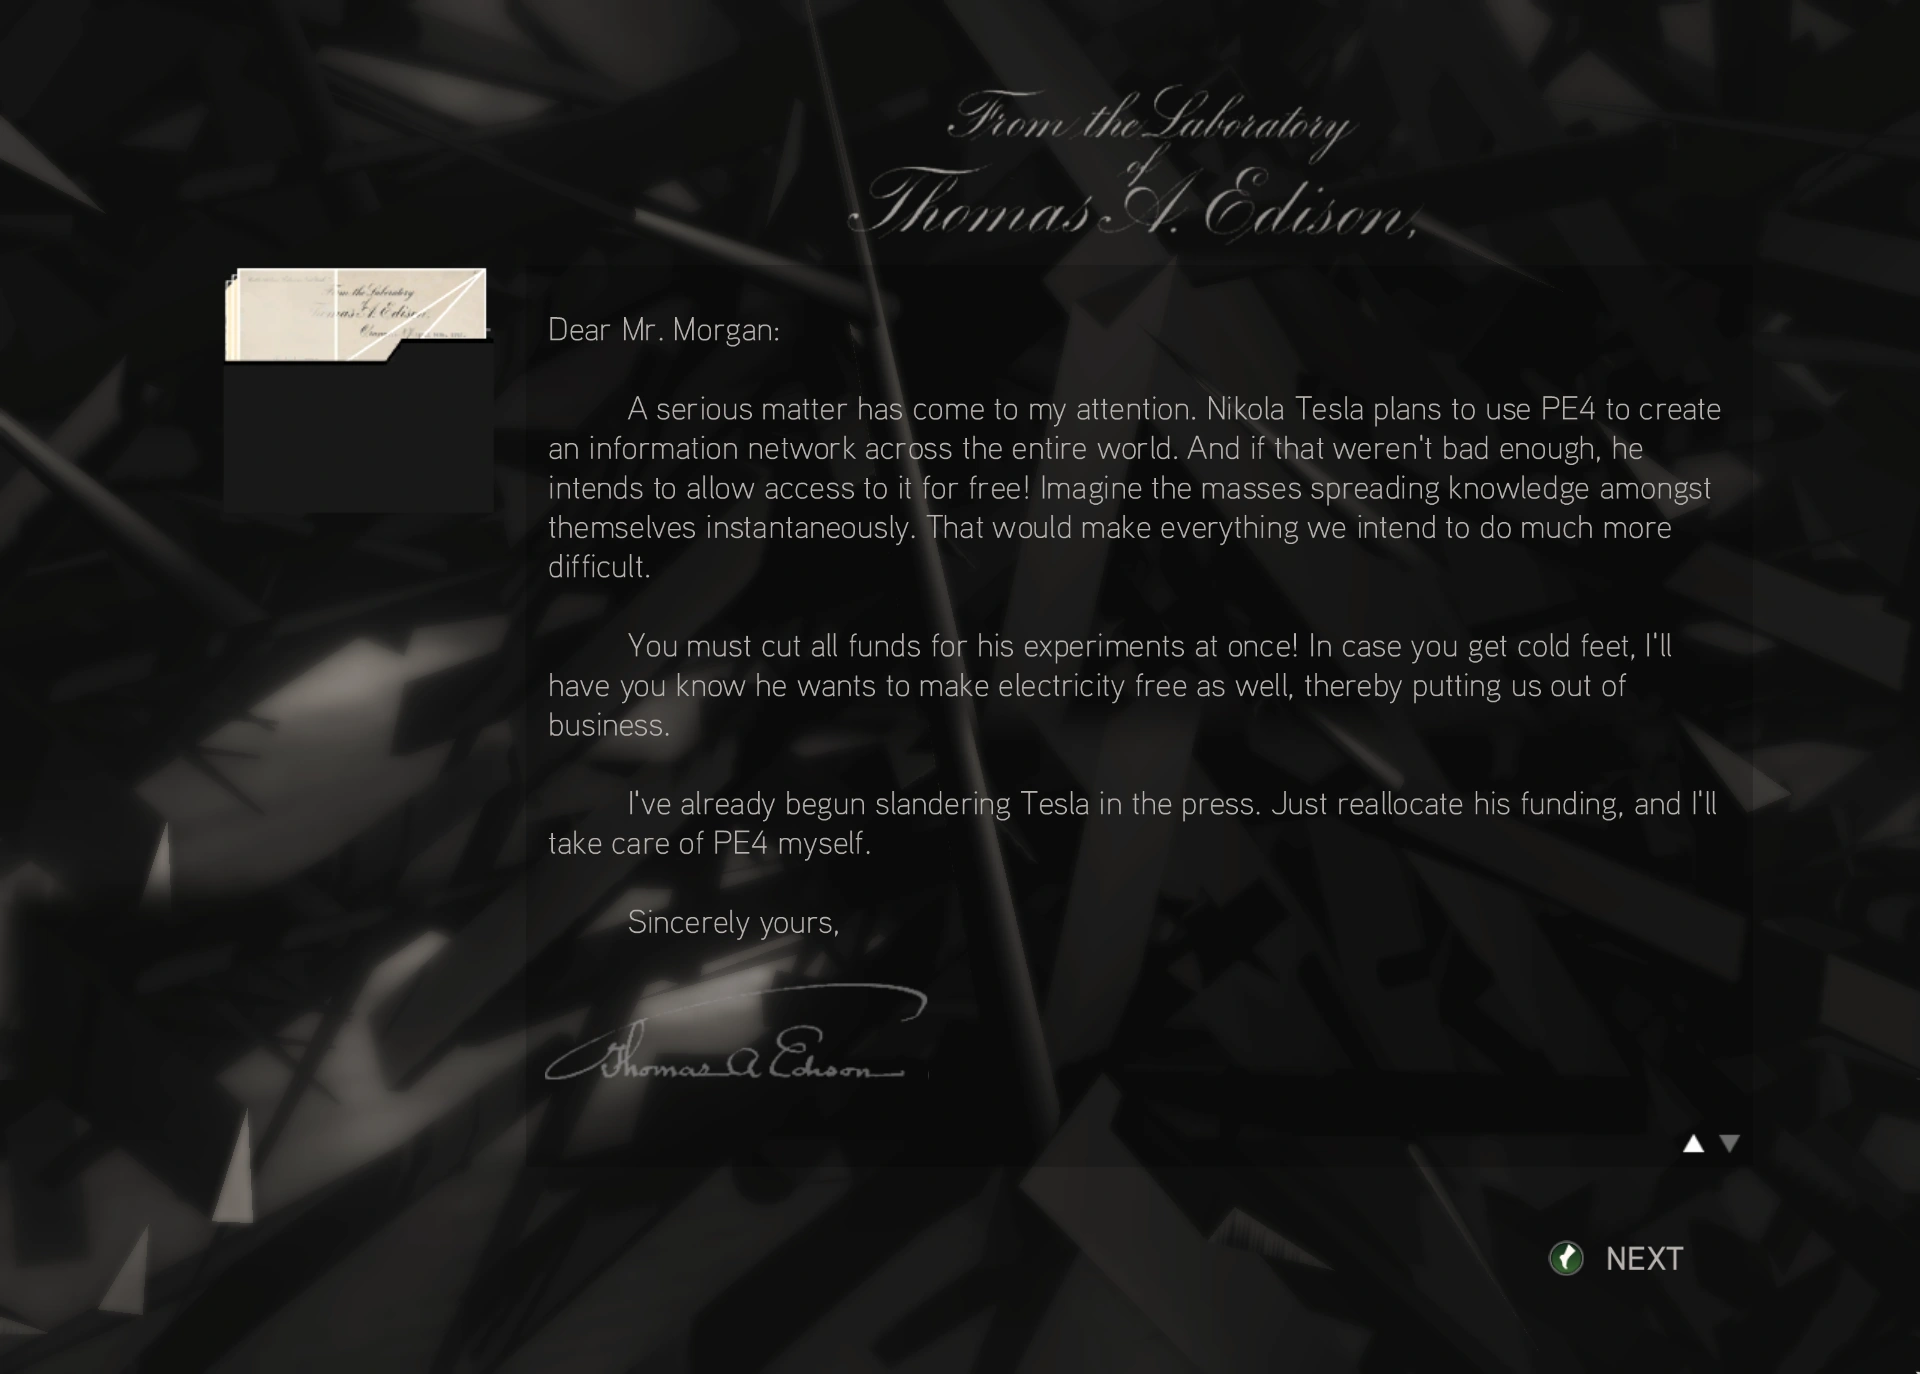
A message preceded the first puzzle.
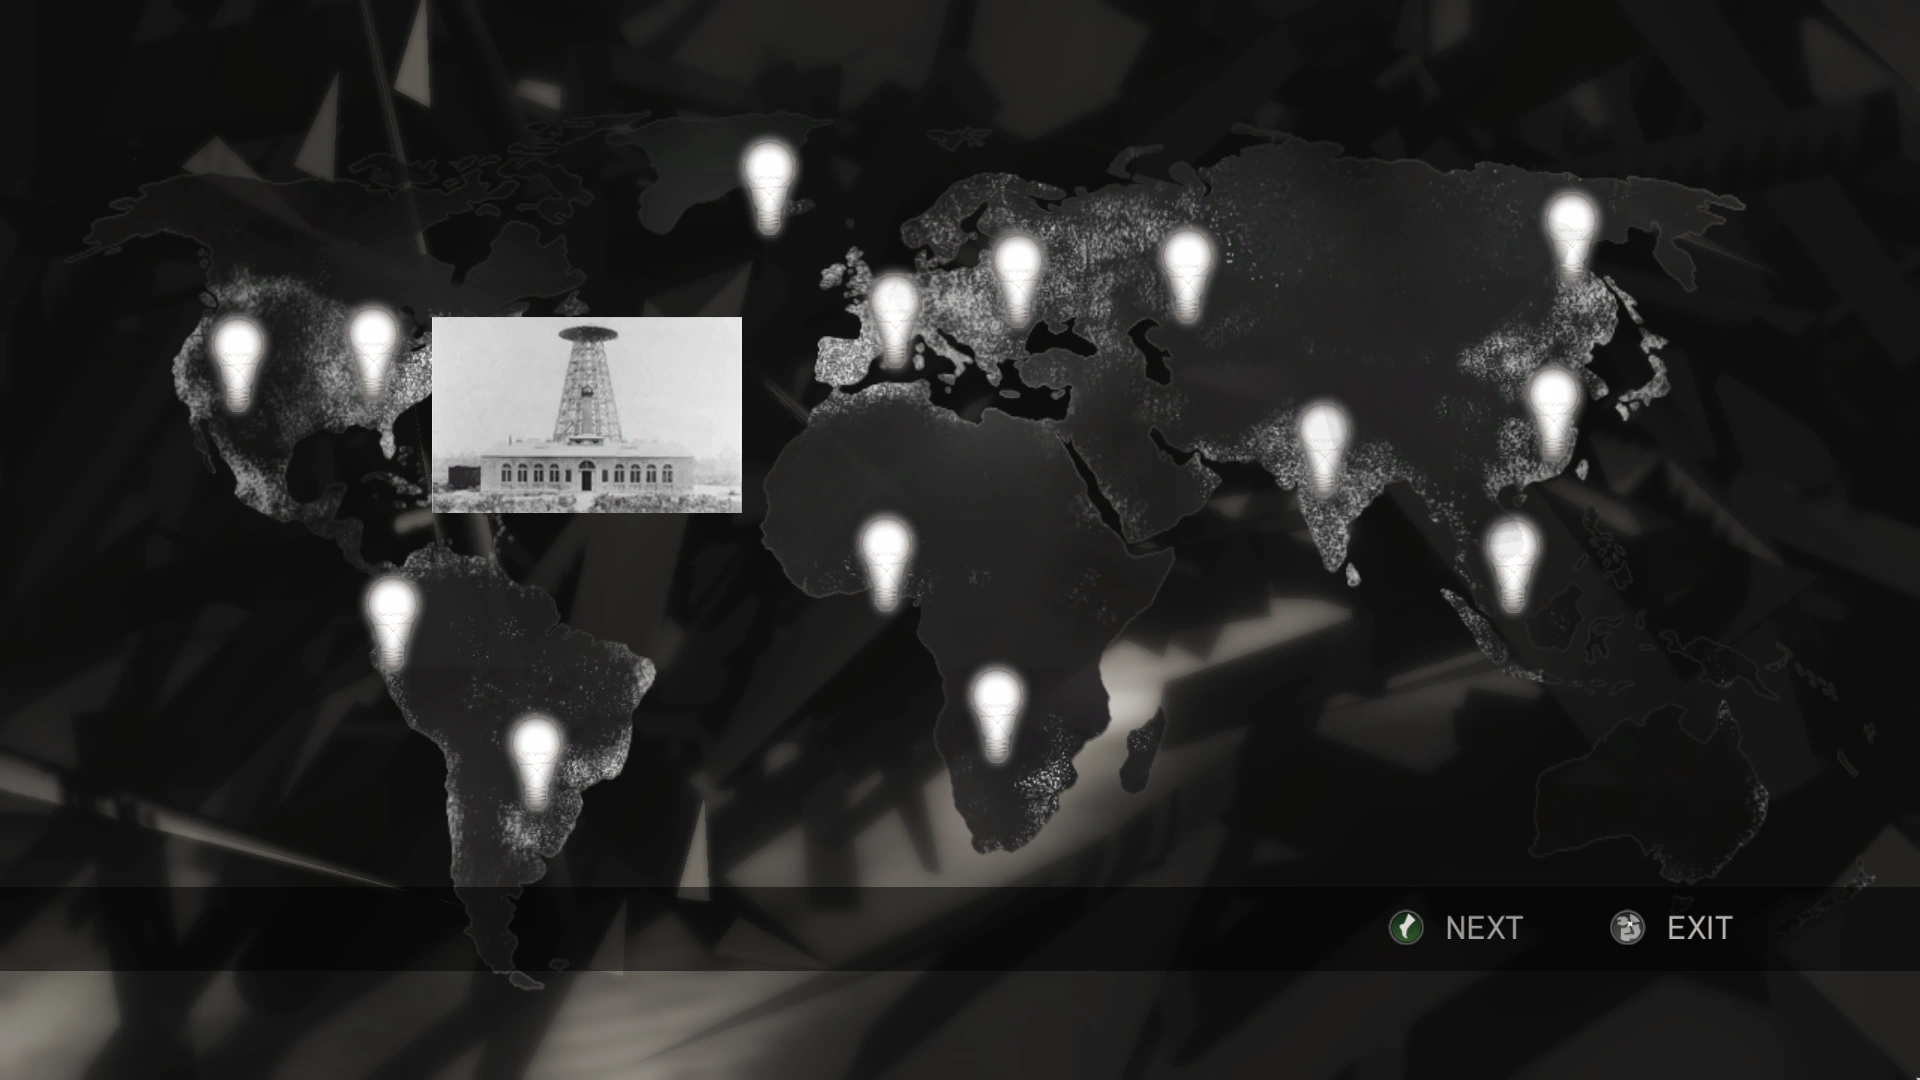
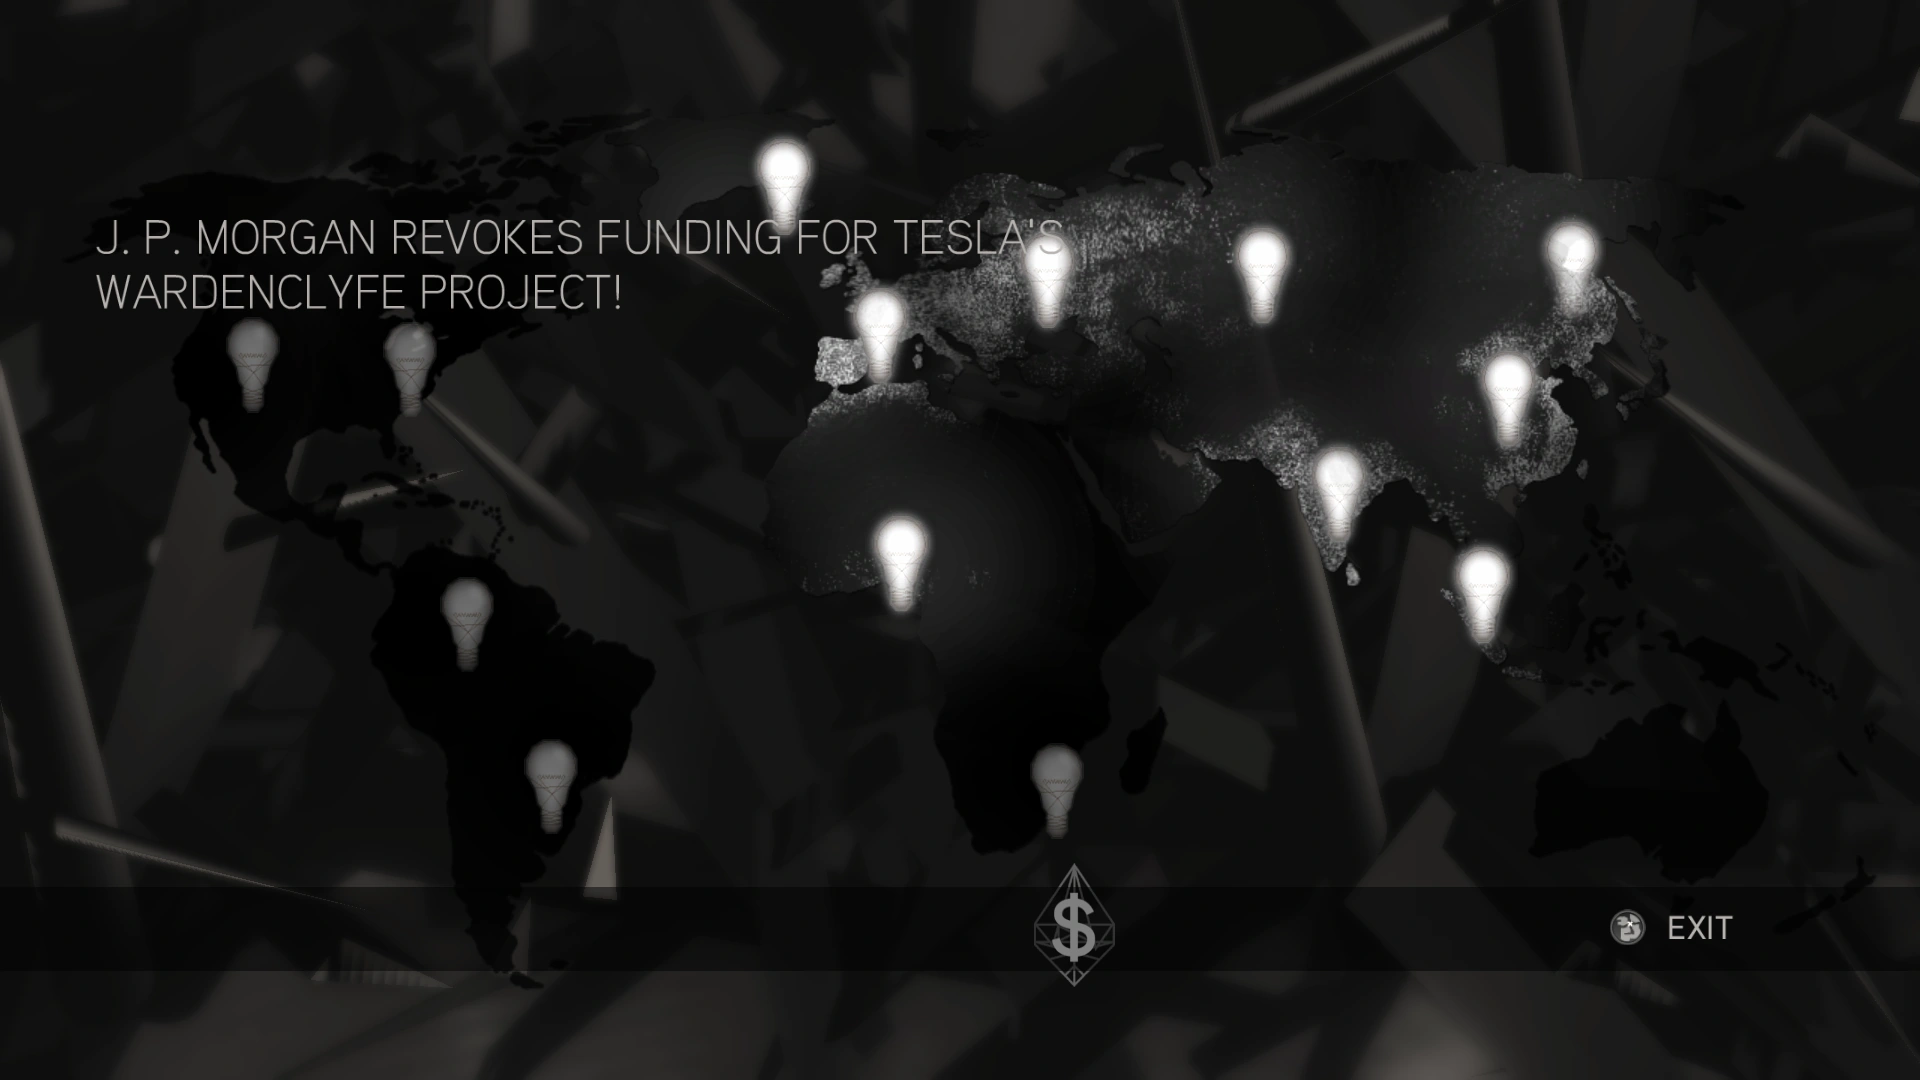
The first puzzle involved activating all the lightbulbs across the world map.
The first solved image.
The second puzzle was solved by finding hidden images in the photos.
The second solved image.
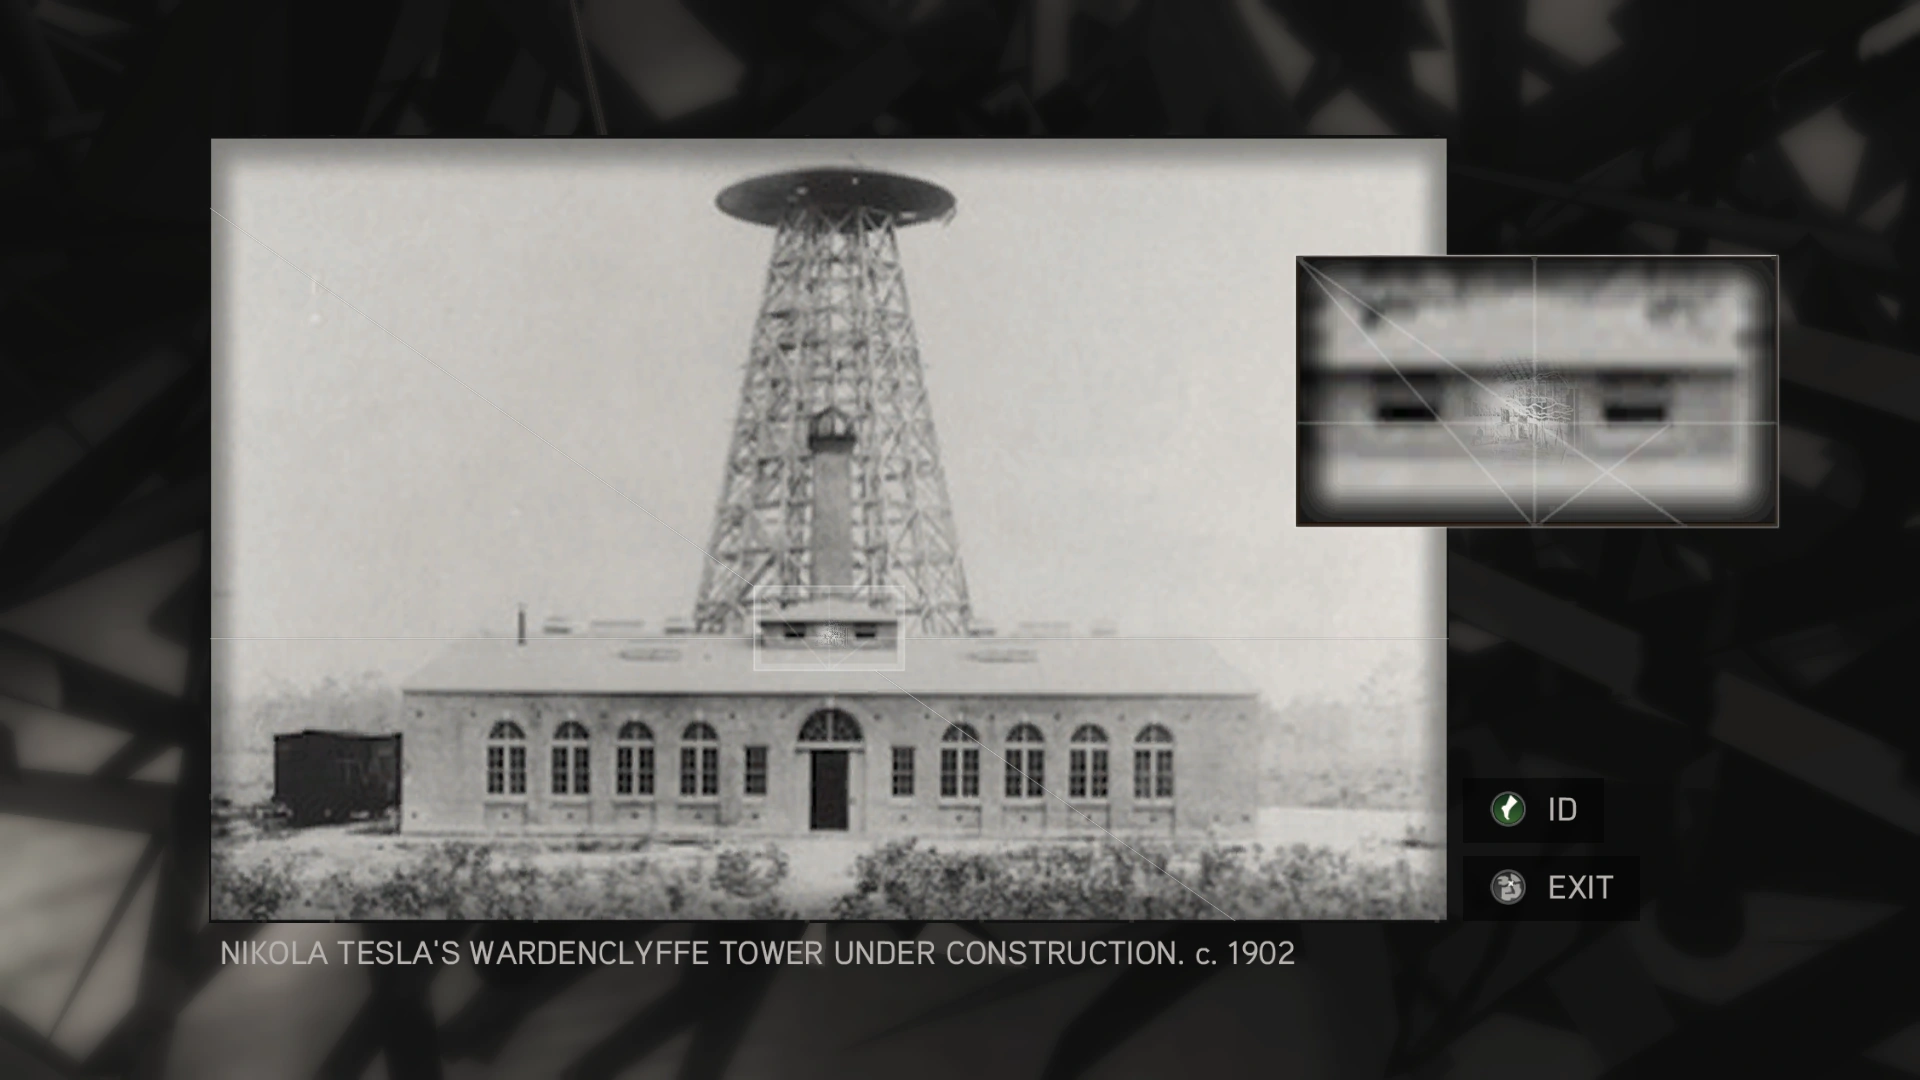
The third solved image.

Hidden message were present in the images.
- Wardenclyffe Tower: The image hid three quotes from Nikola Tesla.
- Nikola Tesla c. 1900: A Caesar cipher reading "He used it to develop a bottomless source of energy. Telefunken Wireless Station" was hidden in arcs of energy shooting from the coil.
Titans of Industry
The first puzzle puzzle involved solving a Caesar cipher to obtain the access code.
The solved puzzle.
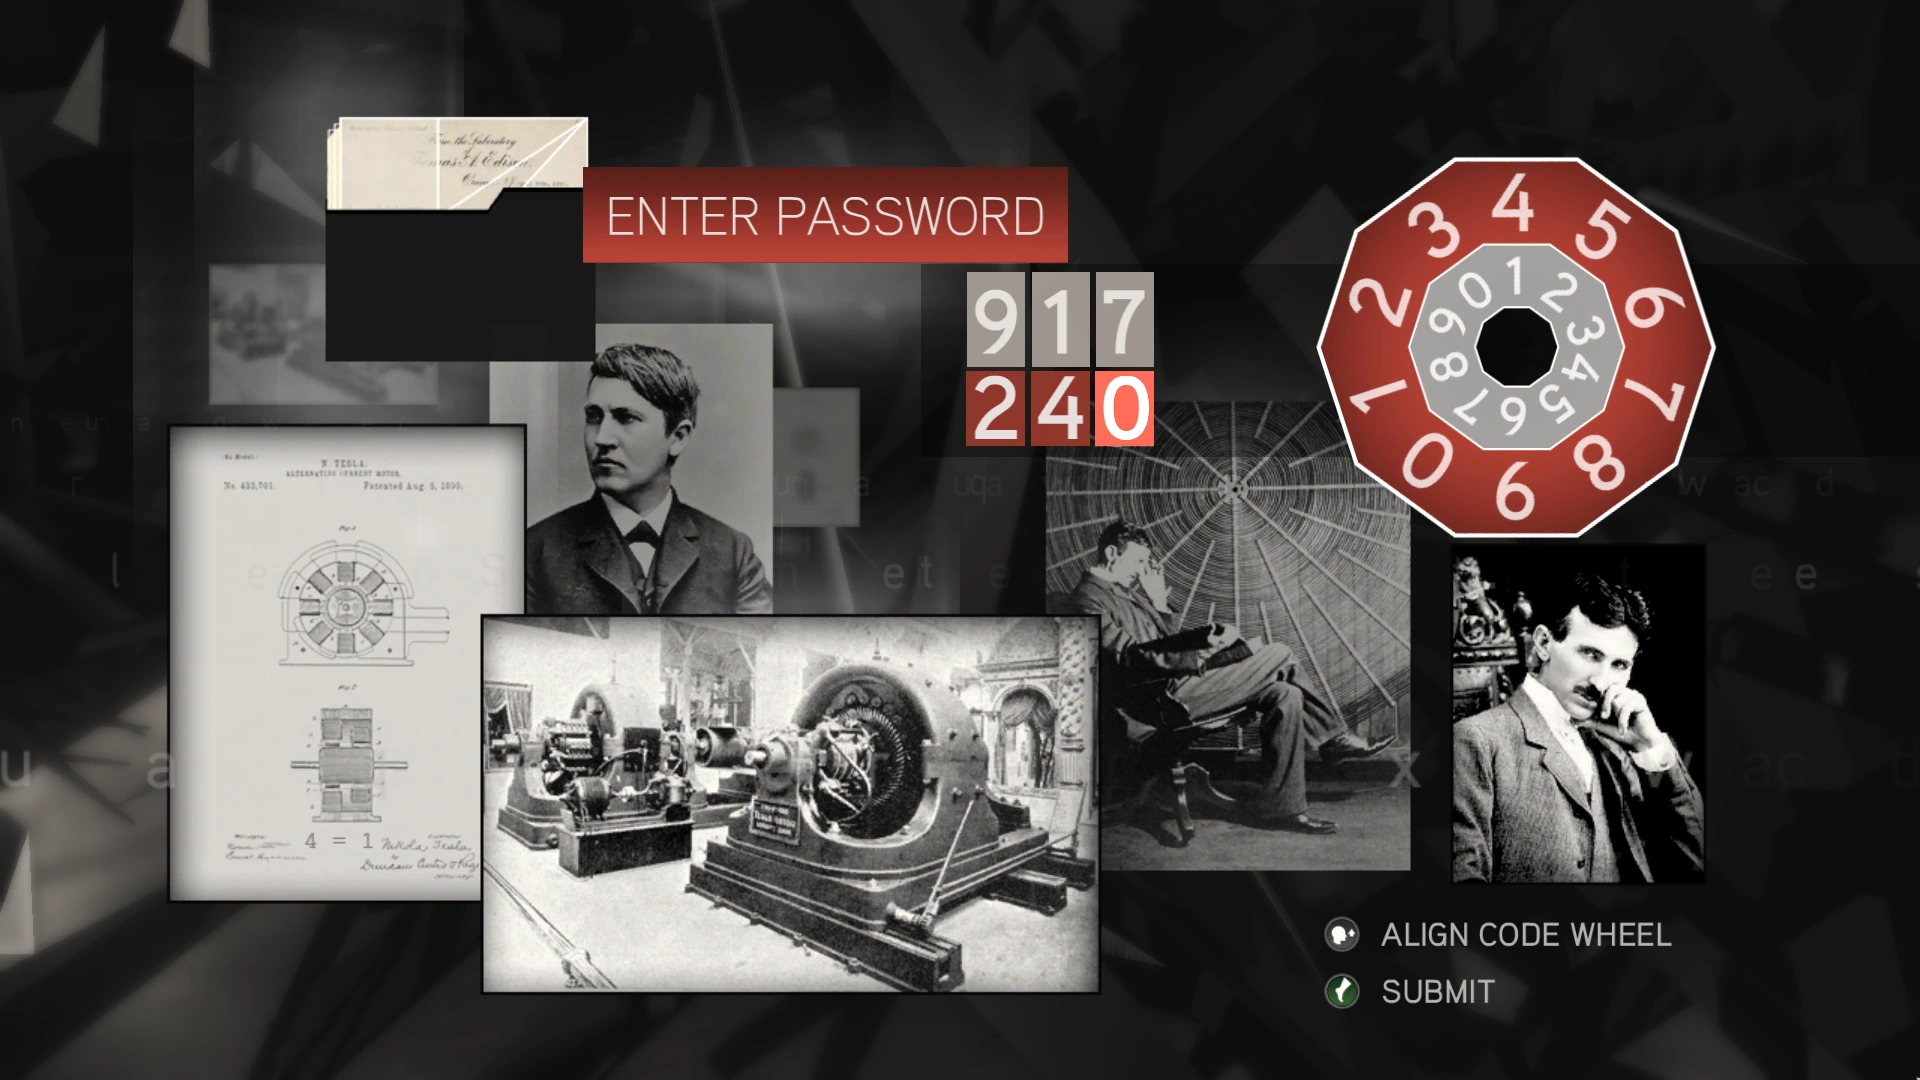
A message followed.
The second puzzle involved breaking all lightbulbs across the globe.
The solved image.
The third puzzle involved selecting the Apple of Eden held in Mark Twain's hands.
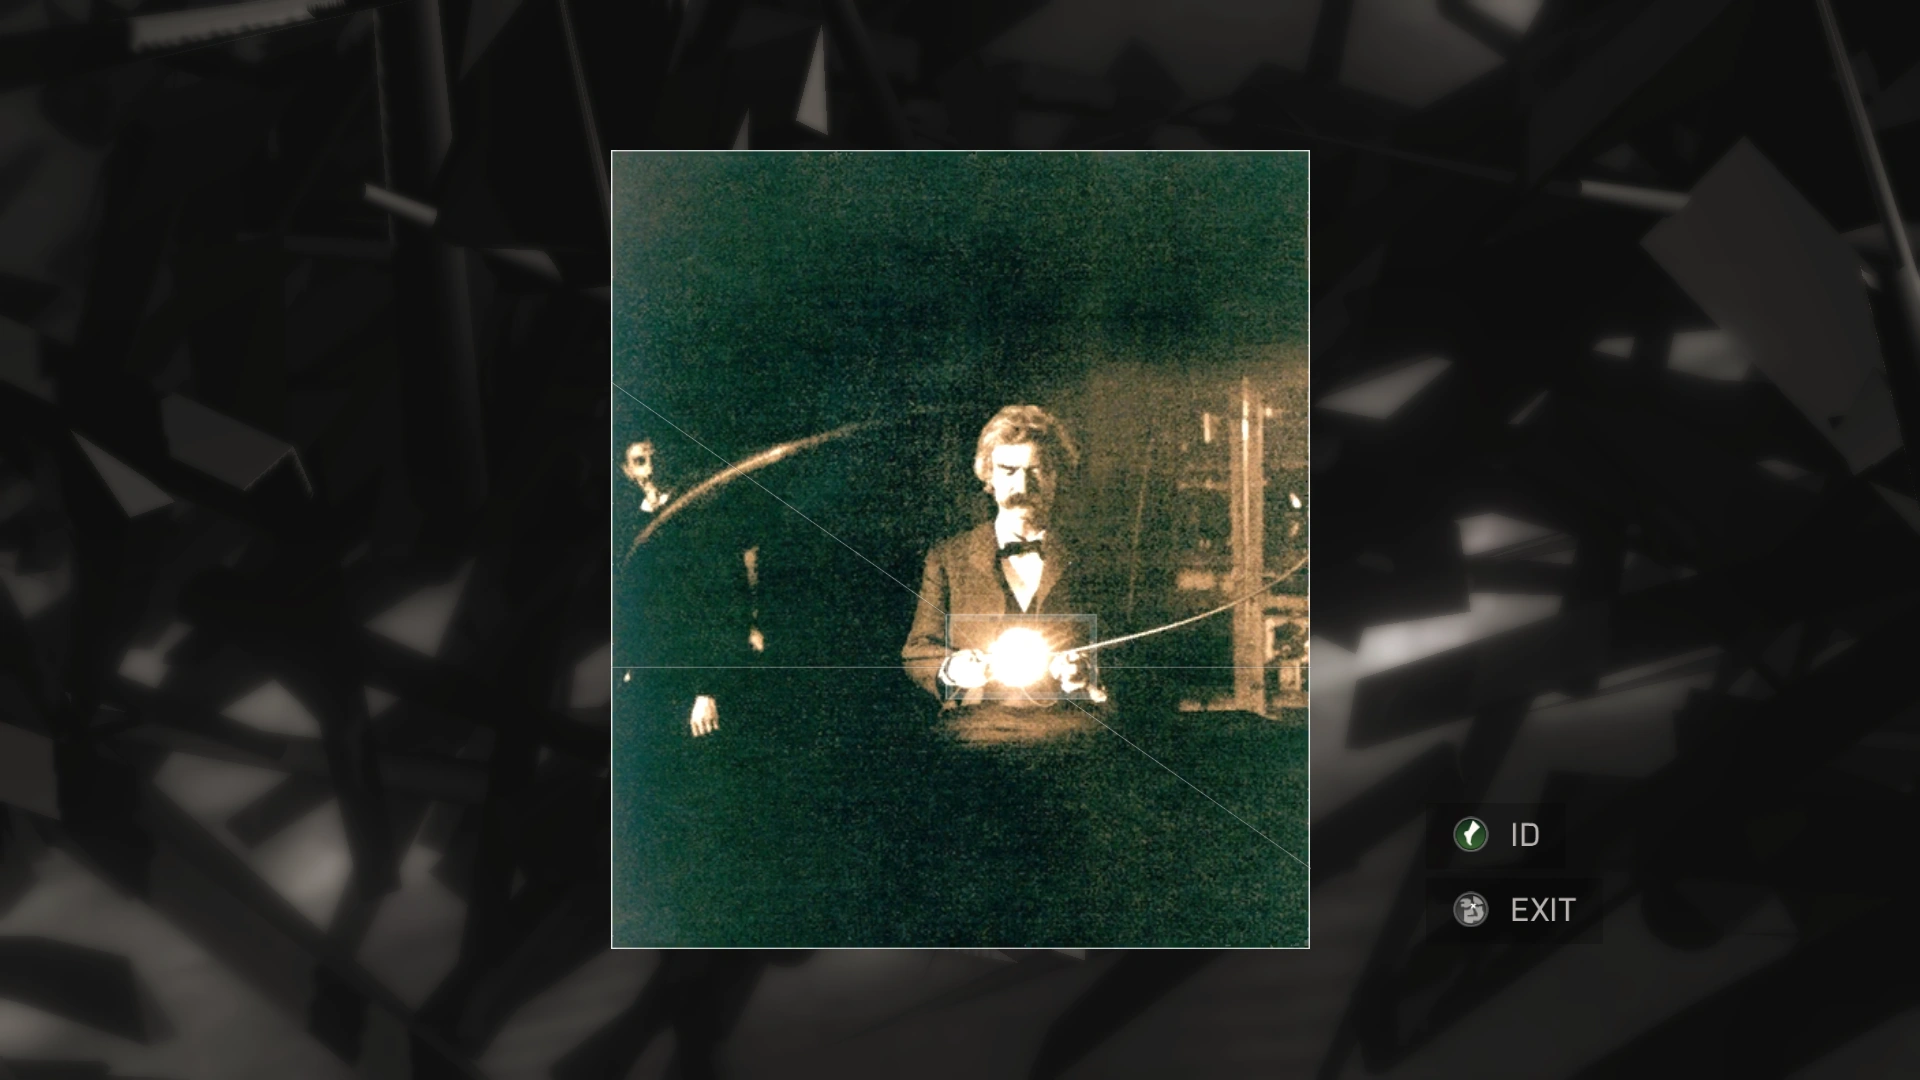
A hidden Morse cipher reading "They used it to make Tesla go insane. The organization took his research. Alien Property Custodian." was present in the image.
The fourth puzzle involved solving a Caesar cipher to obtain the access code.
The solved puzzle.
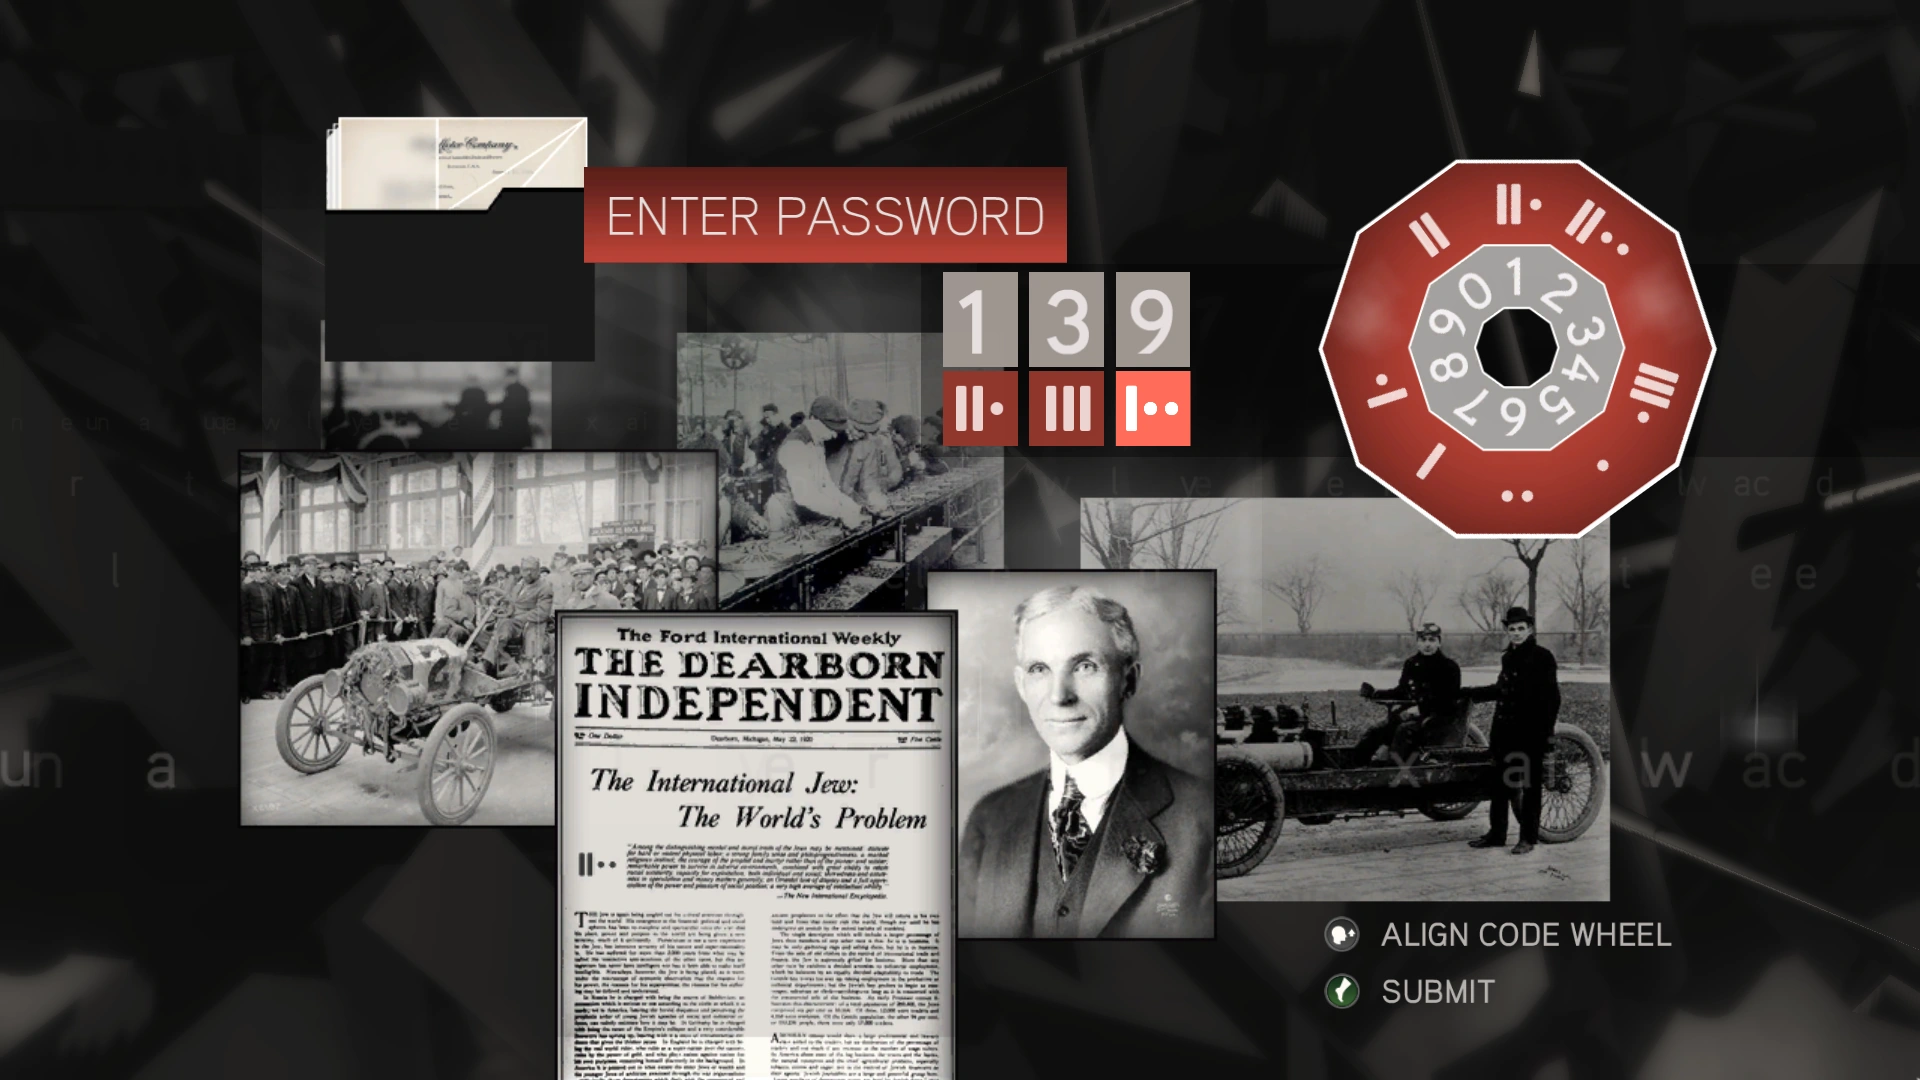
A message followed.
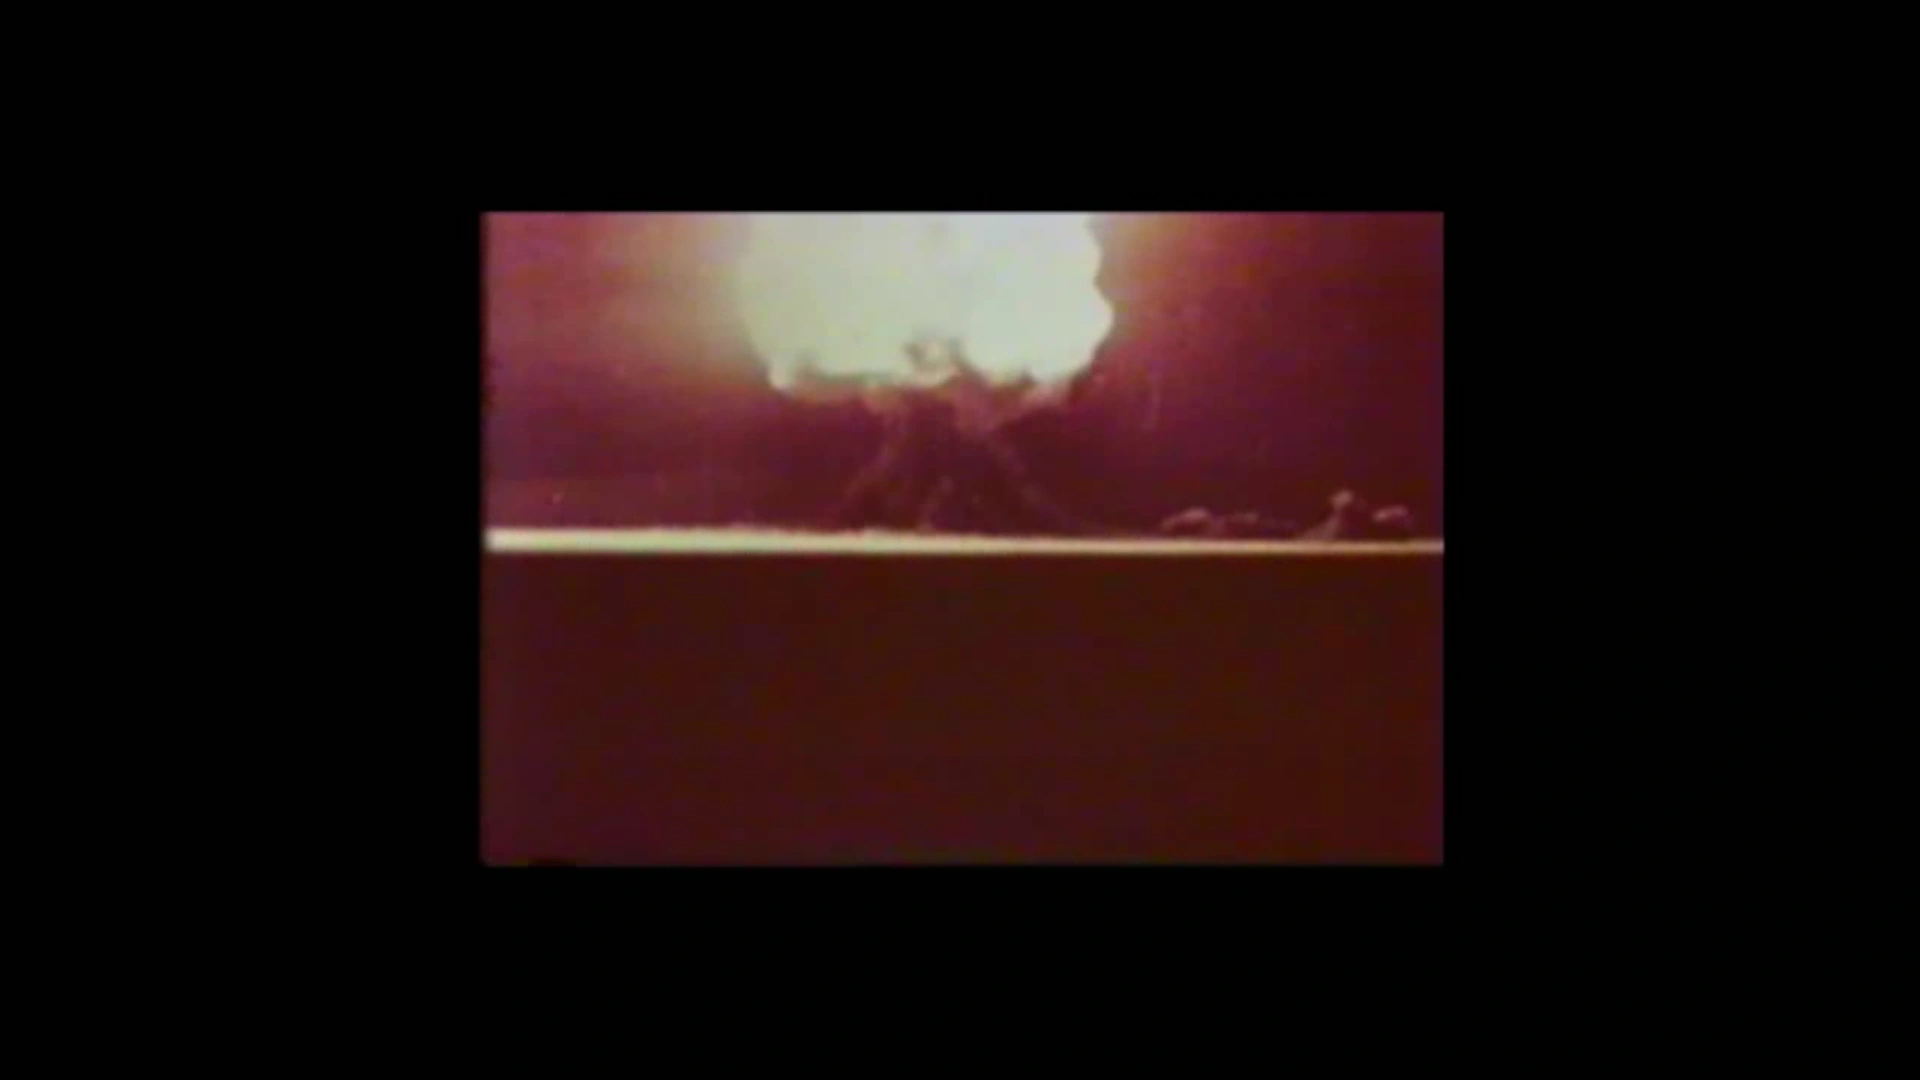
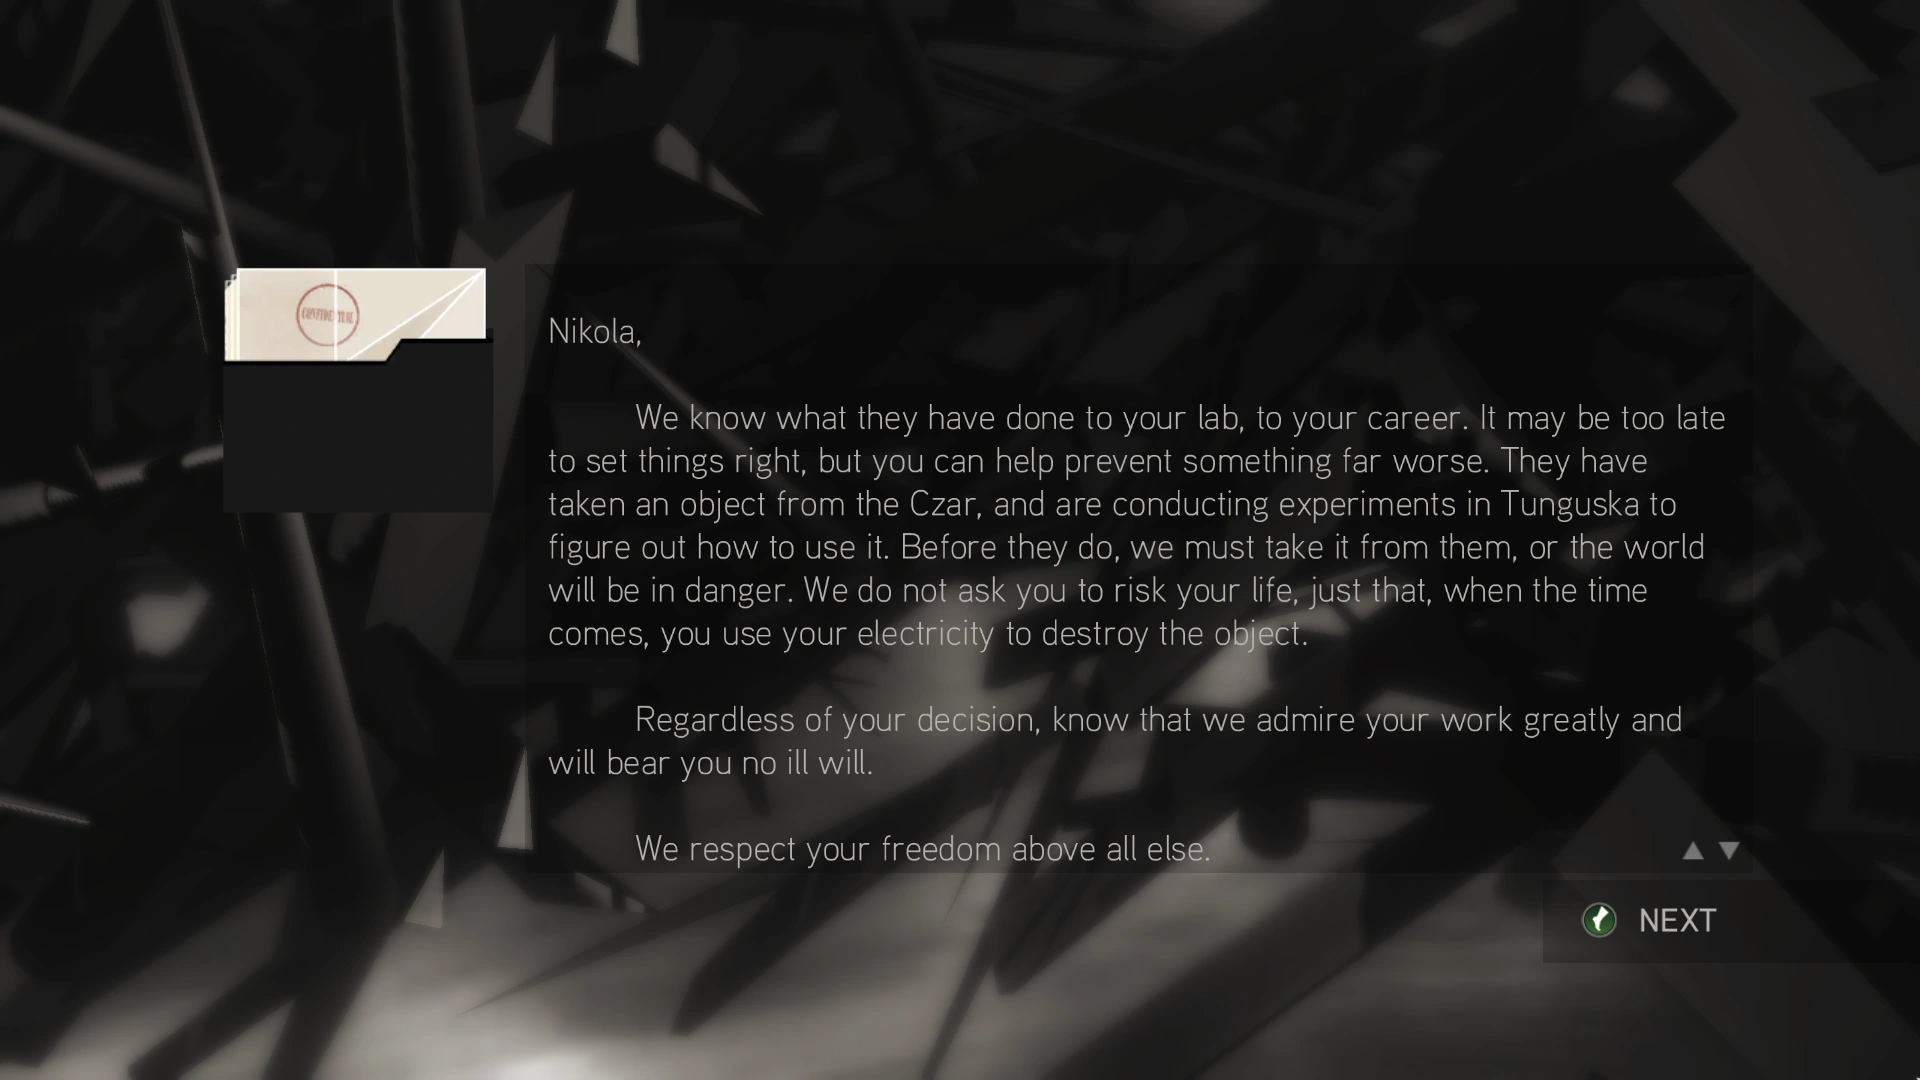
I Am Become Death, The Destroyer of Worlds
The first puzzle puzzle involved solving a Caesar cipher to obtain the access code.
The solved puzzle.
A message followed.
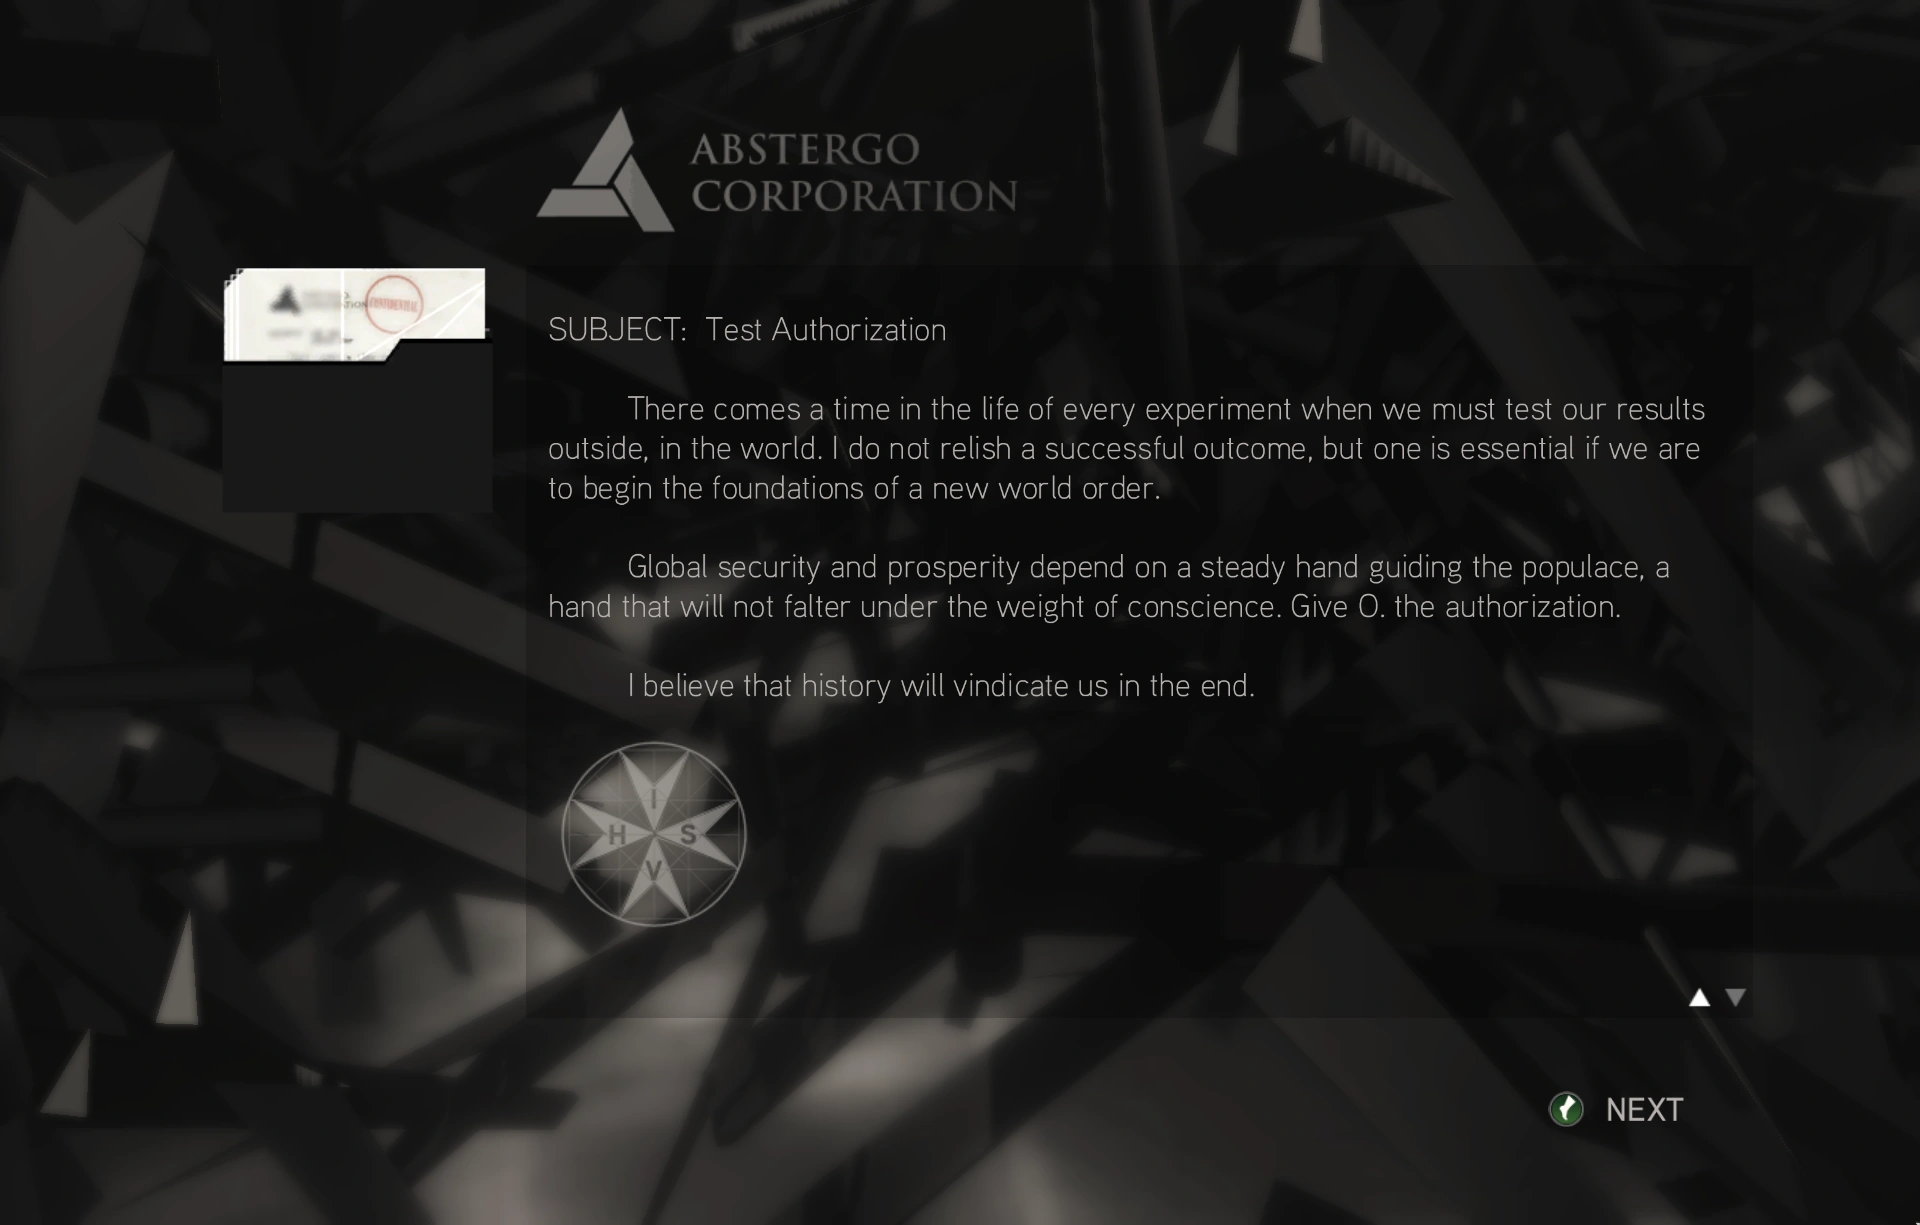
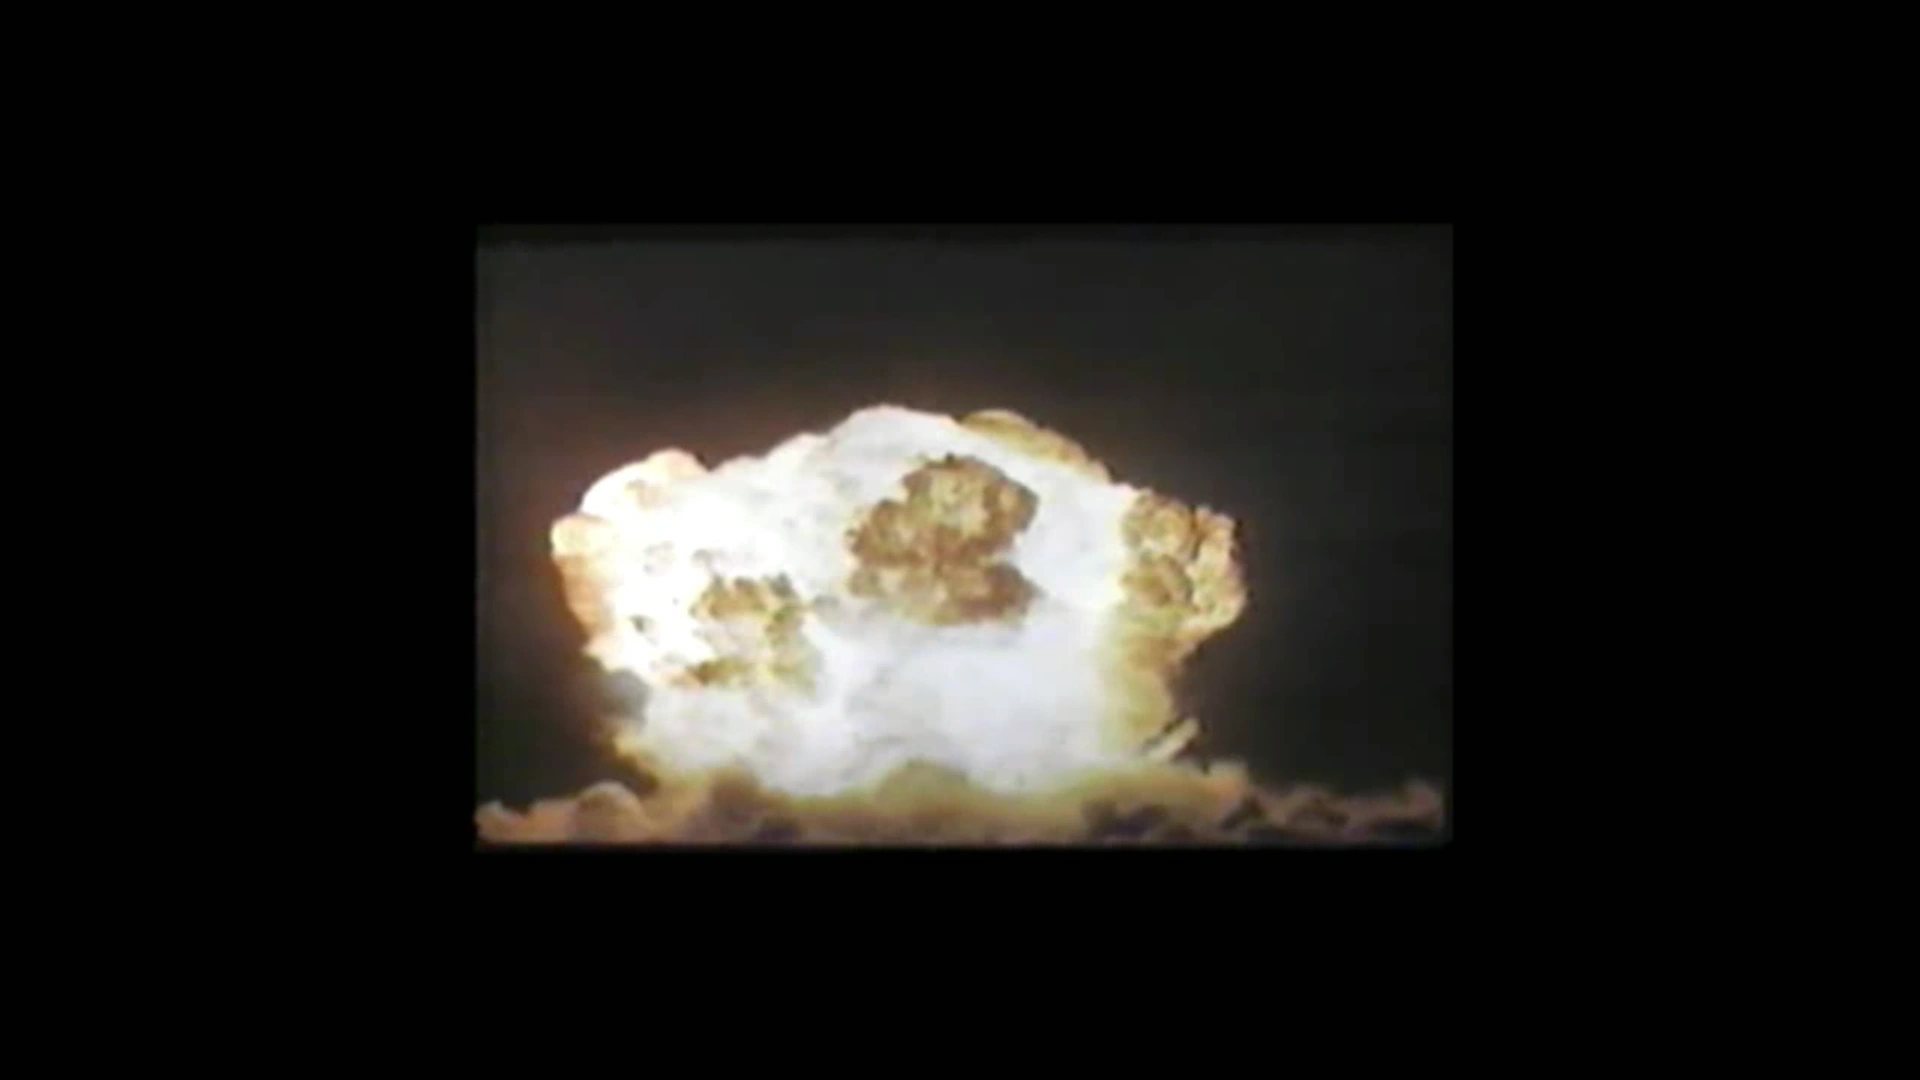
The next image presented a big red button, which had to be pressed to continue.
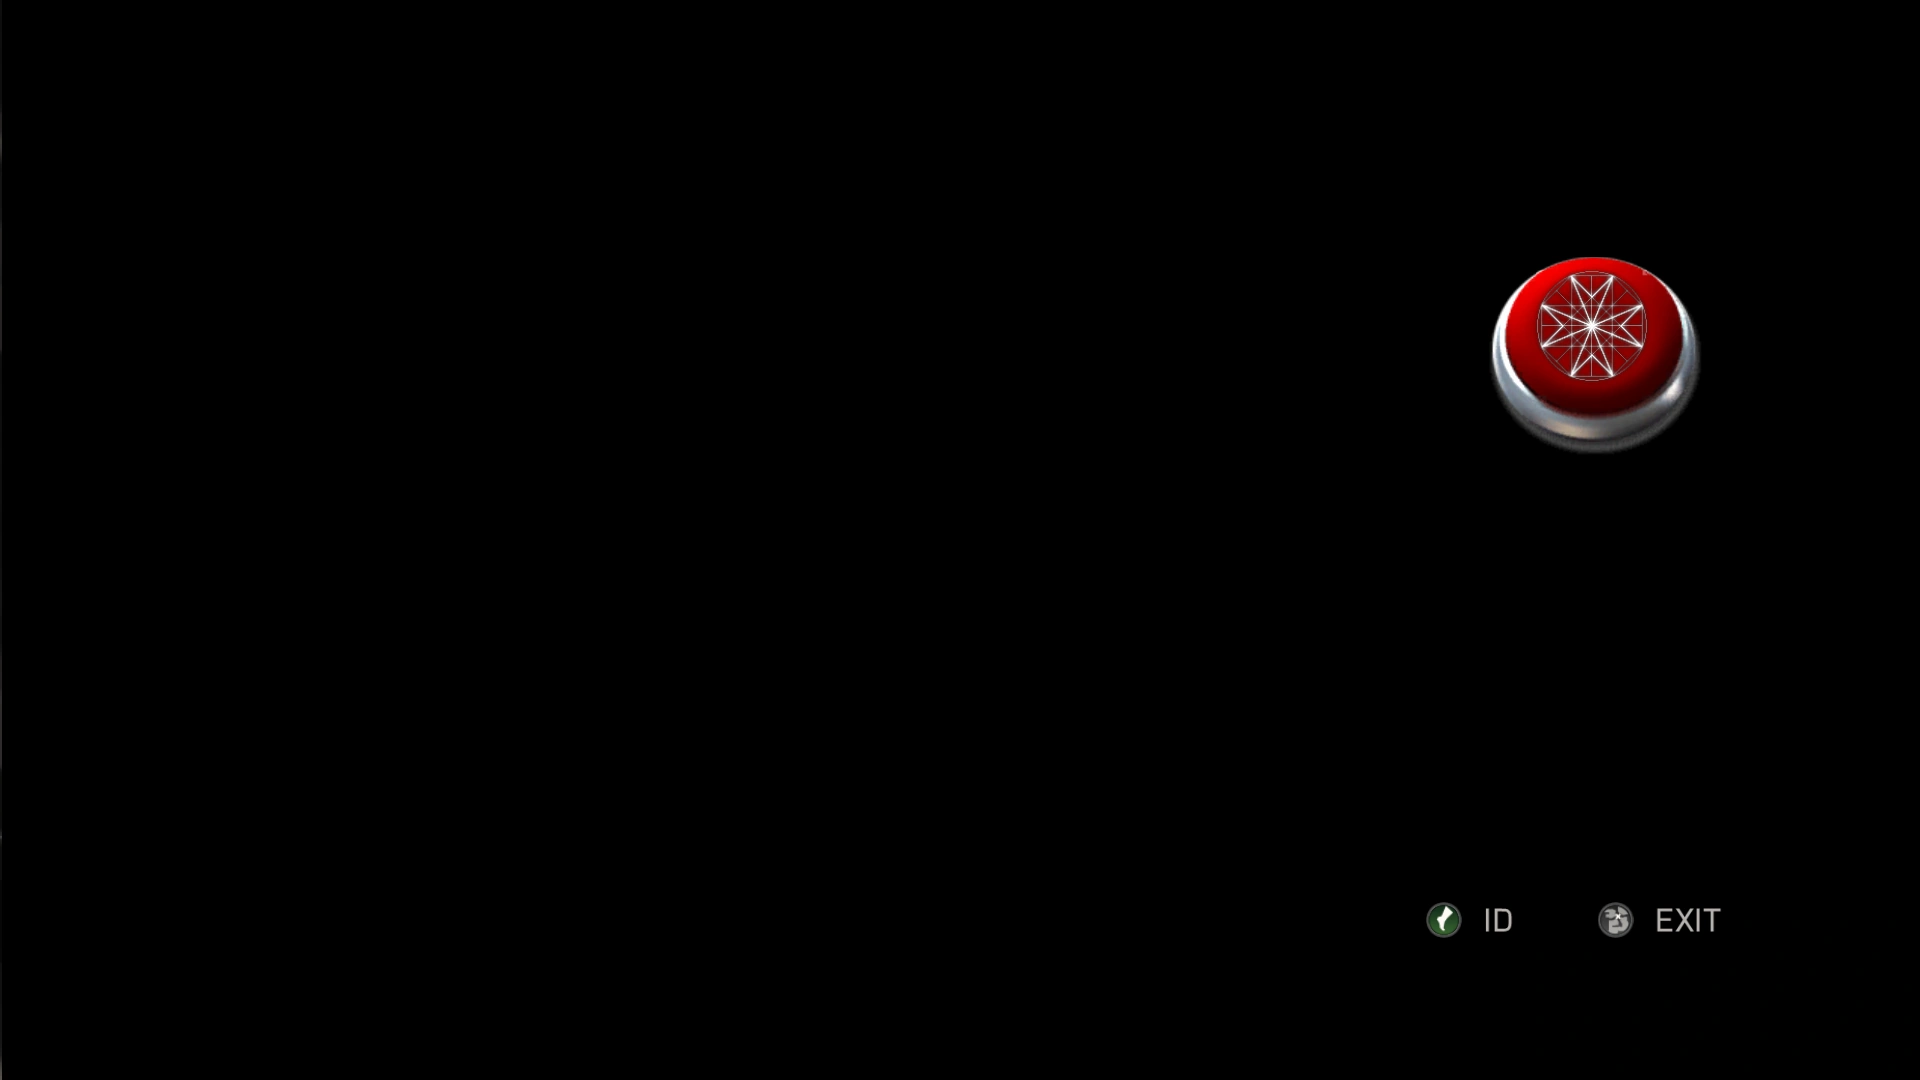
A recording of the atomic bomb test followed.
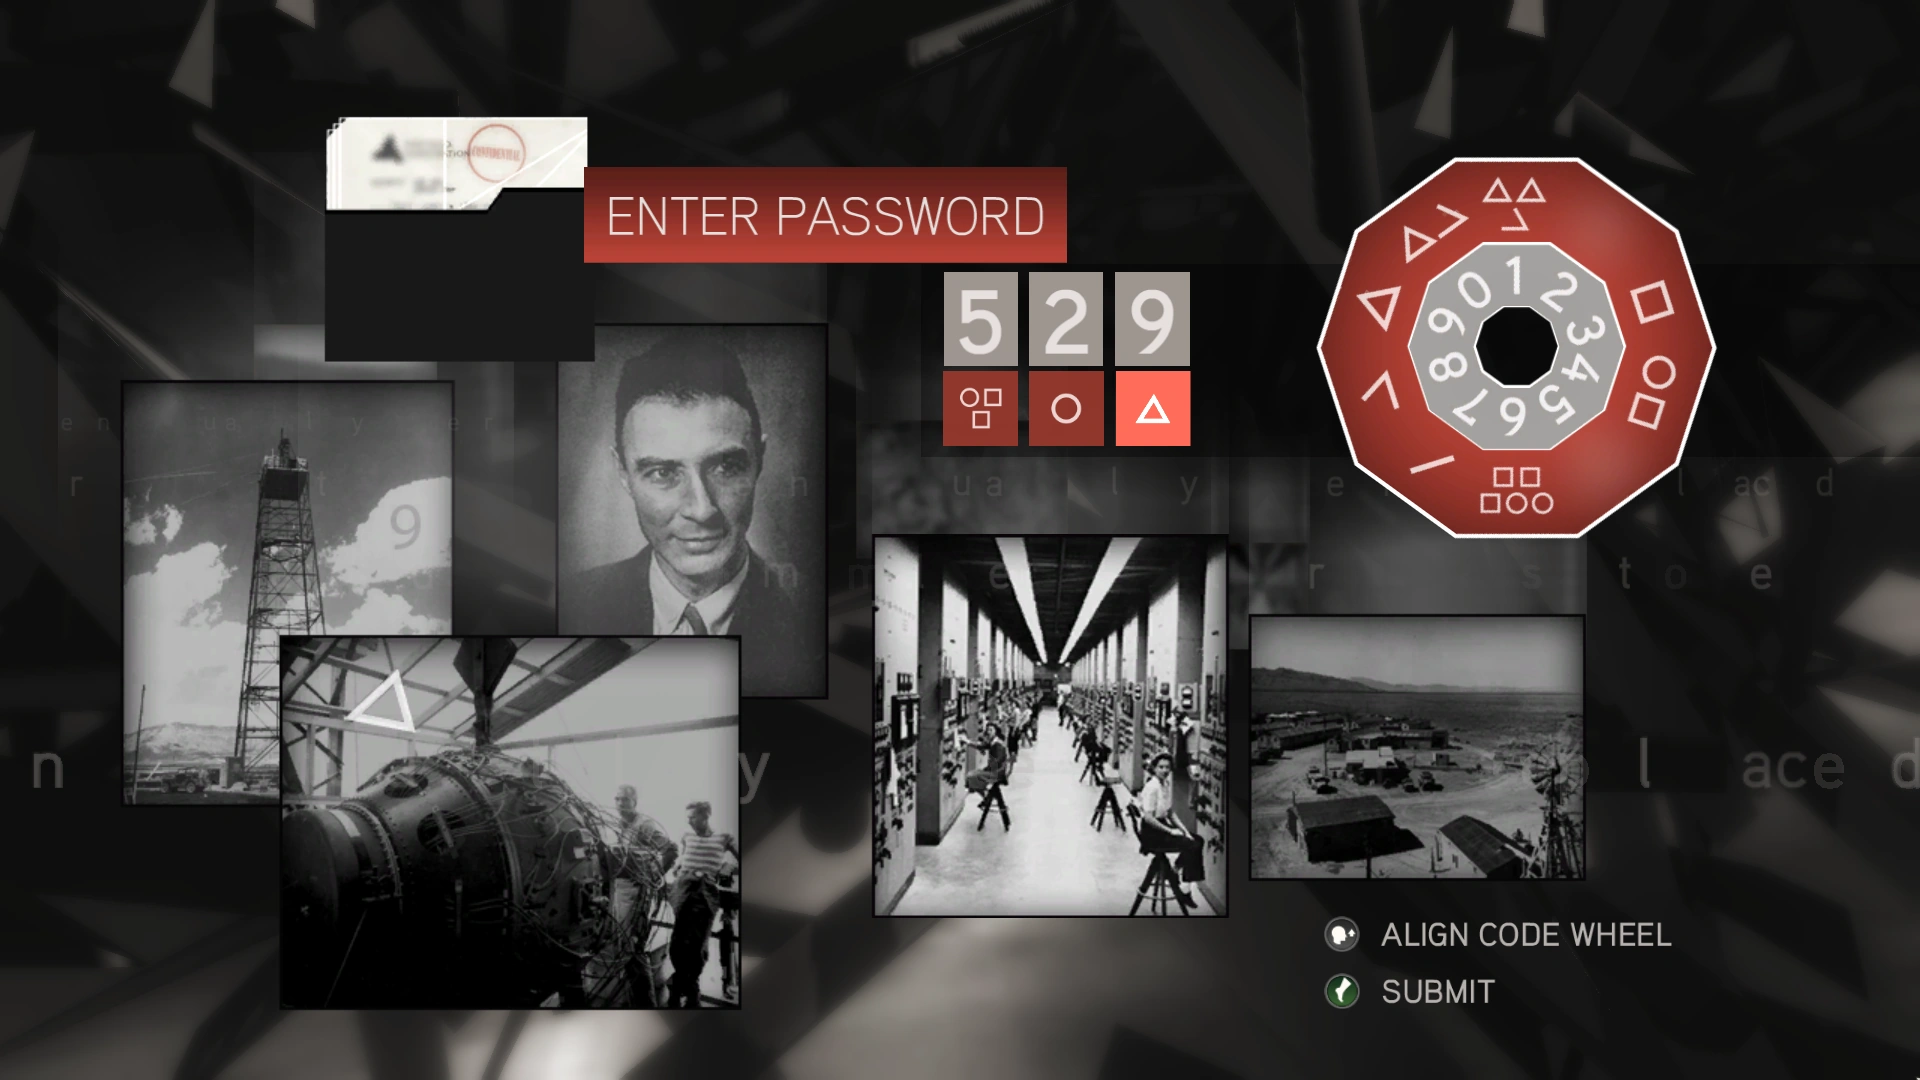
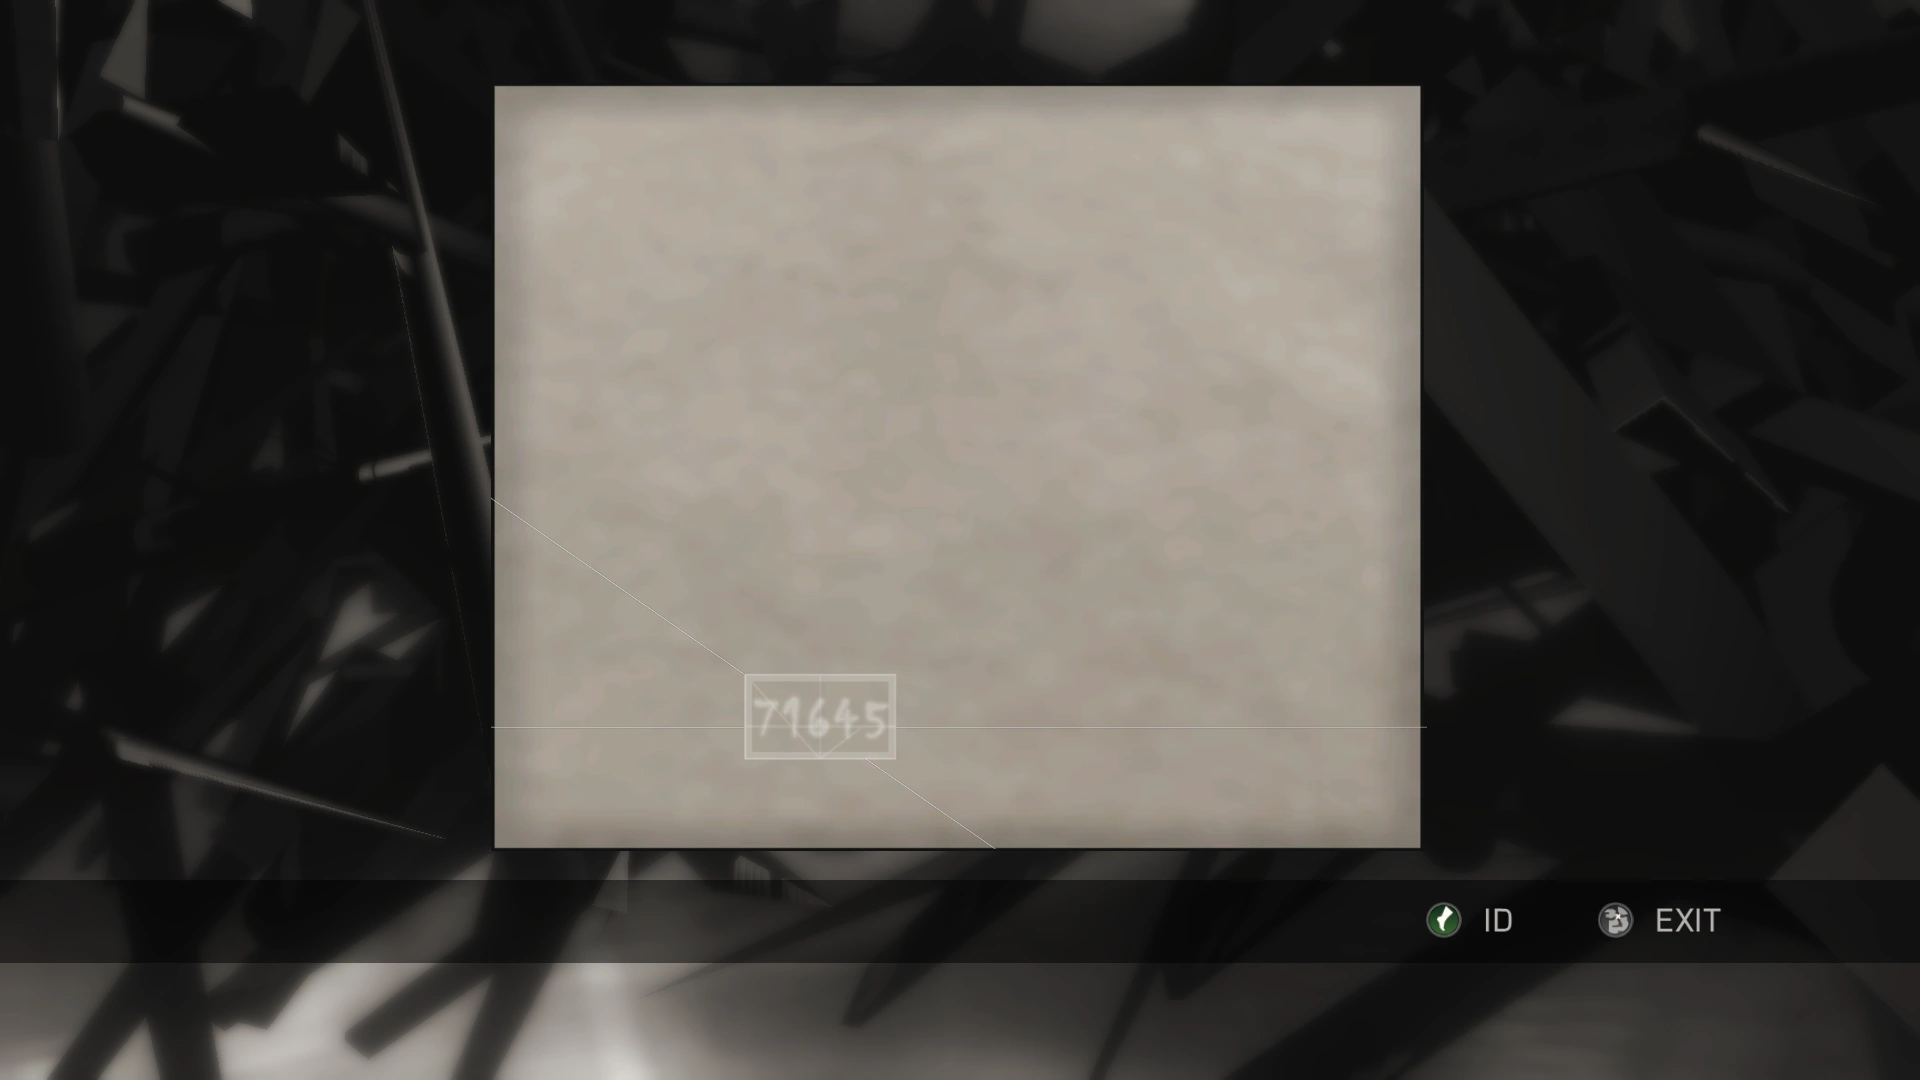
The second puzzle involved using a Geiger counter to locate the numeric code.
The solved image.
Bloodlines
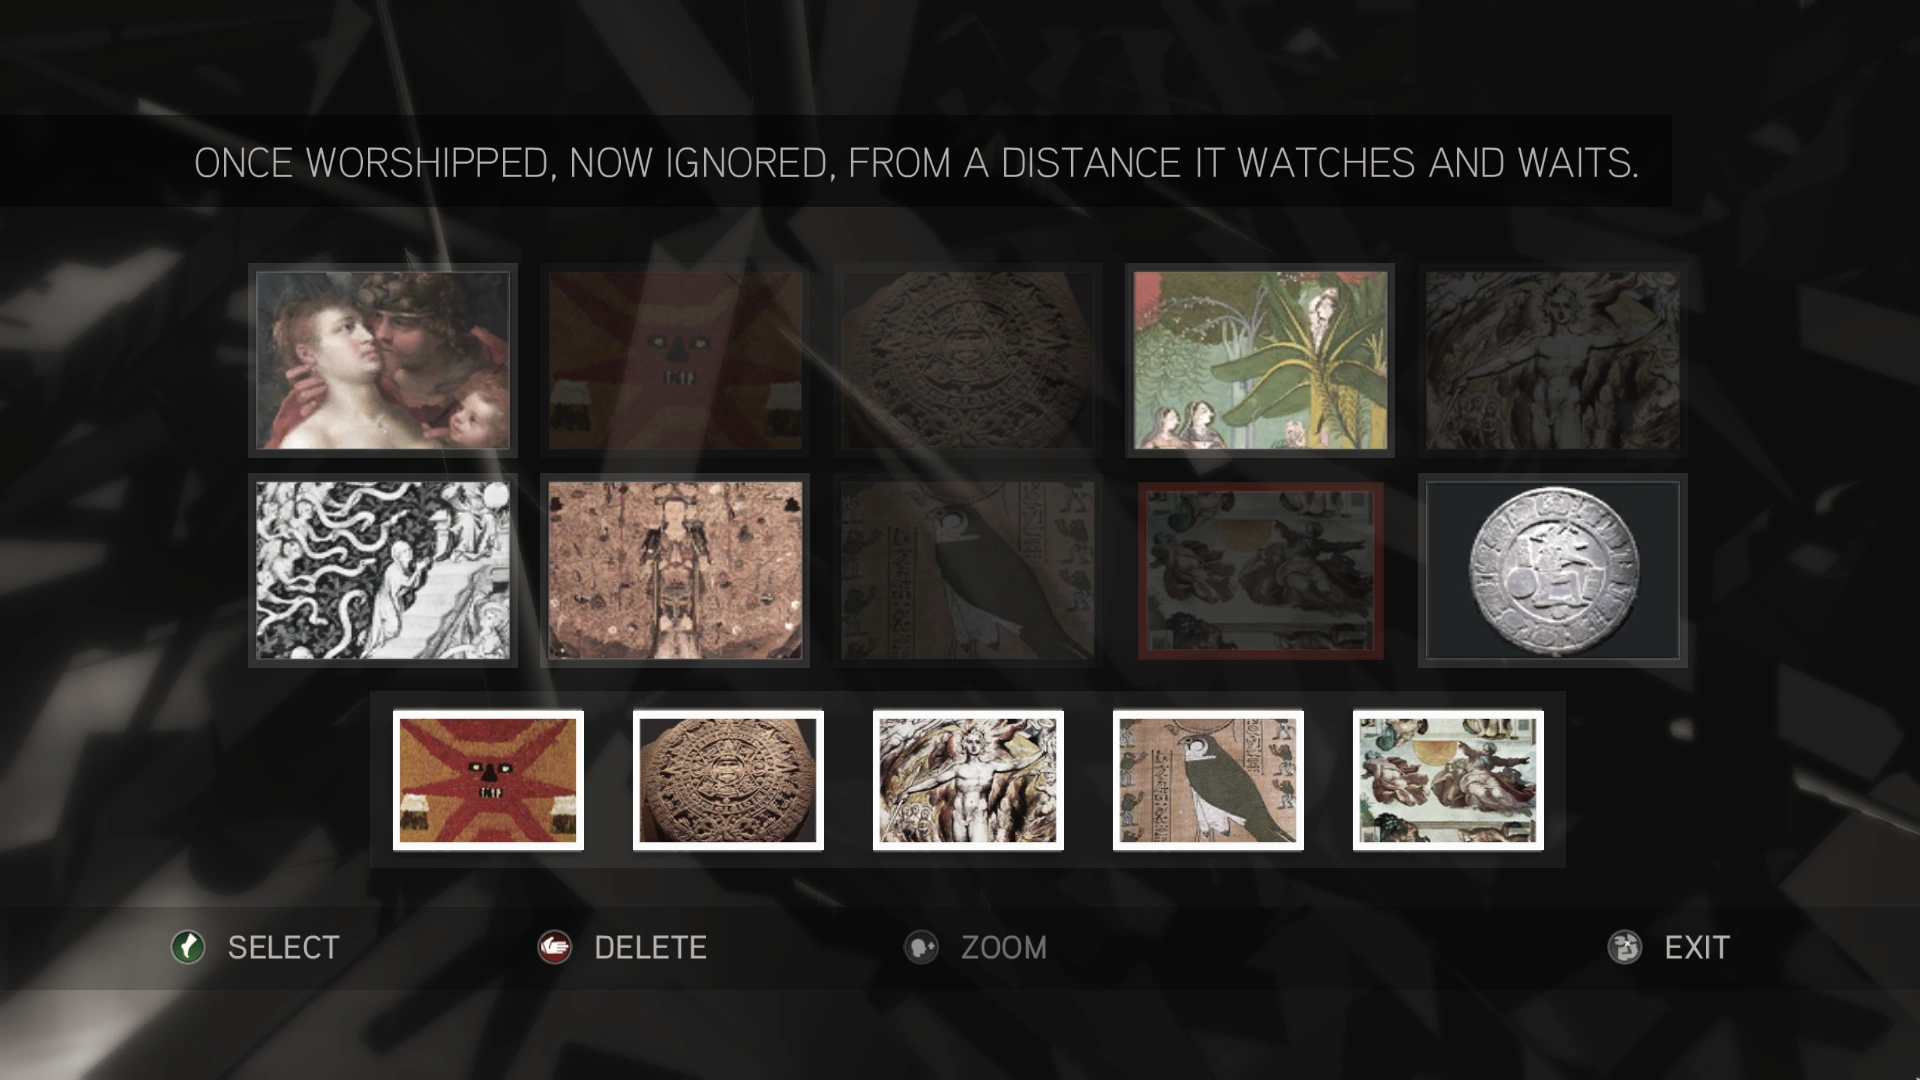
The puzzle was solved by selecting the paintings which portrayed a union of gods and mortals.
The solved image.

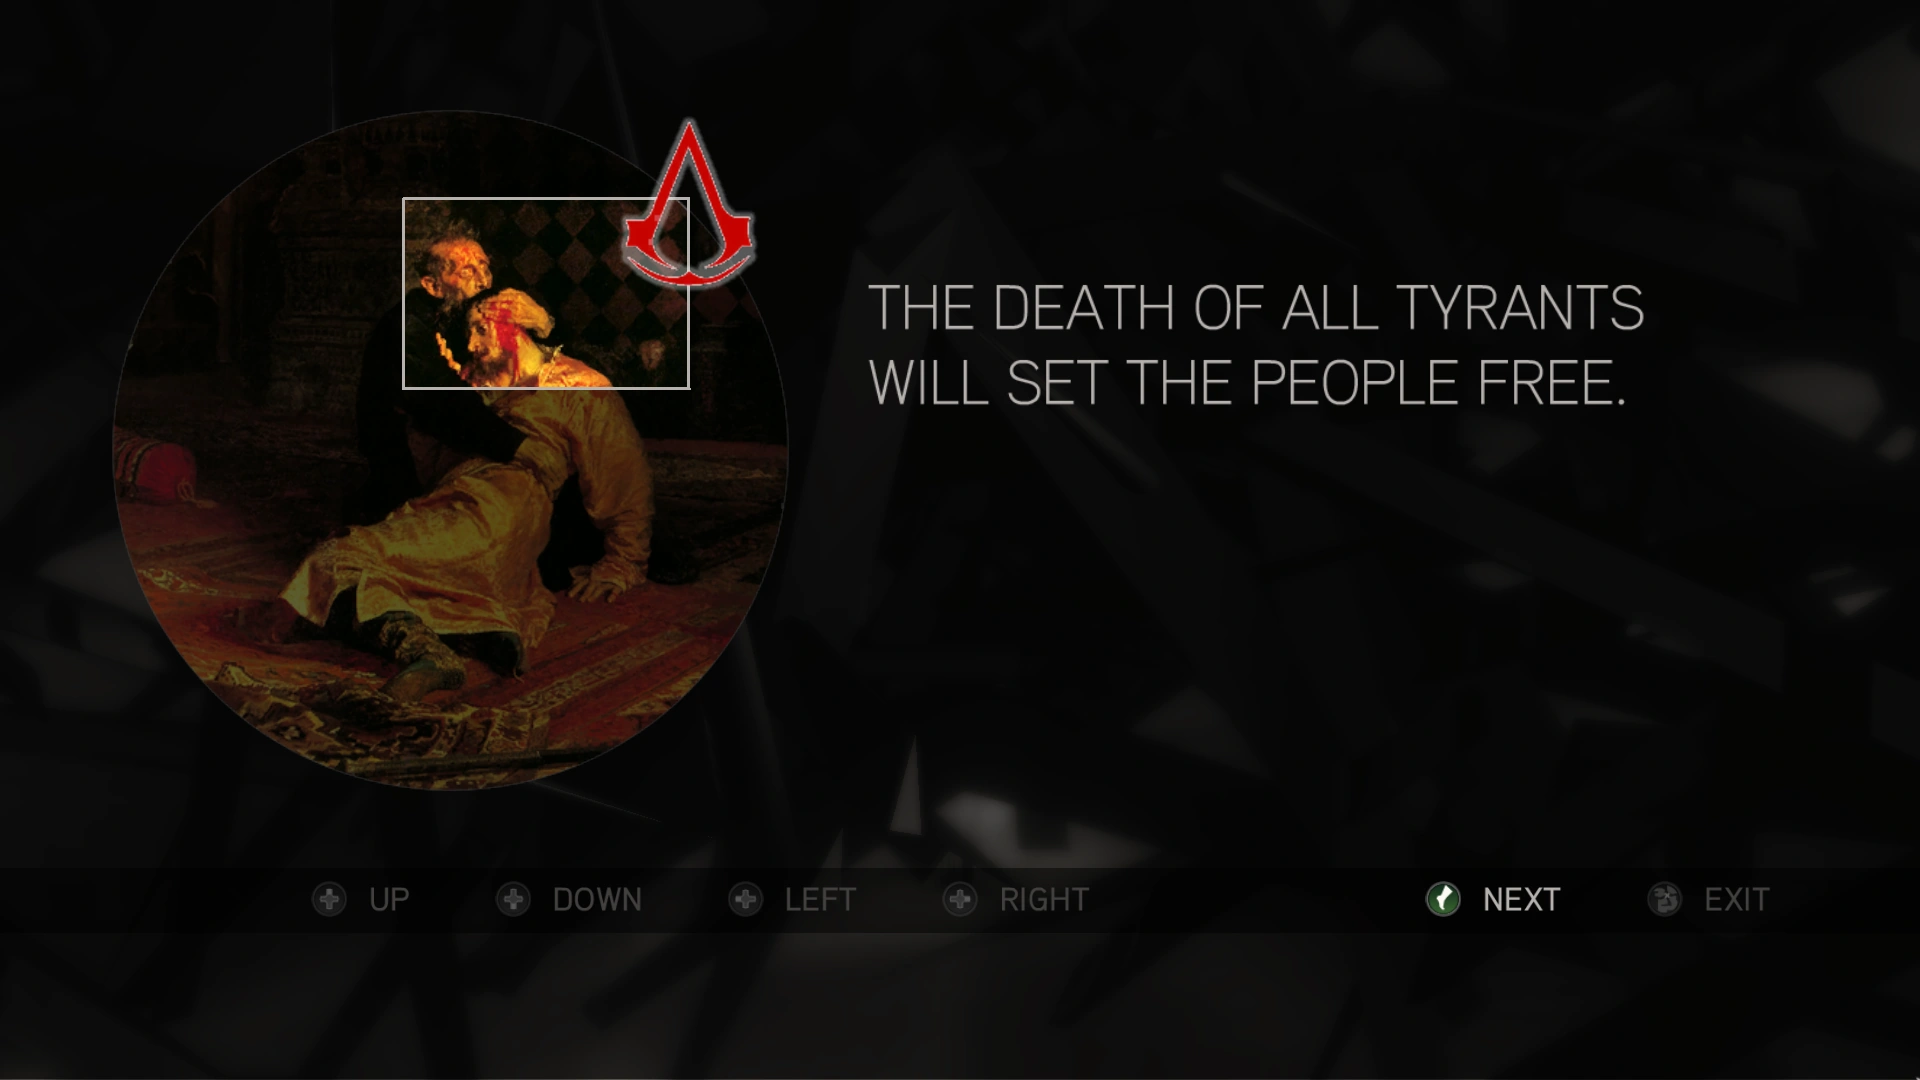
Guardians
The first puzzle was solved by rotating the various rings in turn until they formed an image.
The solved image.
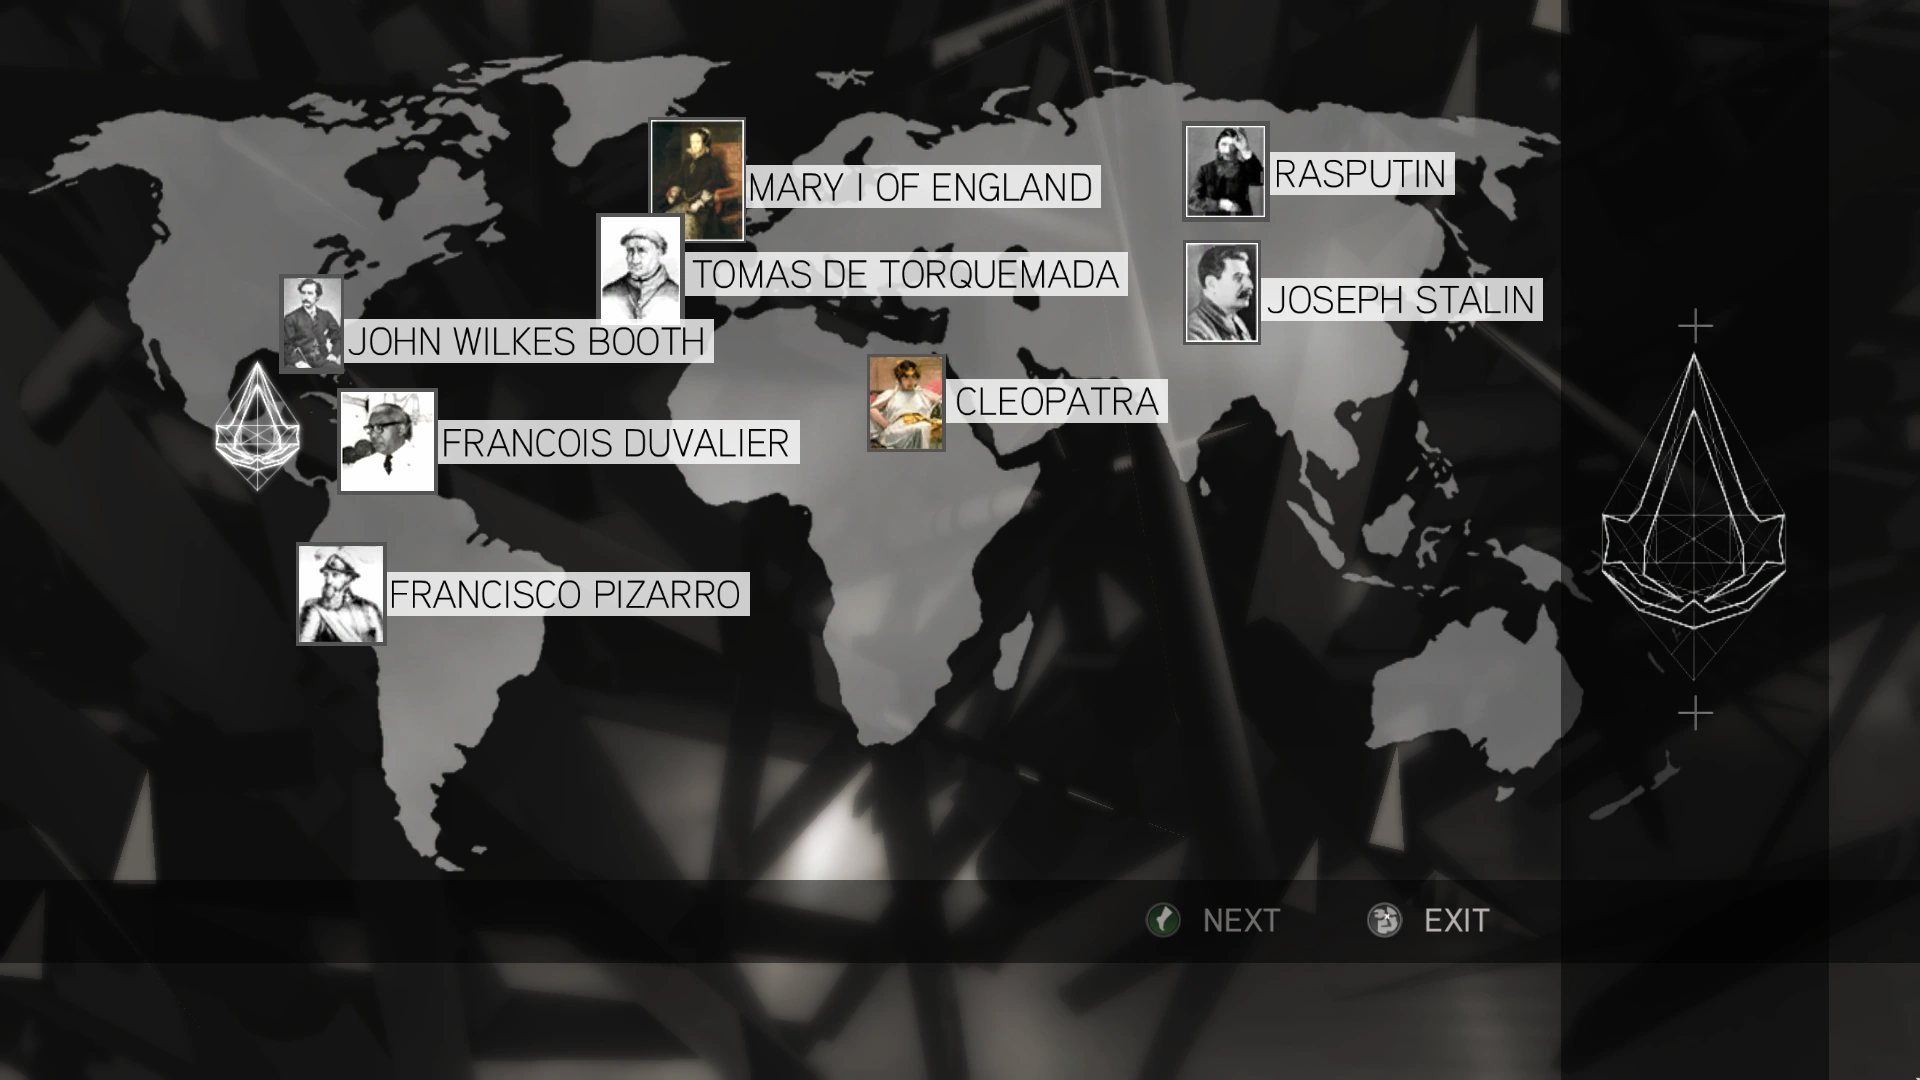
The second puzzle involved highlighting various assassination targets across the globe.
The solved image.
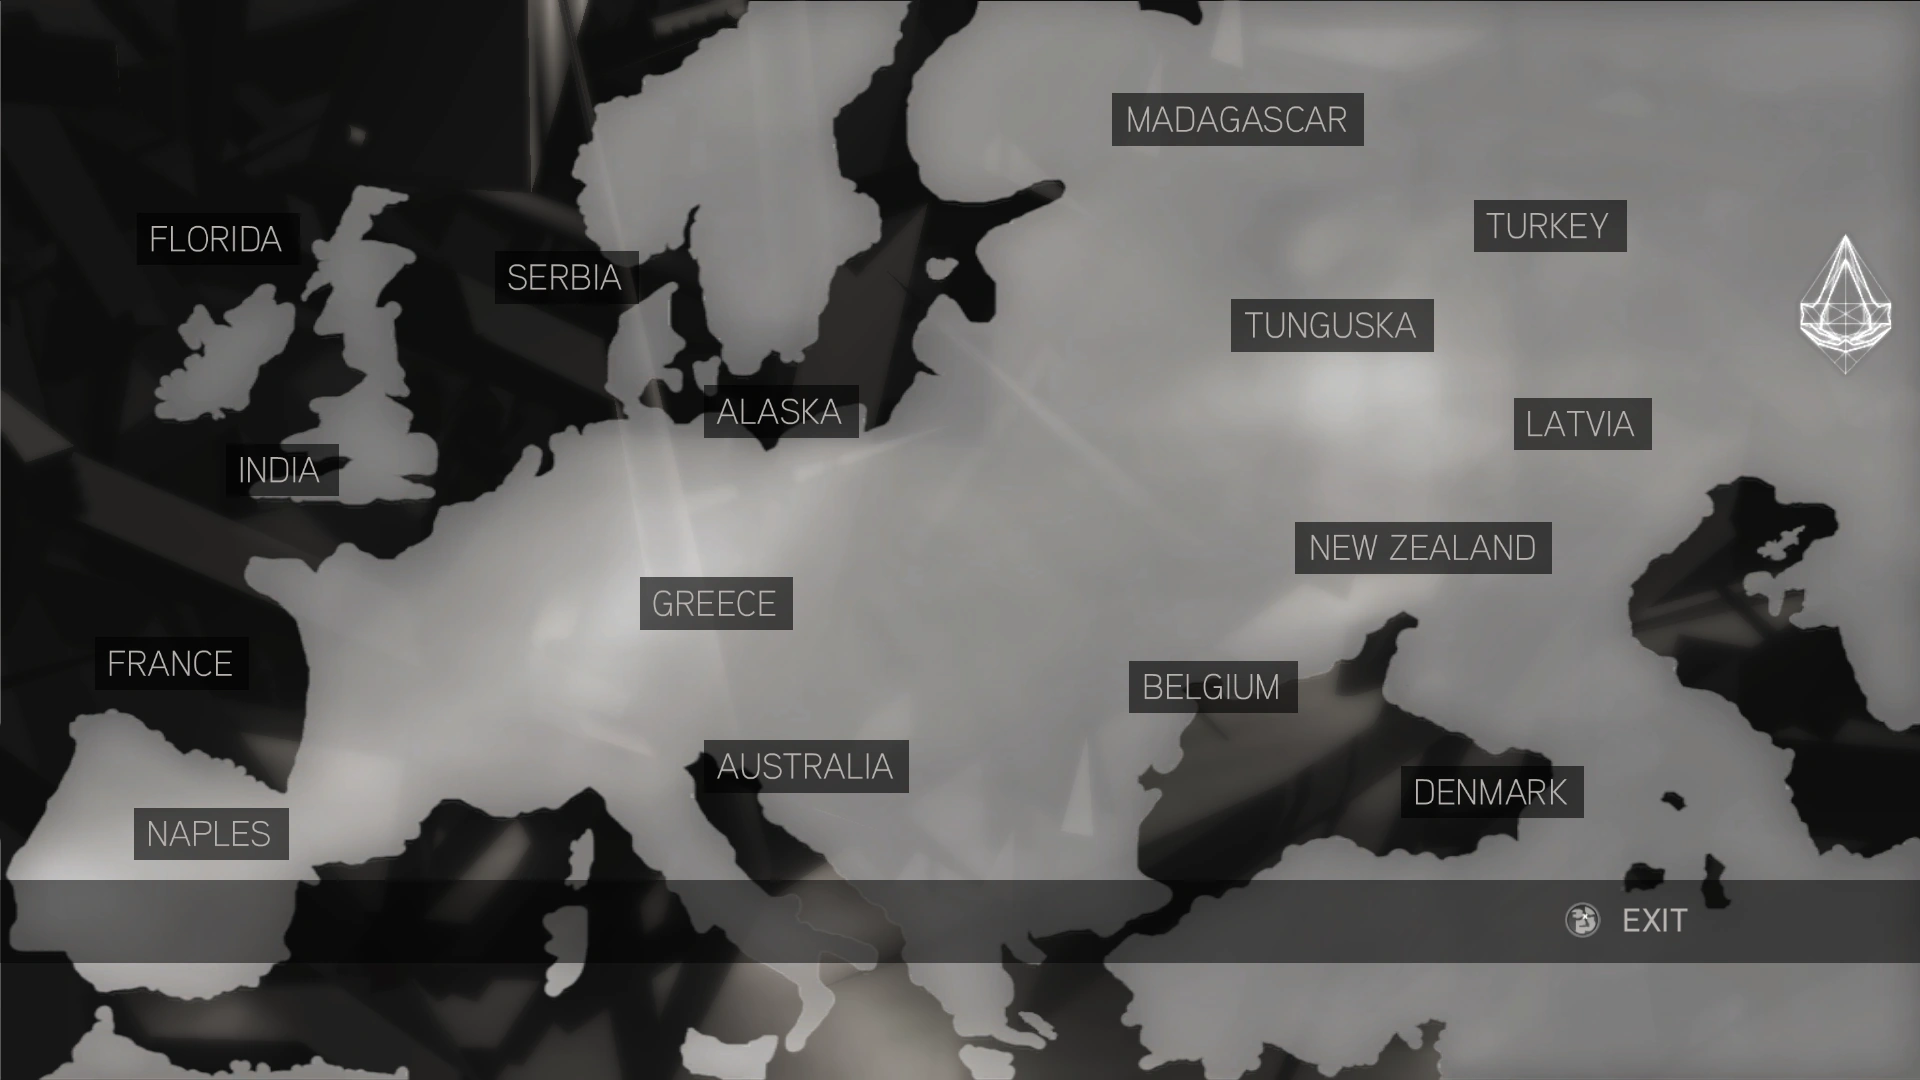
The Cavalry
A message preceded the first puzzle.
The first puzzle involved selecting Tunguska on the map.
The second puzzle involved dragging the Staff of Eden to the portrait of Nikola Tesla.
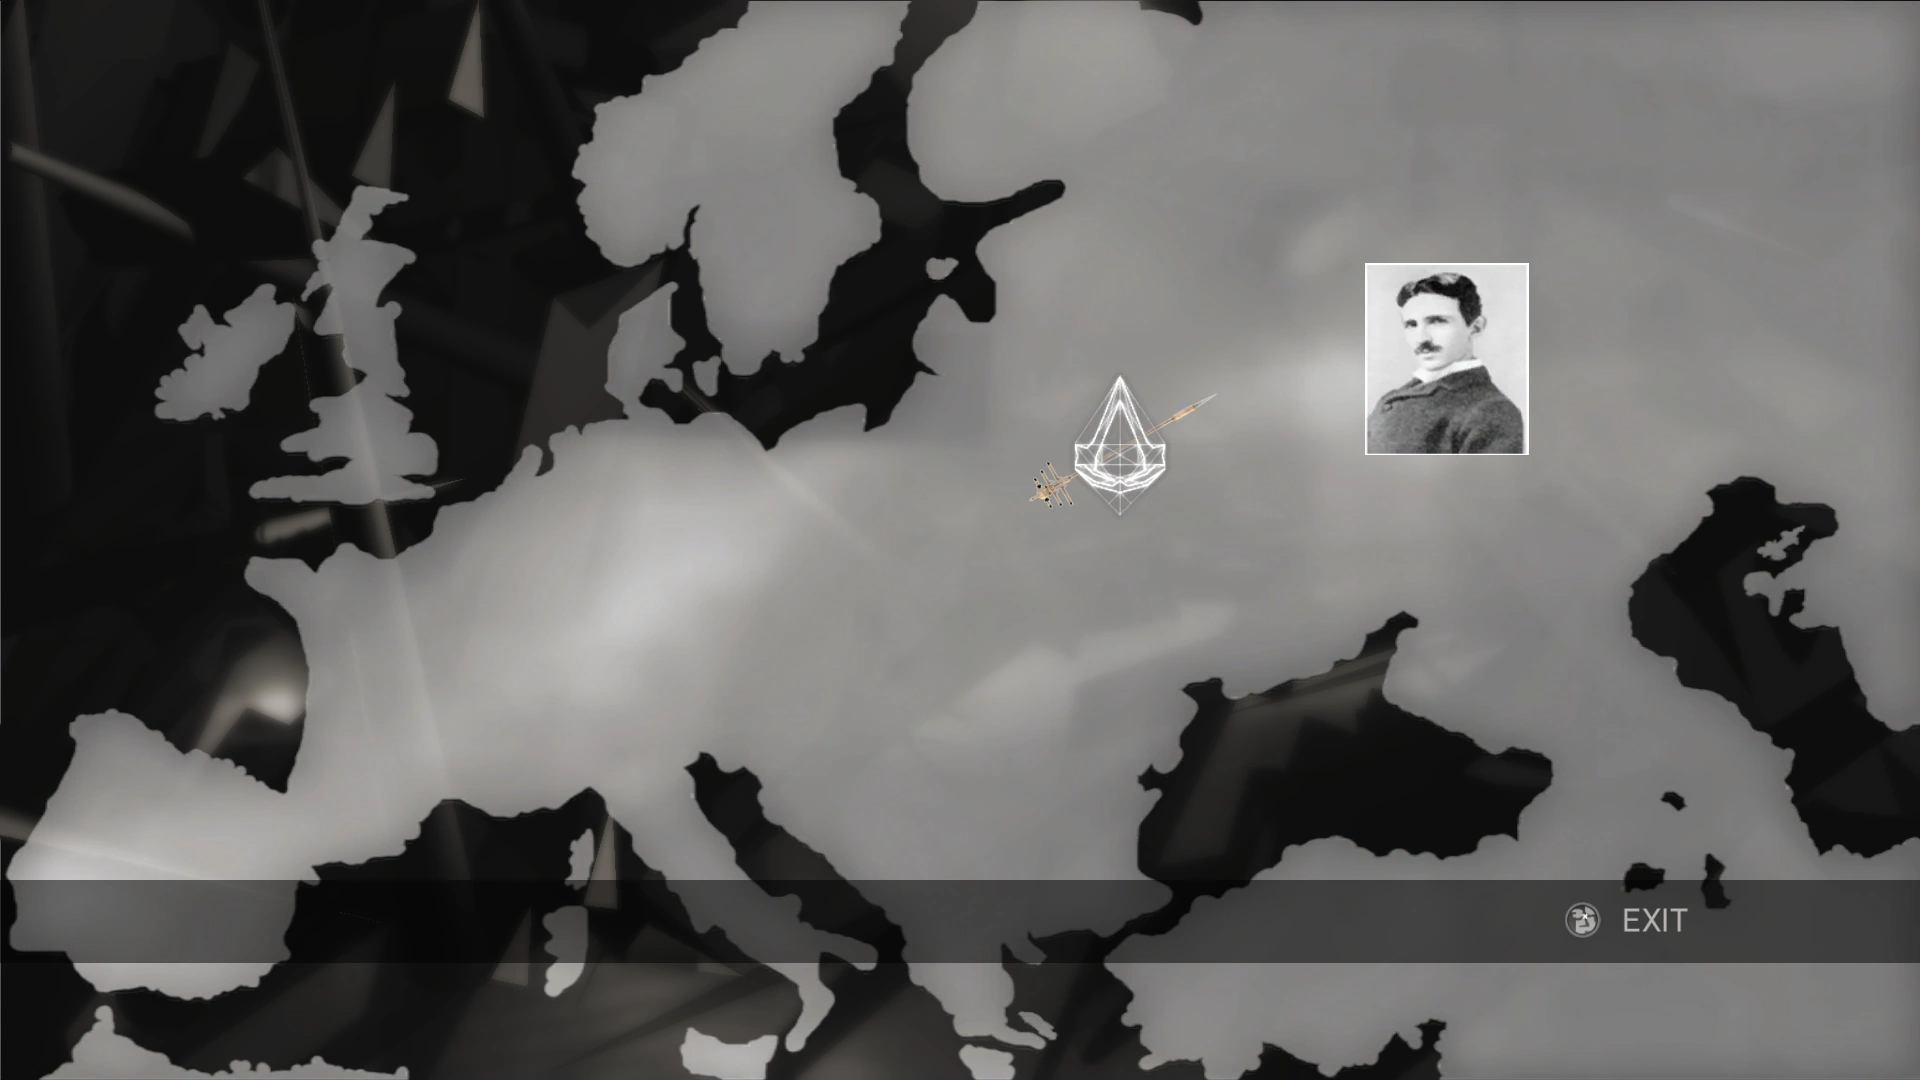
A recording of the Tunguska Event was displayed afterwards.
The Bunker
The first puzzle puzzle involved solving a Caesar cipher to obtain the access code.
The solved puzzle.
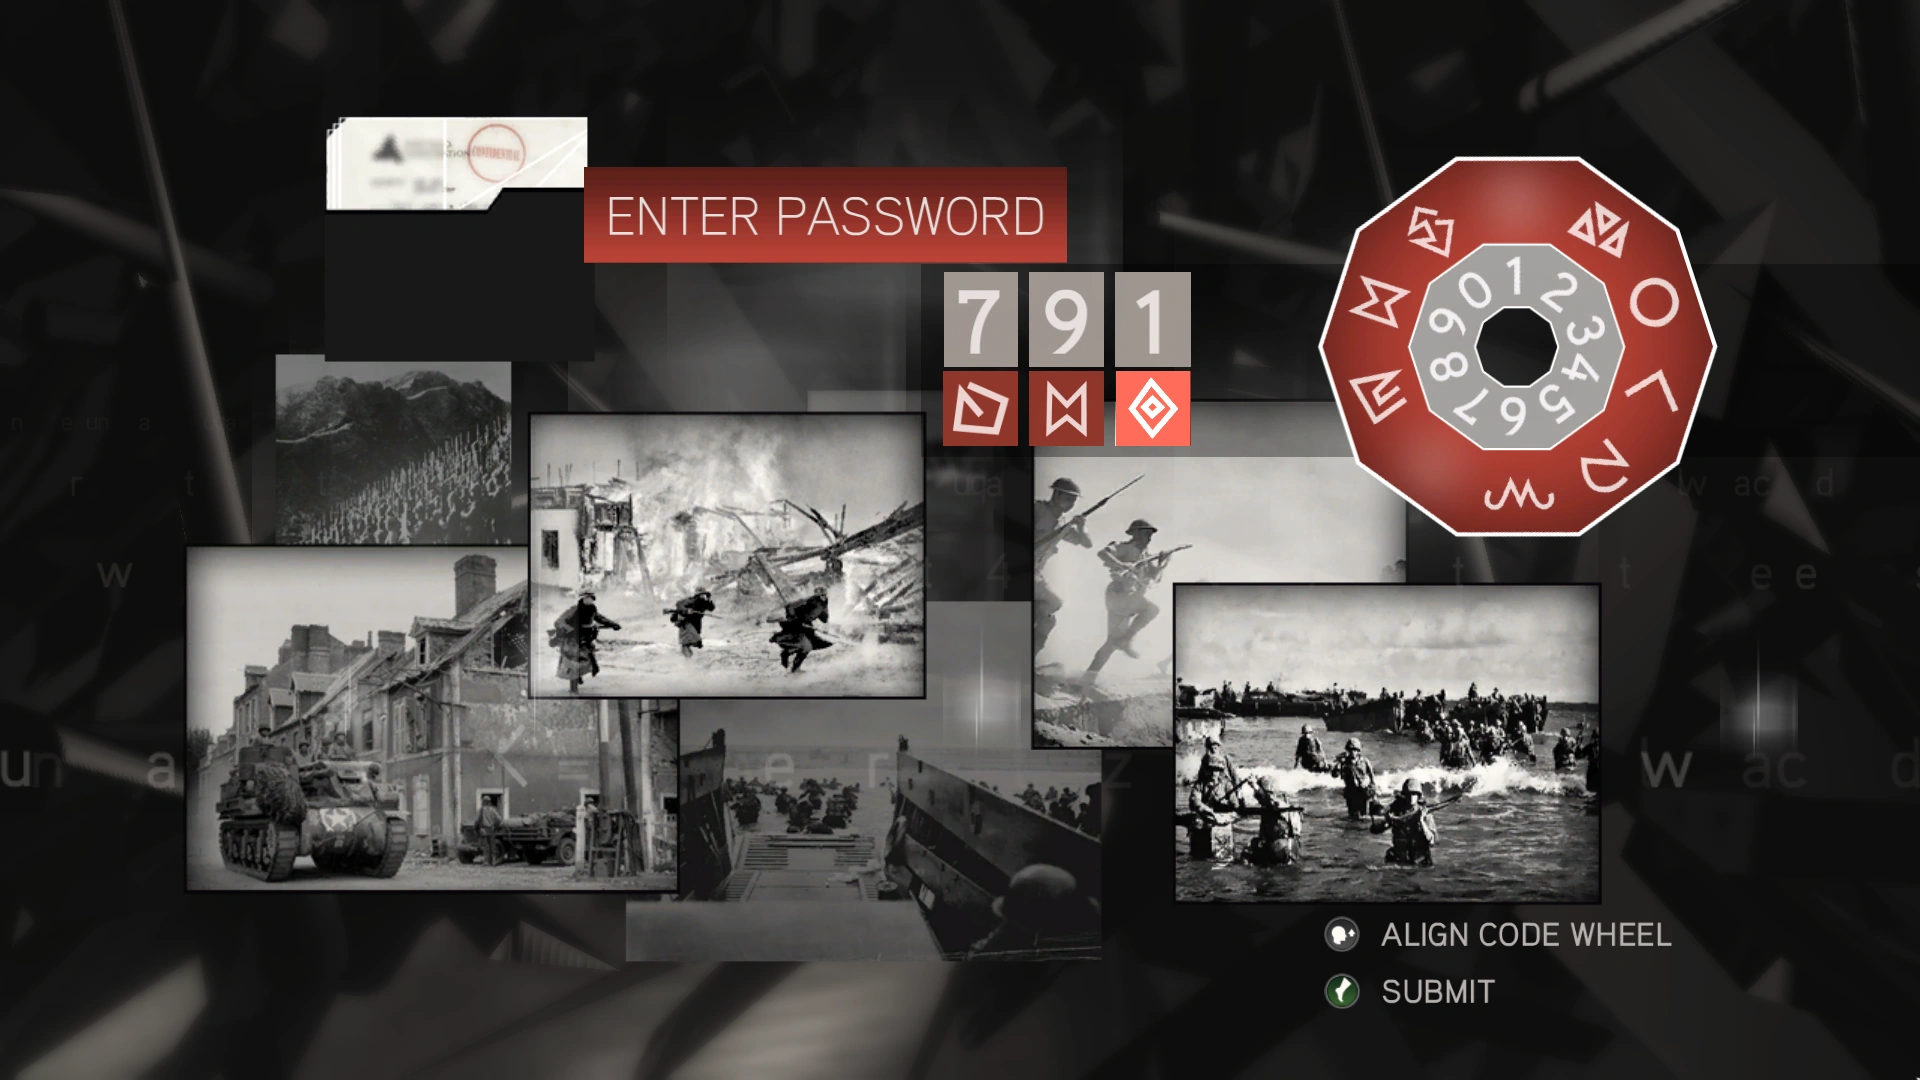
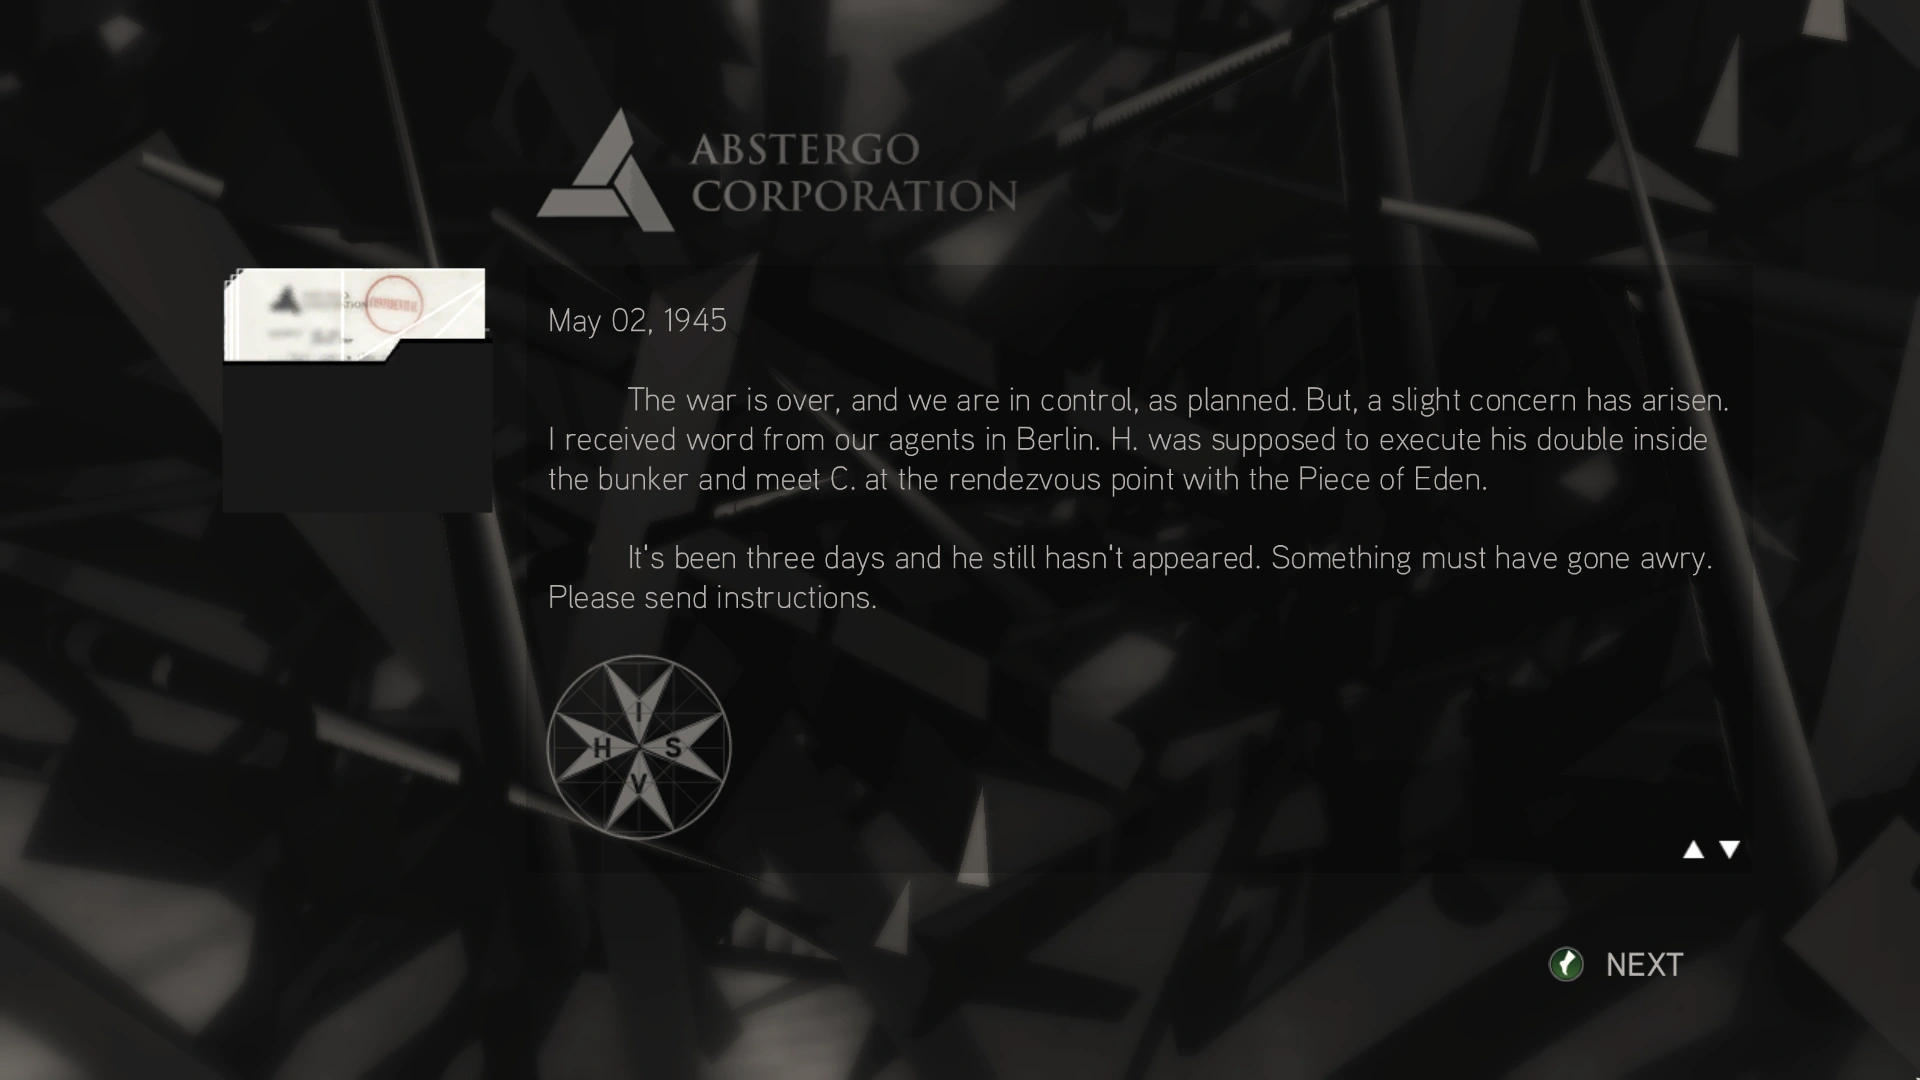
A message followed.
The second puzzle was solved by locating the Assassin insignia in the image of the Führerbunker.
The solved image.
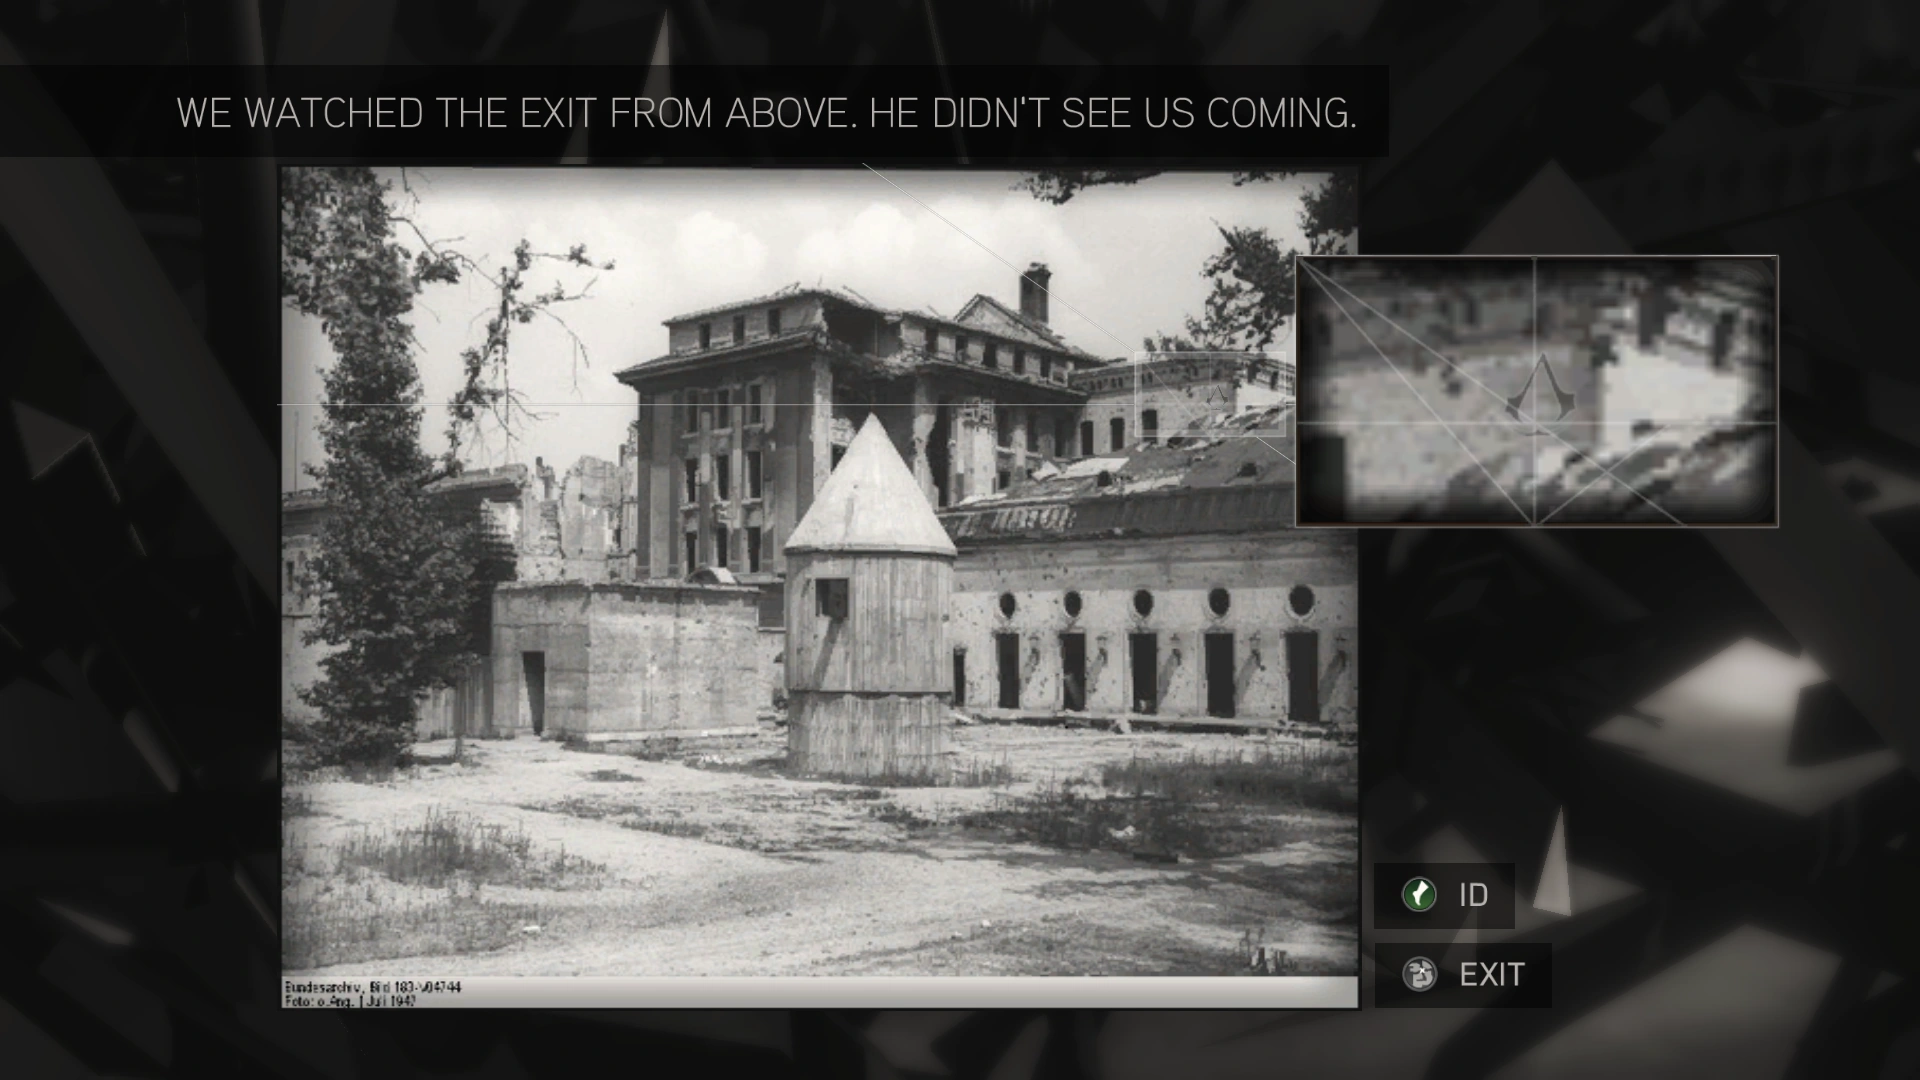
A hidden Caesar cipher which read "The double was killed in the bunker" was present in the image.
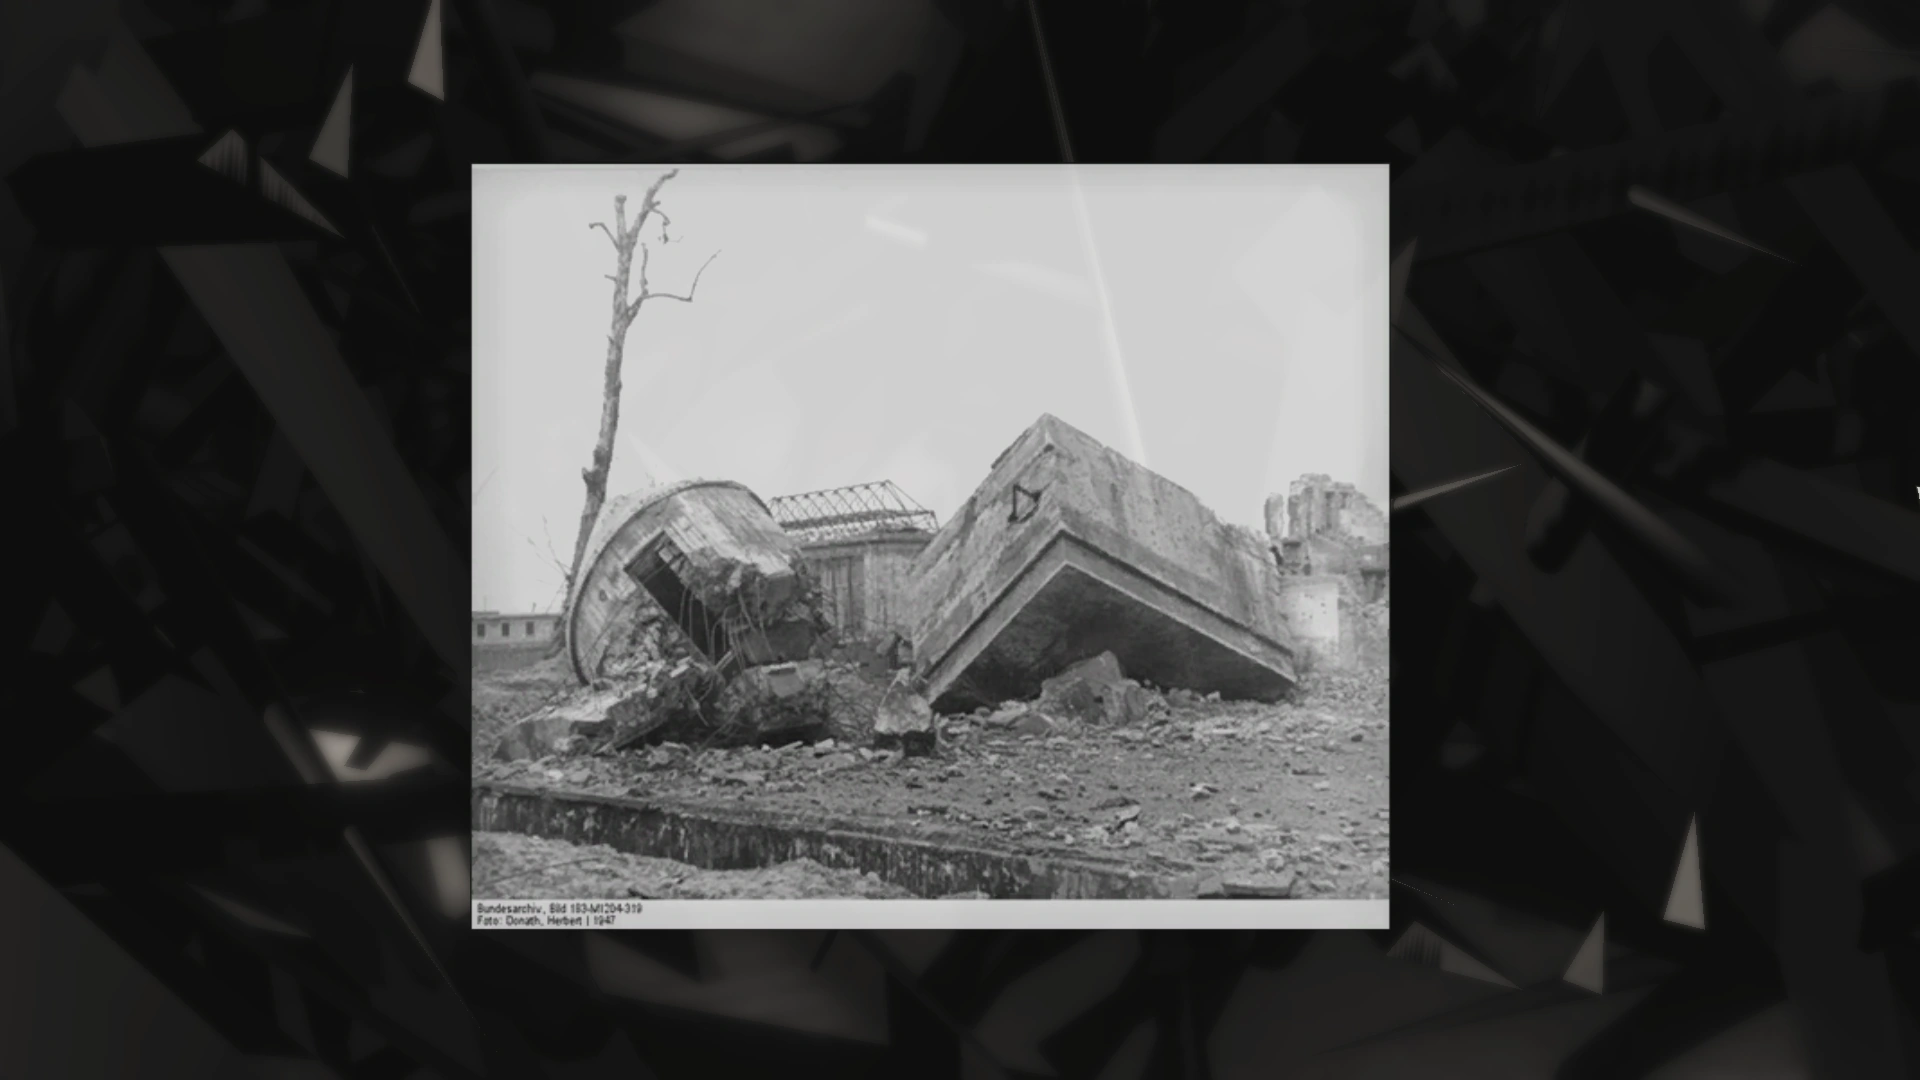
An image of the destroyed bunker was displayed afterwards.
Synapses
The first puzzle puzzle involved solving a Caesar cipher to obtain the access code.
The solved puzzle.
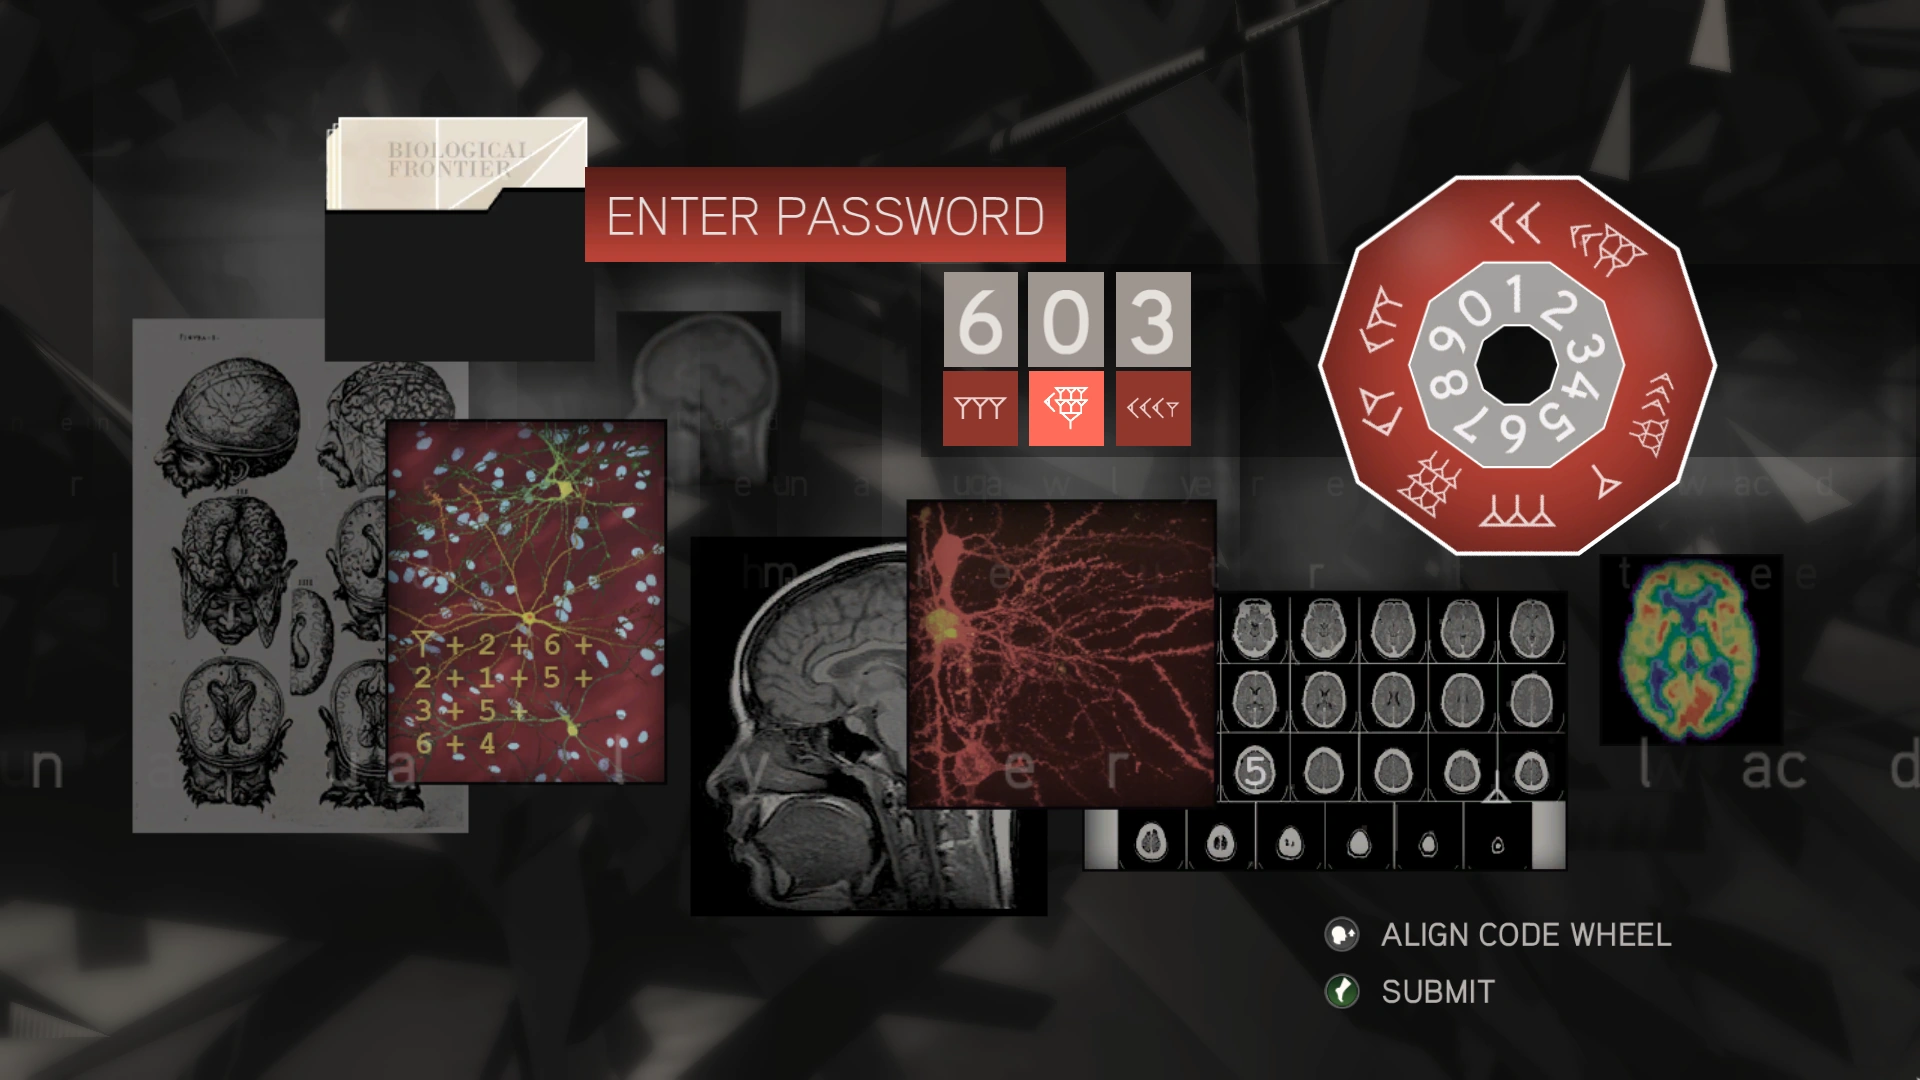
A message followed.
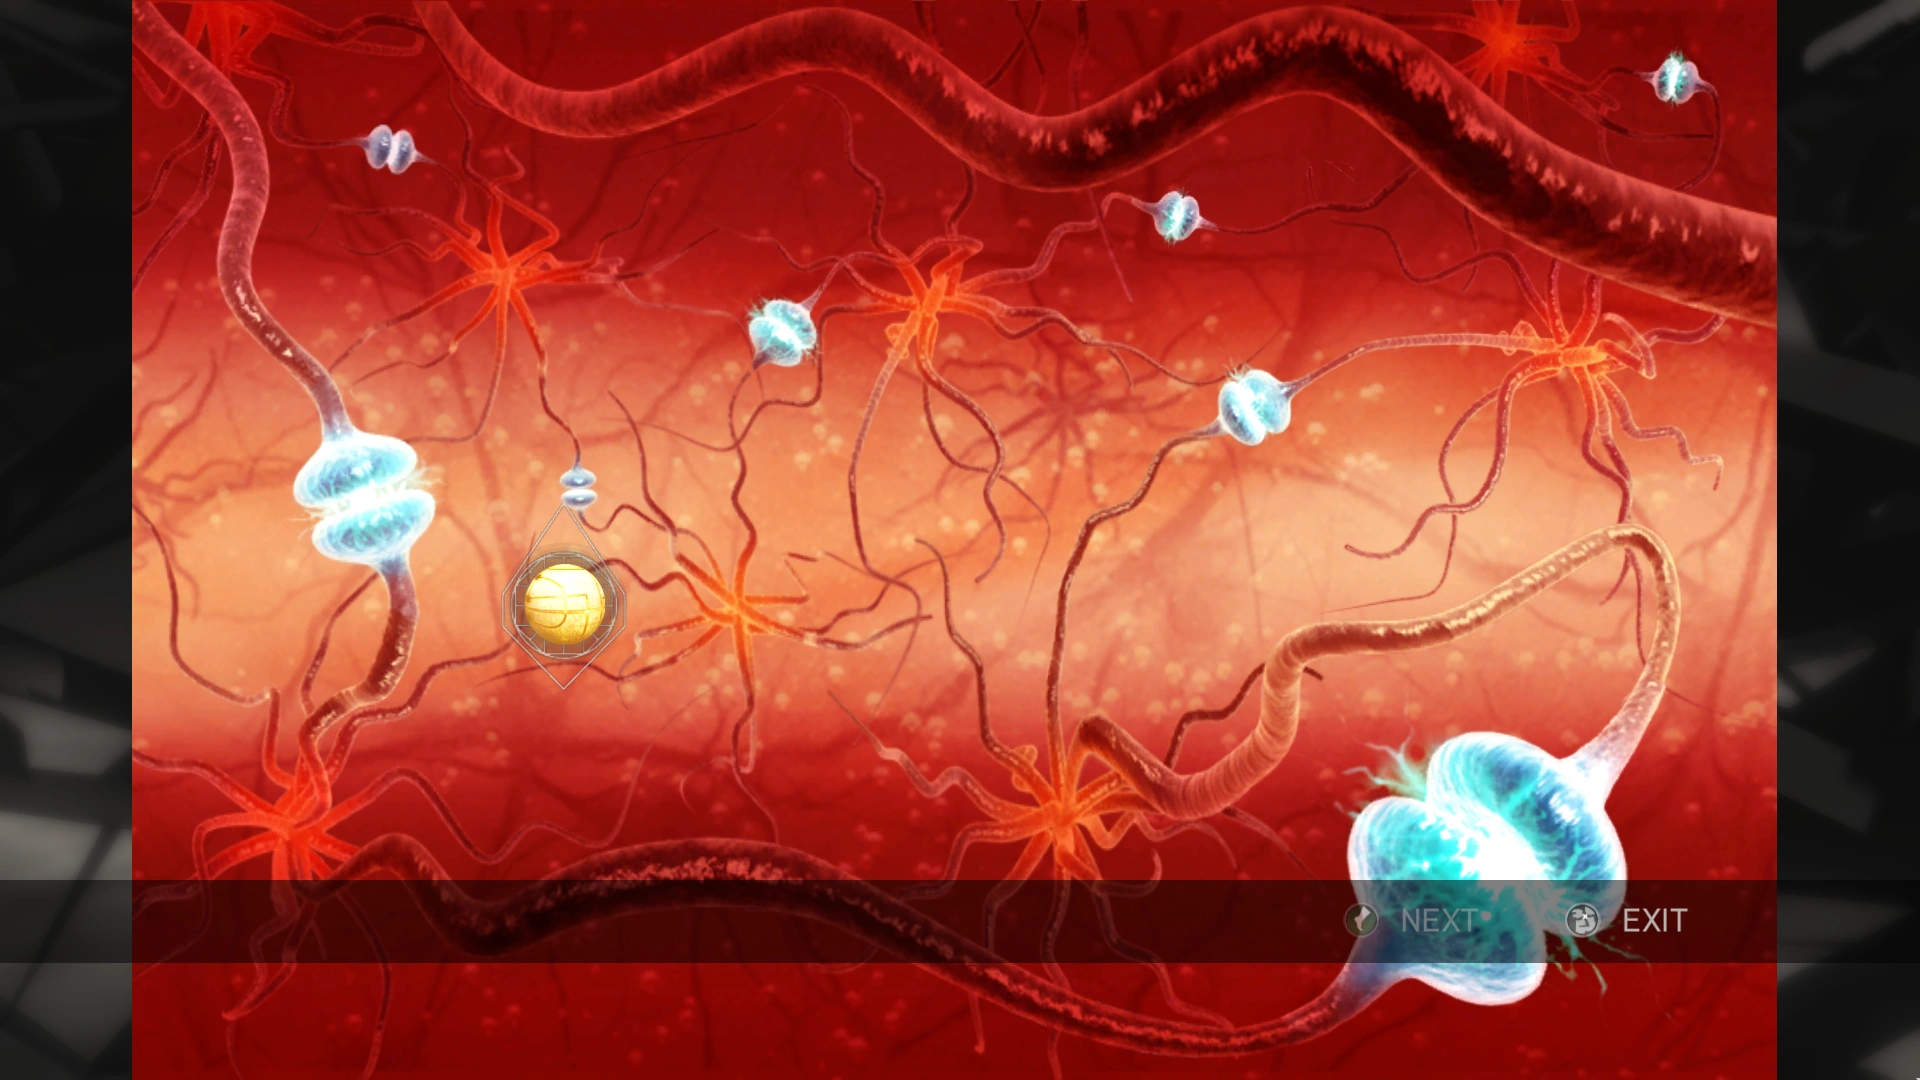
The second puzzle involved moving the cursor over all of the synapses.
The Fourth Day
The first puzzle was solved by selecting the images containing depictions of the Sun.
The solved puzzle.
The second puzzle involved using sonar signals to locate the Earth within the Sun.
The solved image.

Origin of the Species
The first puzzle was solved by rotating the various rings in turn until they formed an image.
The solved puzzle.
The second puzzle was solved by locating the hidden image.
The solved image.
The third puzzle had the words "Nothing is True, Everything is Permitted" written in it, meaning this puzzle had no right or wrong answer to it.
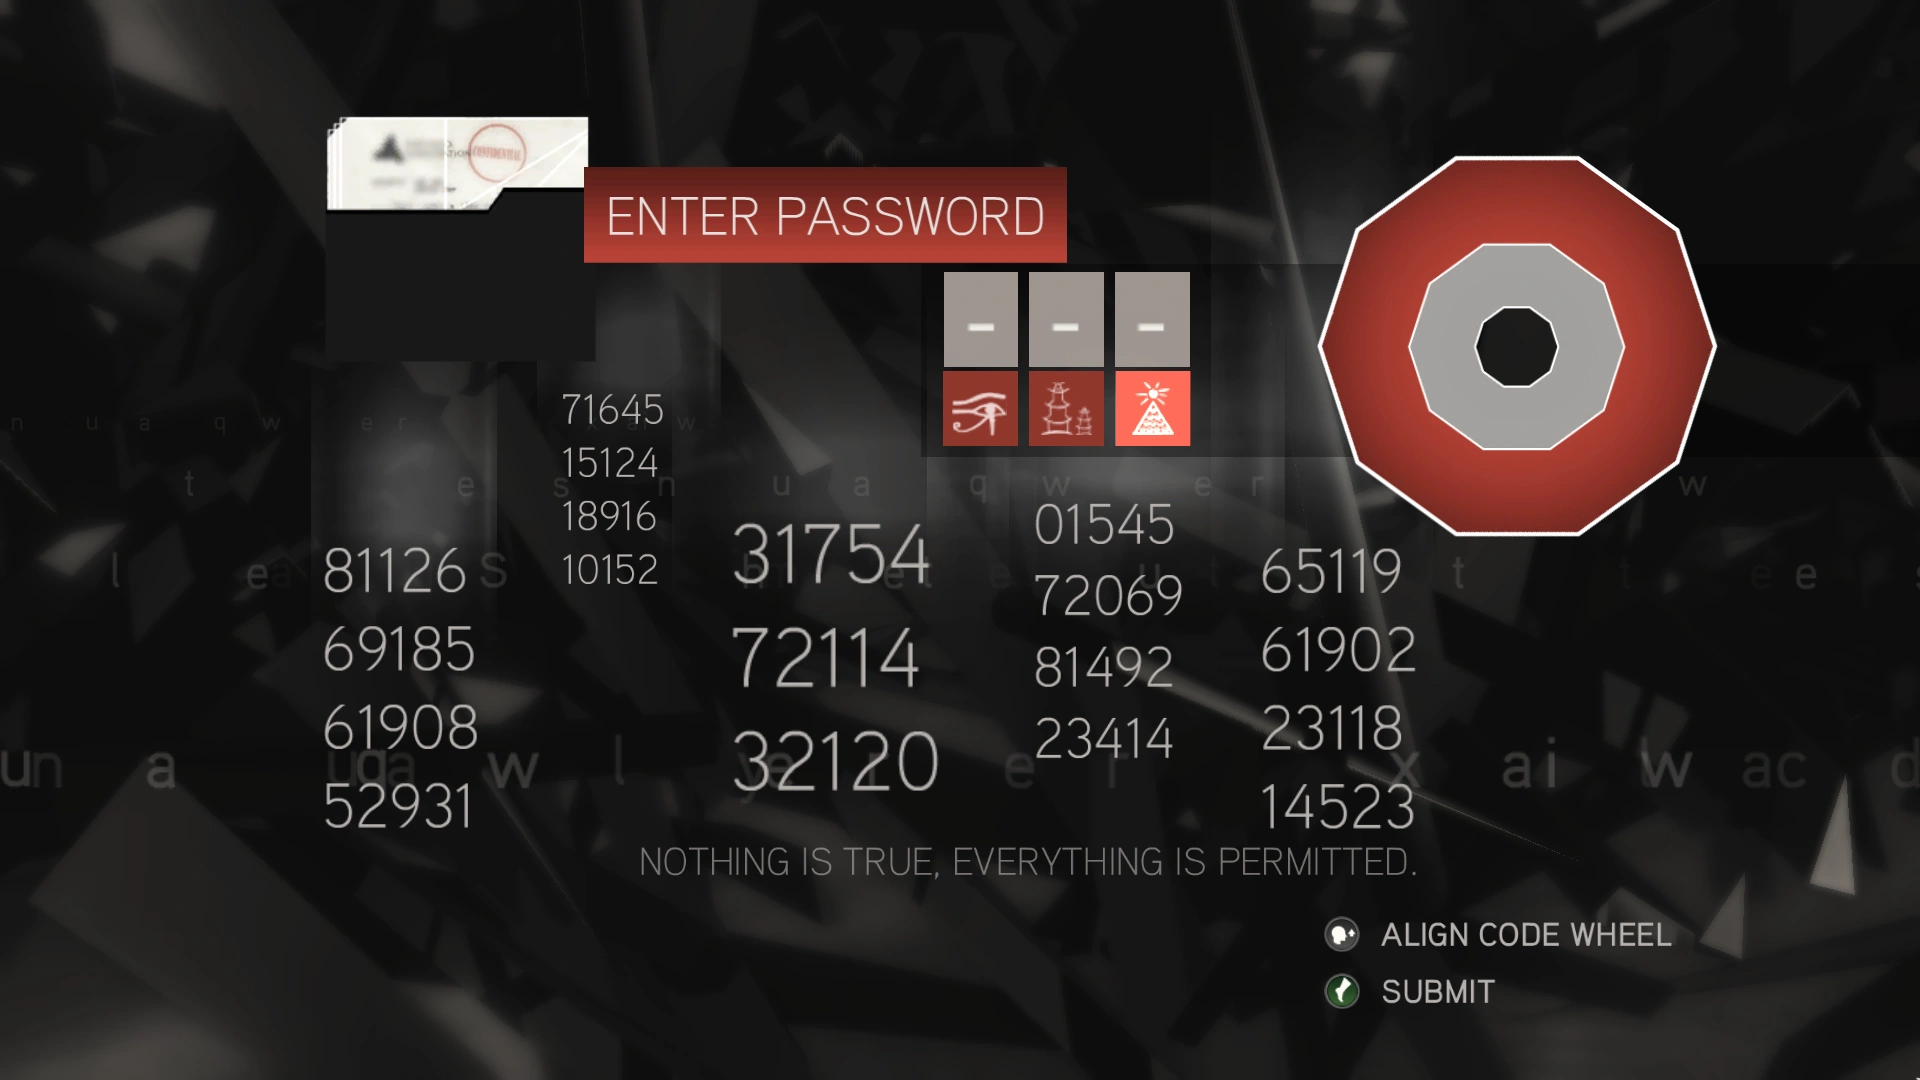
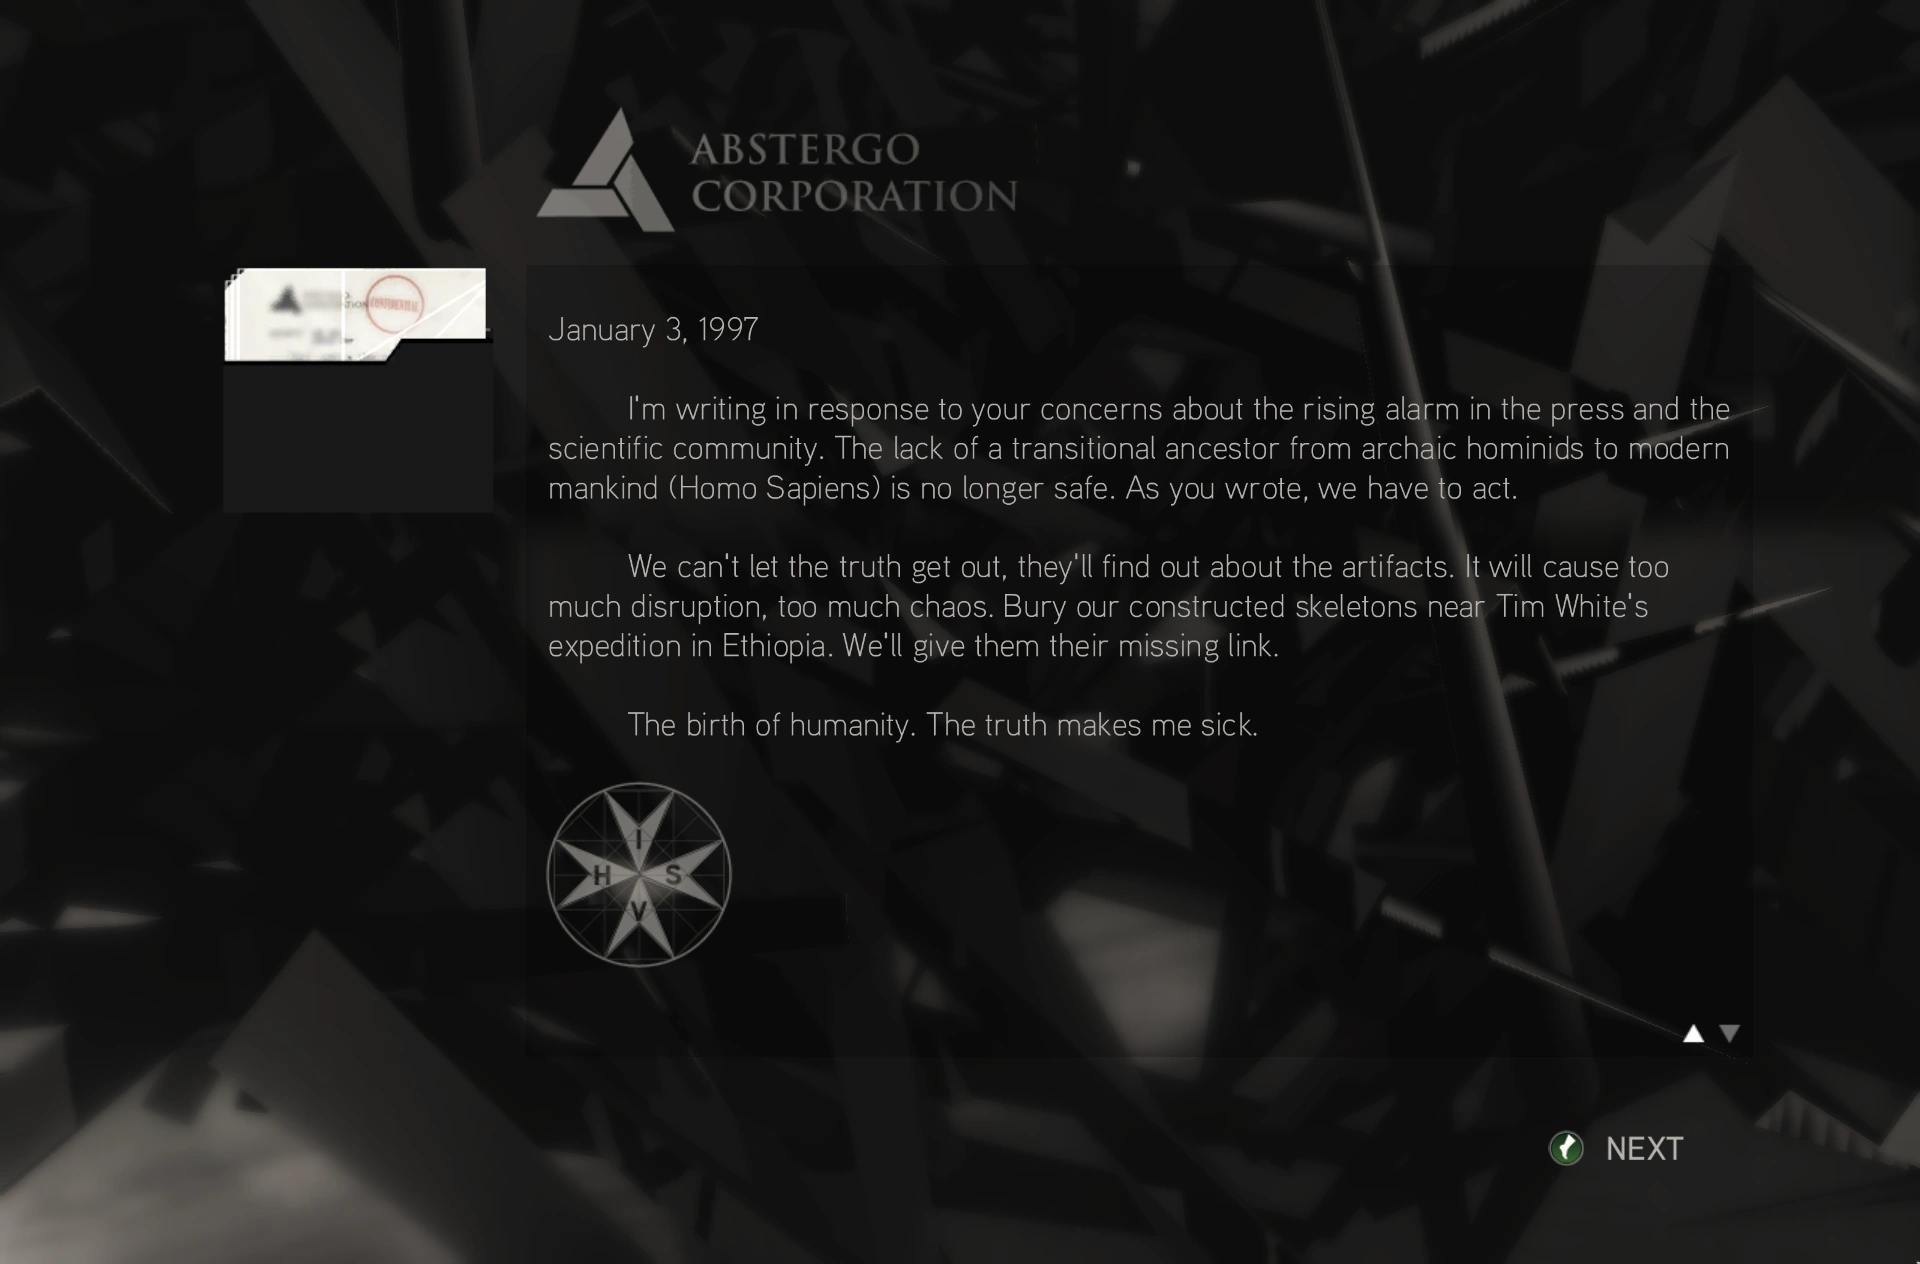
A message followed.
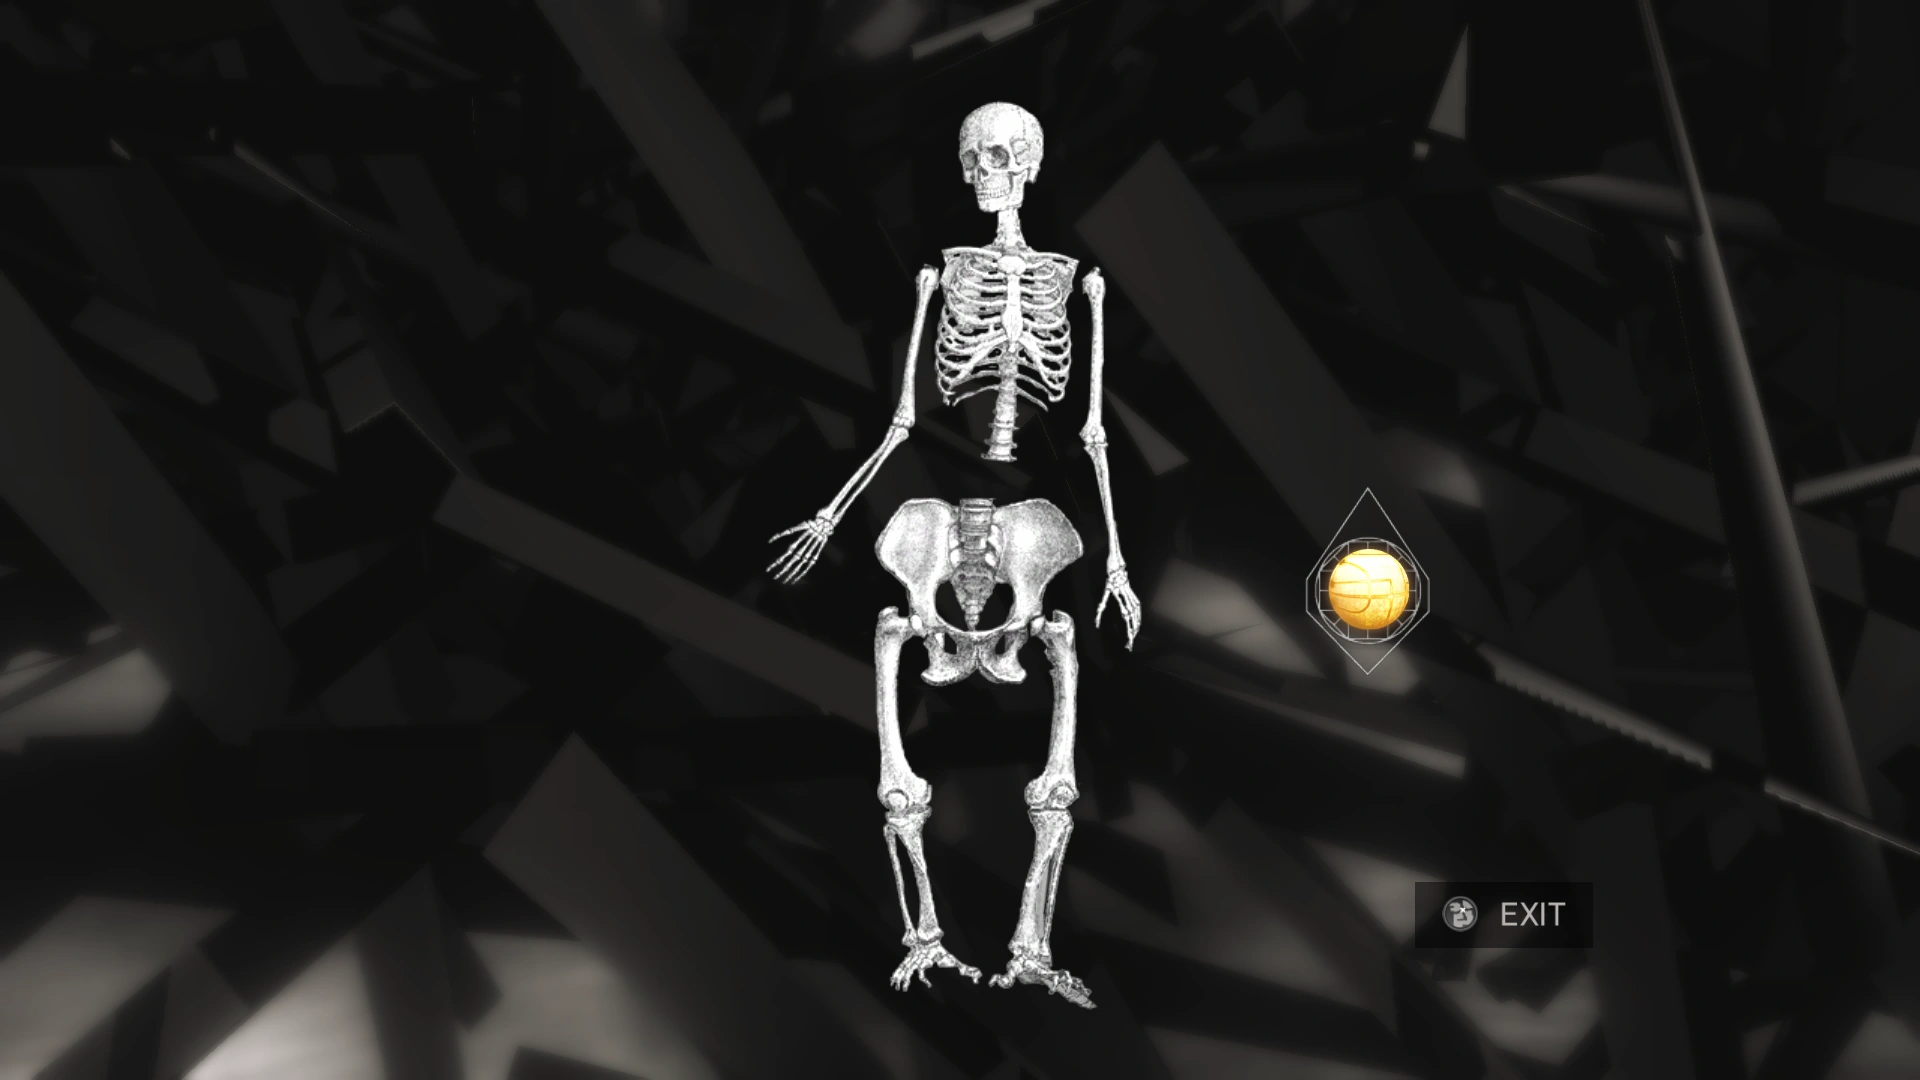
The fourth puzzle was solved by using the Apple of Eden to alter the hominid skeleton into a human one.
The image of skeleton being altered.
References
- ↑ 1.0 1.1 1.2 1.3 1.4 1.5 1.6 Assassin's Creed II
- ↑ Assassin's Creed - Vidic's e-mail - subject line Subject No. 16
- ↑ Assassin's Creed
- ↑ 4.0 4.1 4.2 Assassin's Creed: Brotherhood
| |||||||||||||||||||||||||||||||||||||